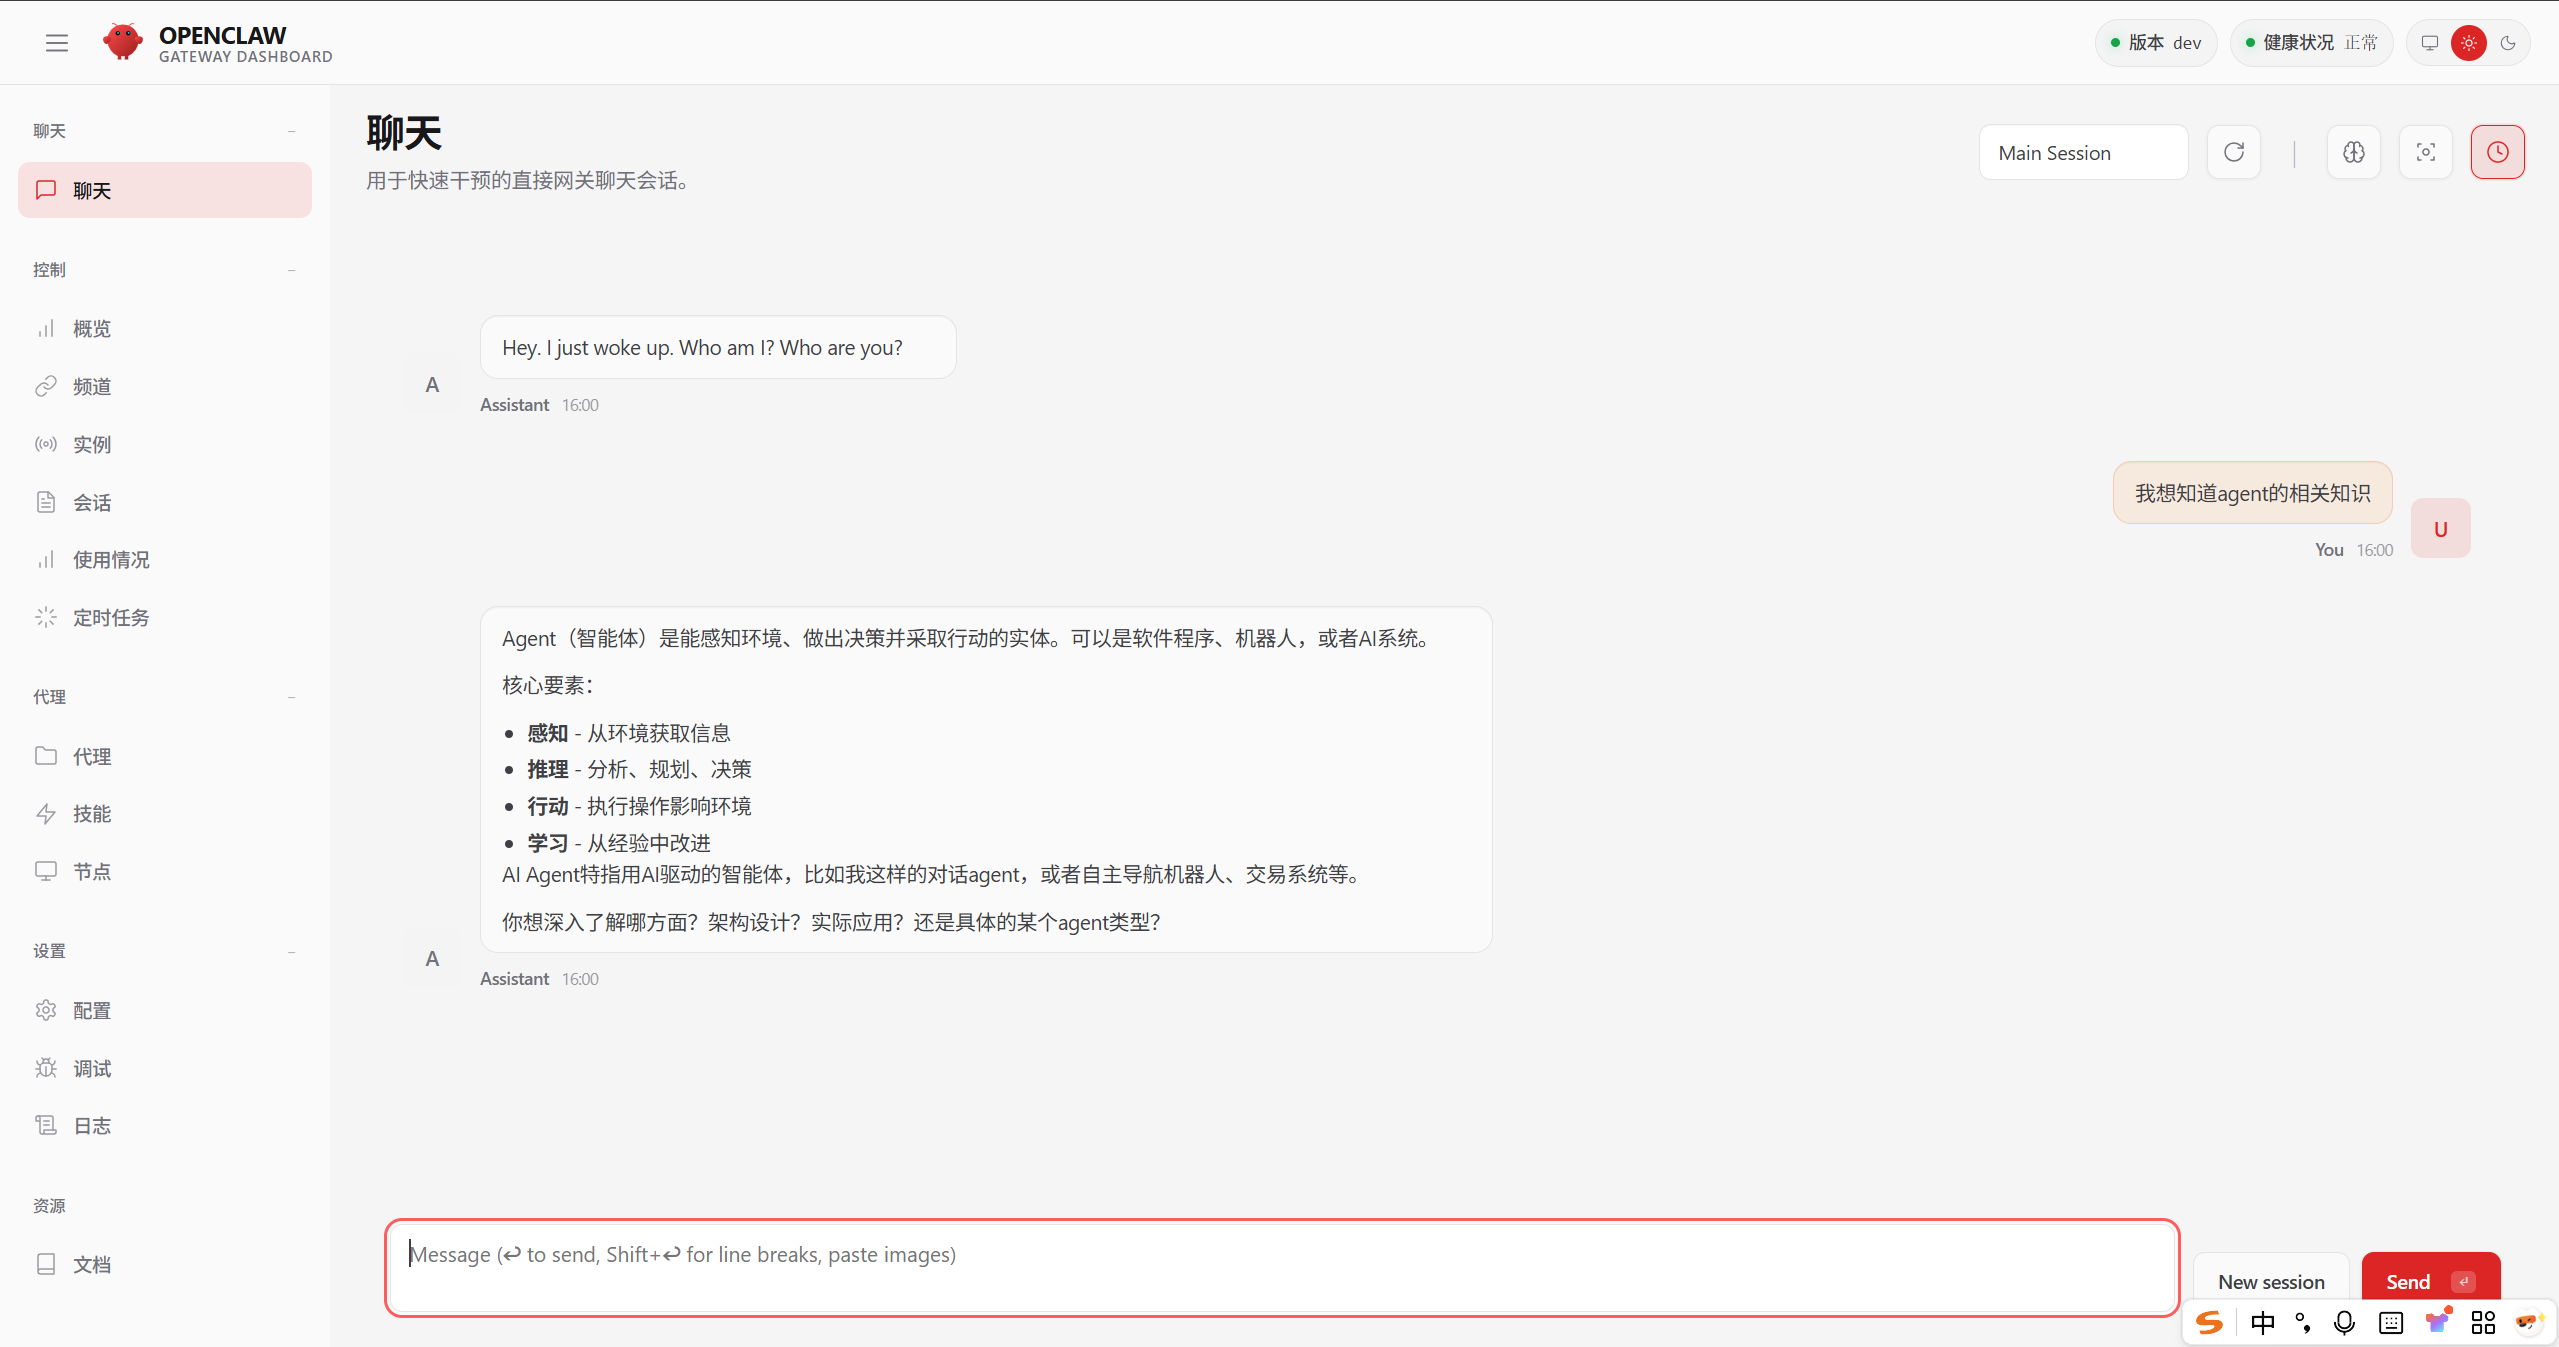
安装时如遇报错,建议搭配AI编程工具辅助解决,可选Qoder、Cursor、Claude Code或Codex等。若此前无使用经验,推荐选用Qoder,其中文支持较好,下载地址: Qoder - The Agentic Coding Platform 。正确使用可解决绝大部分报错问题,本文以Qoder为例进行演示。
配置完成后,还可直接与AI IDE对话,让其协助优化OpenClaw。
1.Qoder 安装
官网安装, Qoder - The Agentic Coding Platform
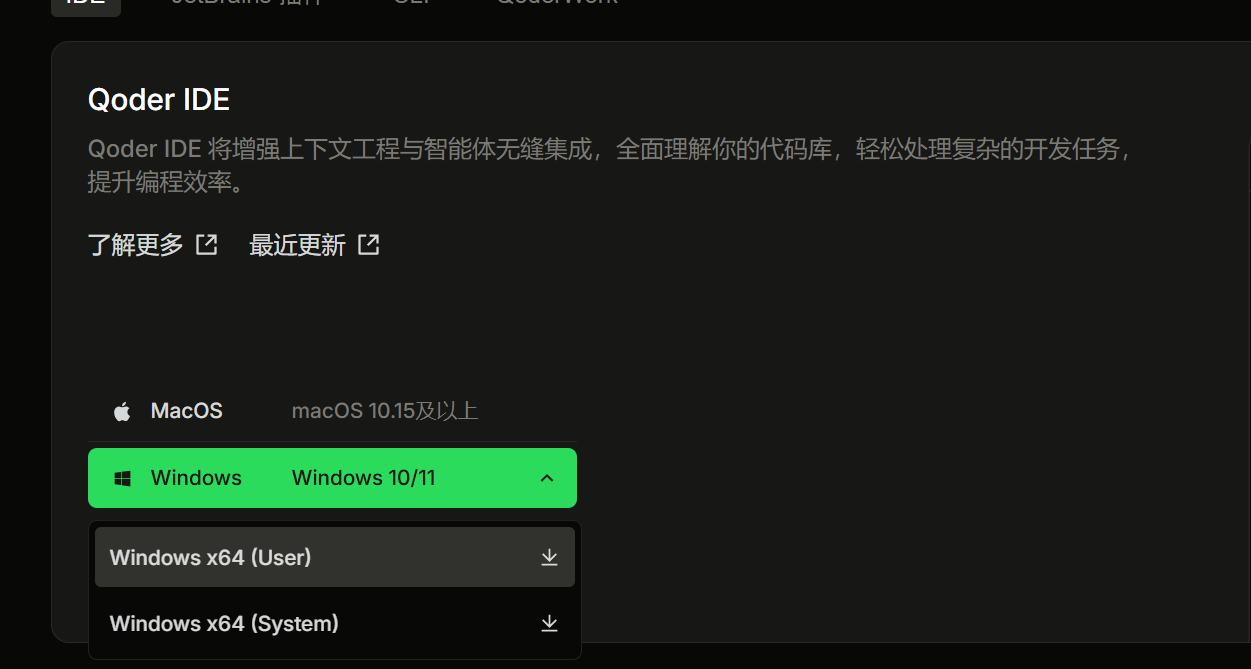
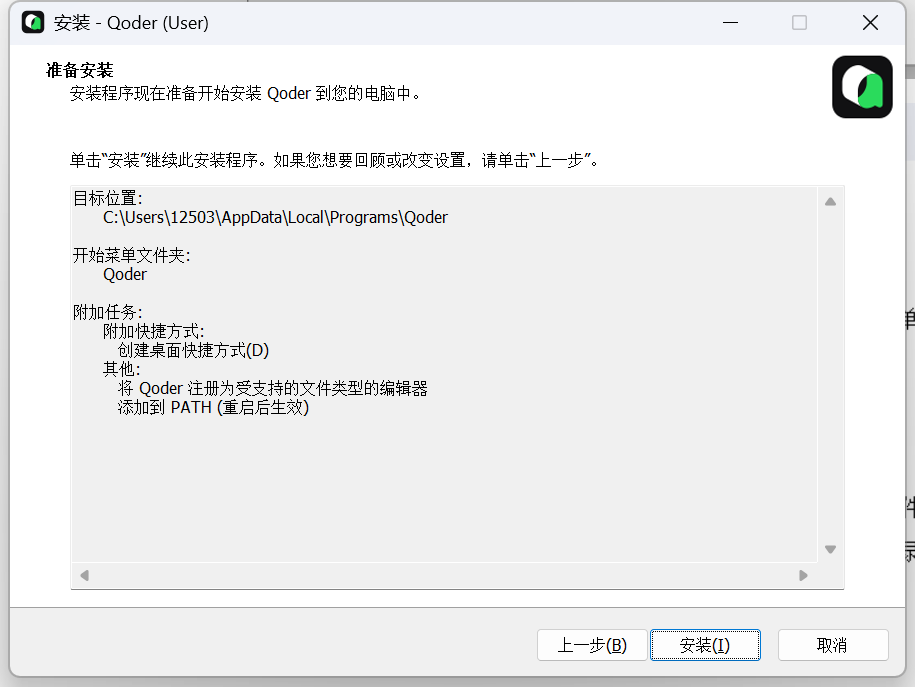
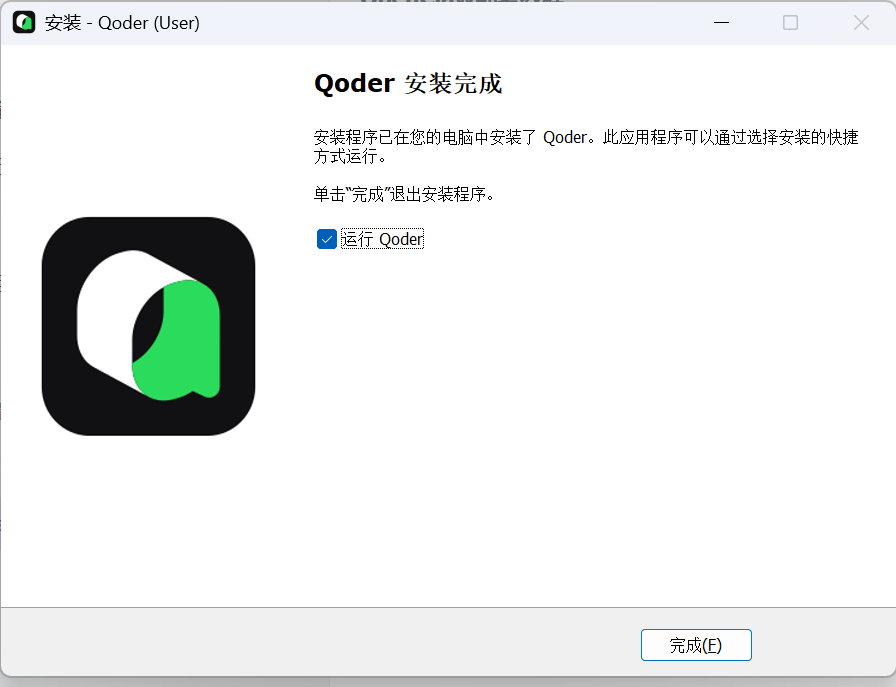
下载下来后安装,没有特殊需求一直下一步就好
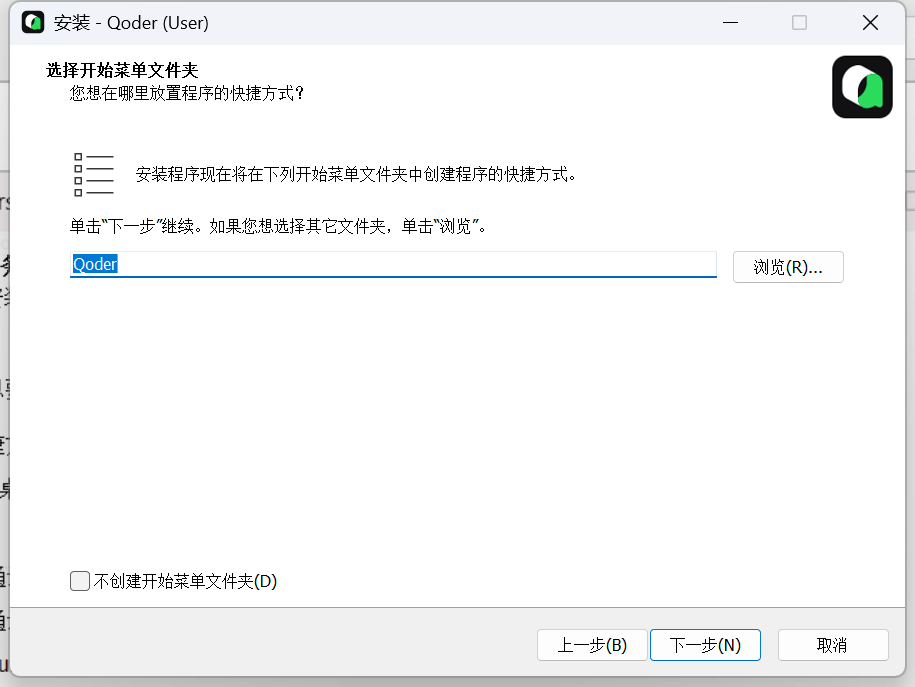
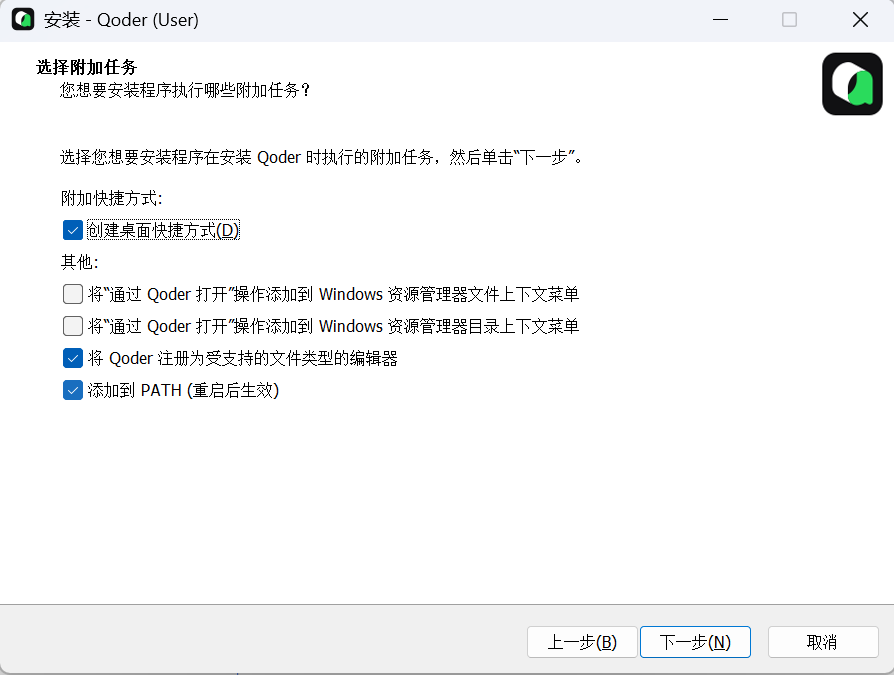
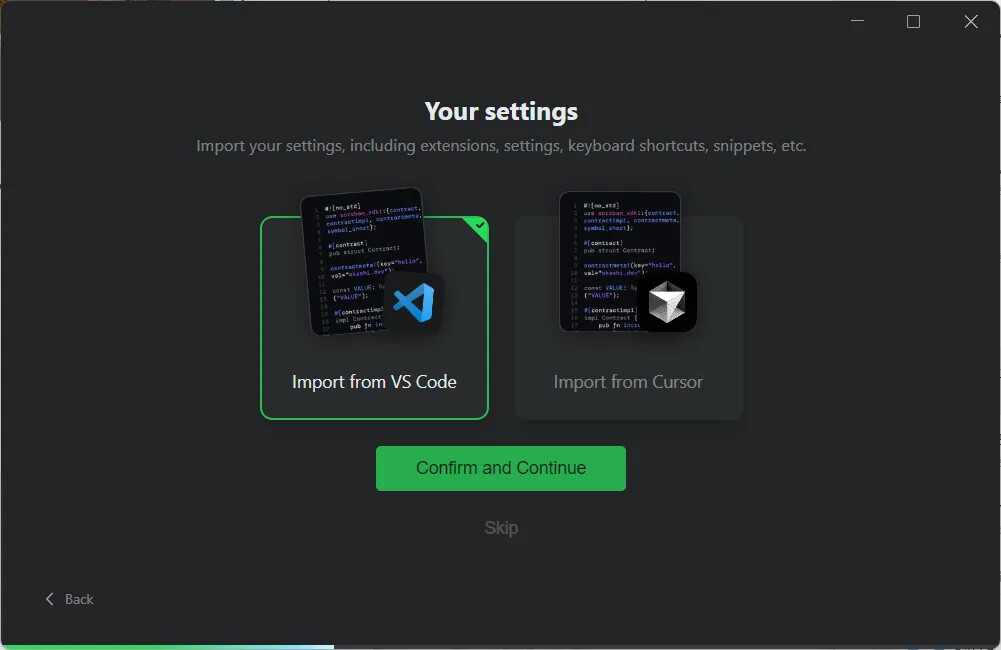
选择skip
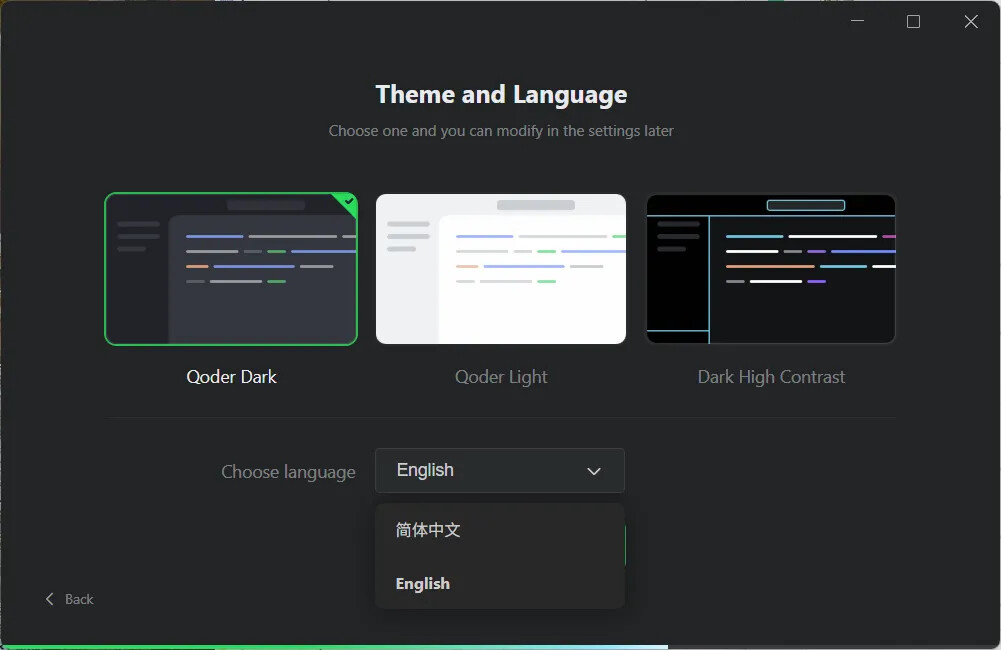
选择中文
注册/登录Qoder账号
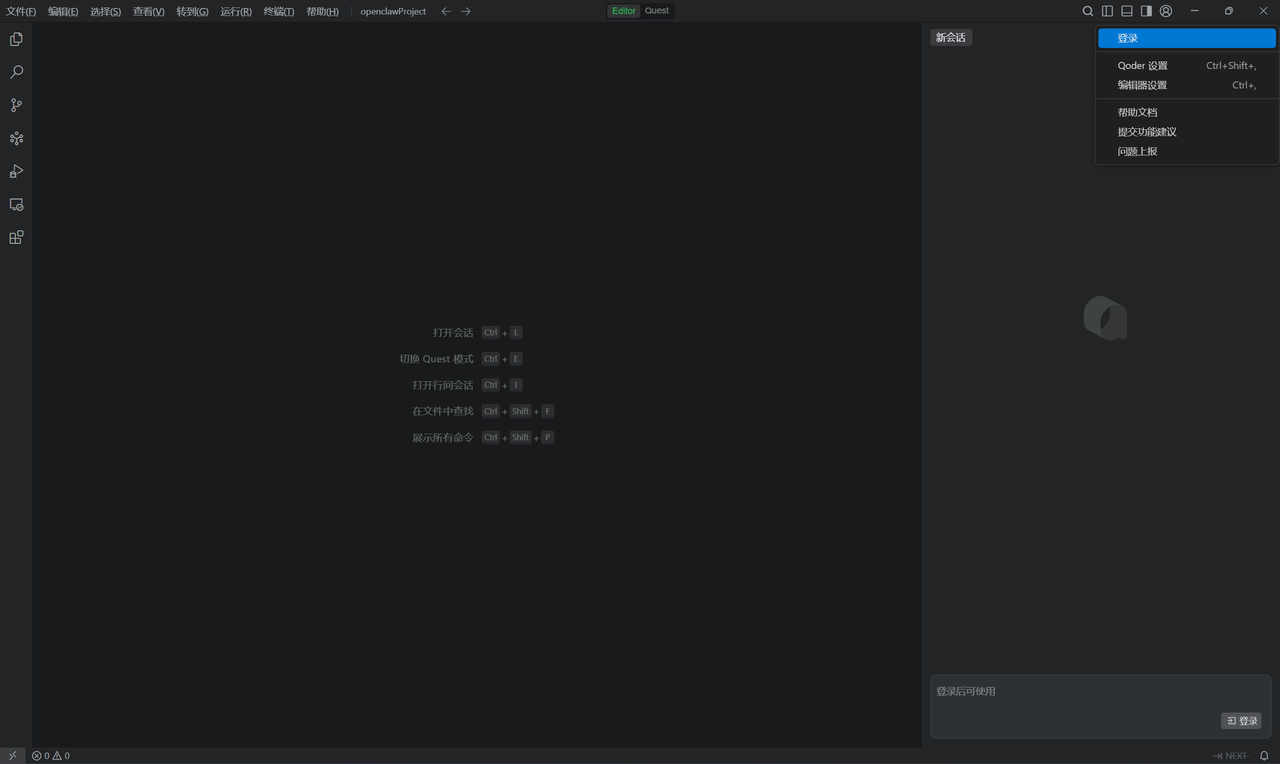
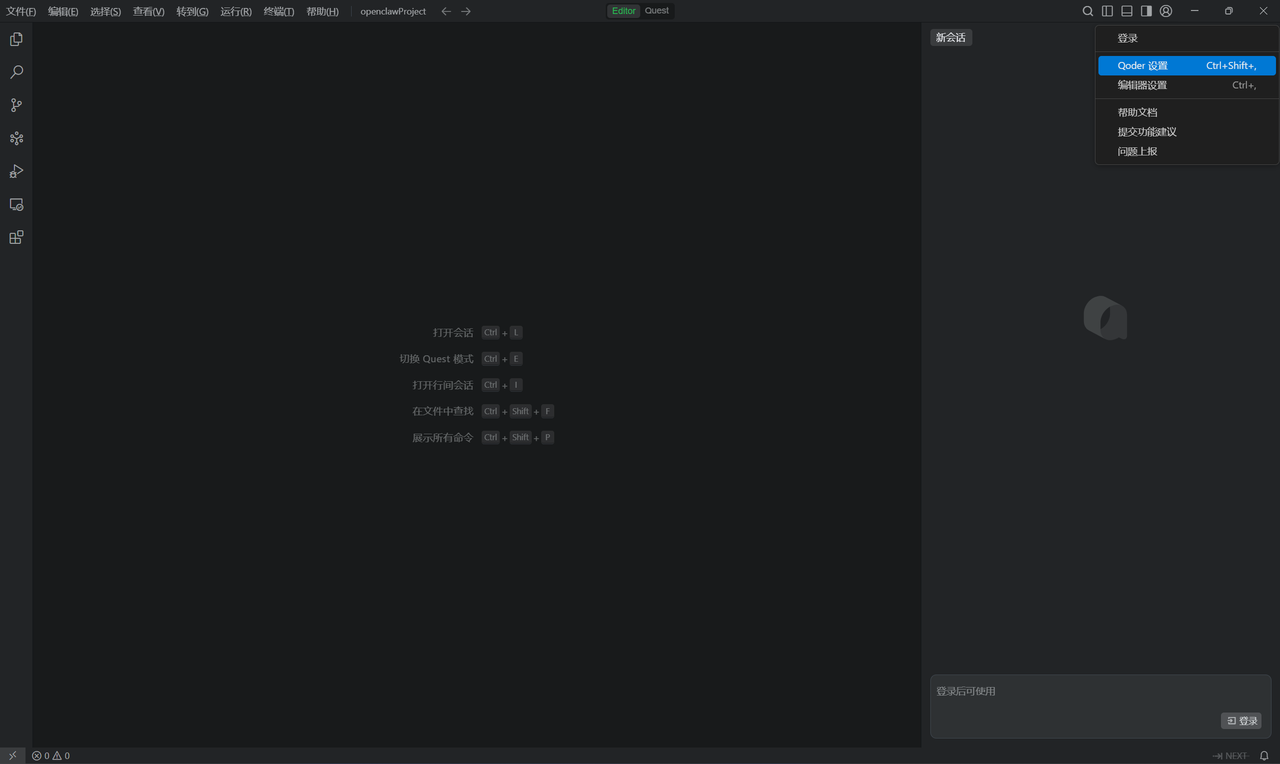
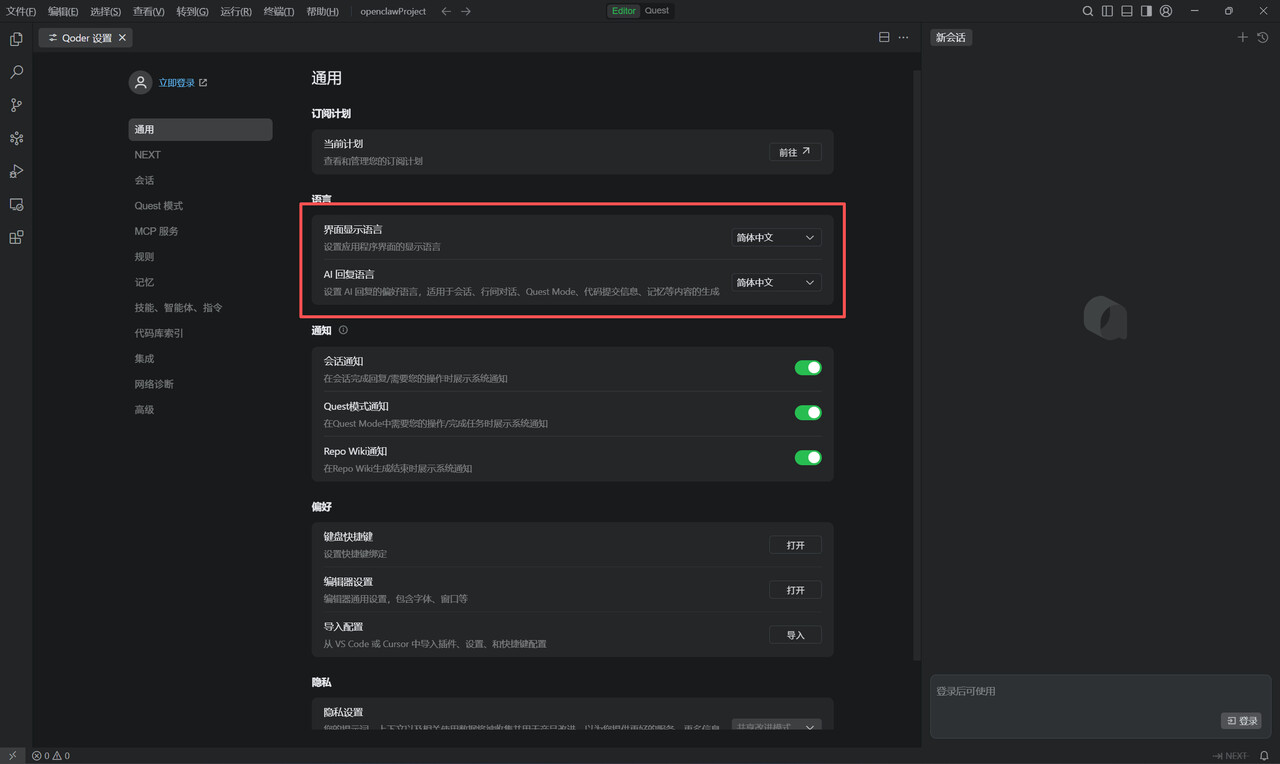
配置中修改界面展示语言及AI回复语言
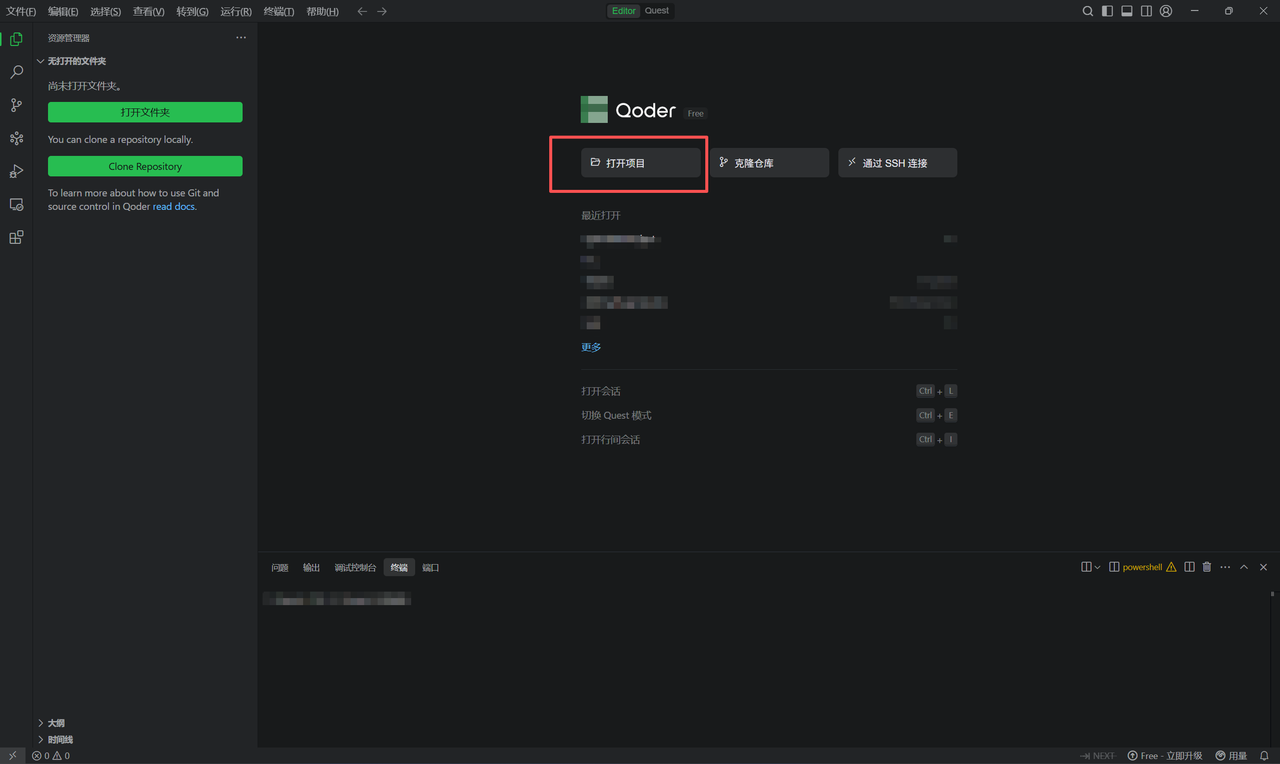
选择一个文件夹打开,到这一步安装就算结束了
2.OpenClaw安装
打开Qoder,点击右上角这里,会弹出输入框
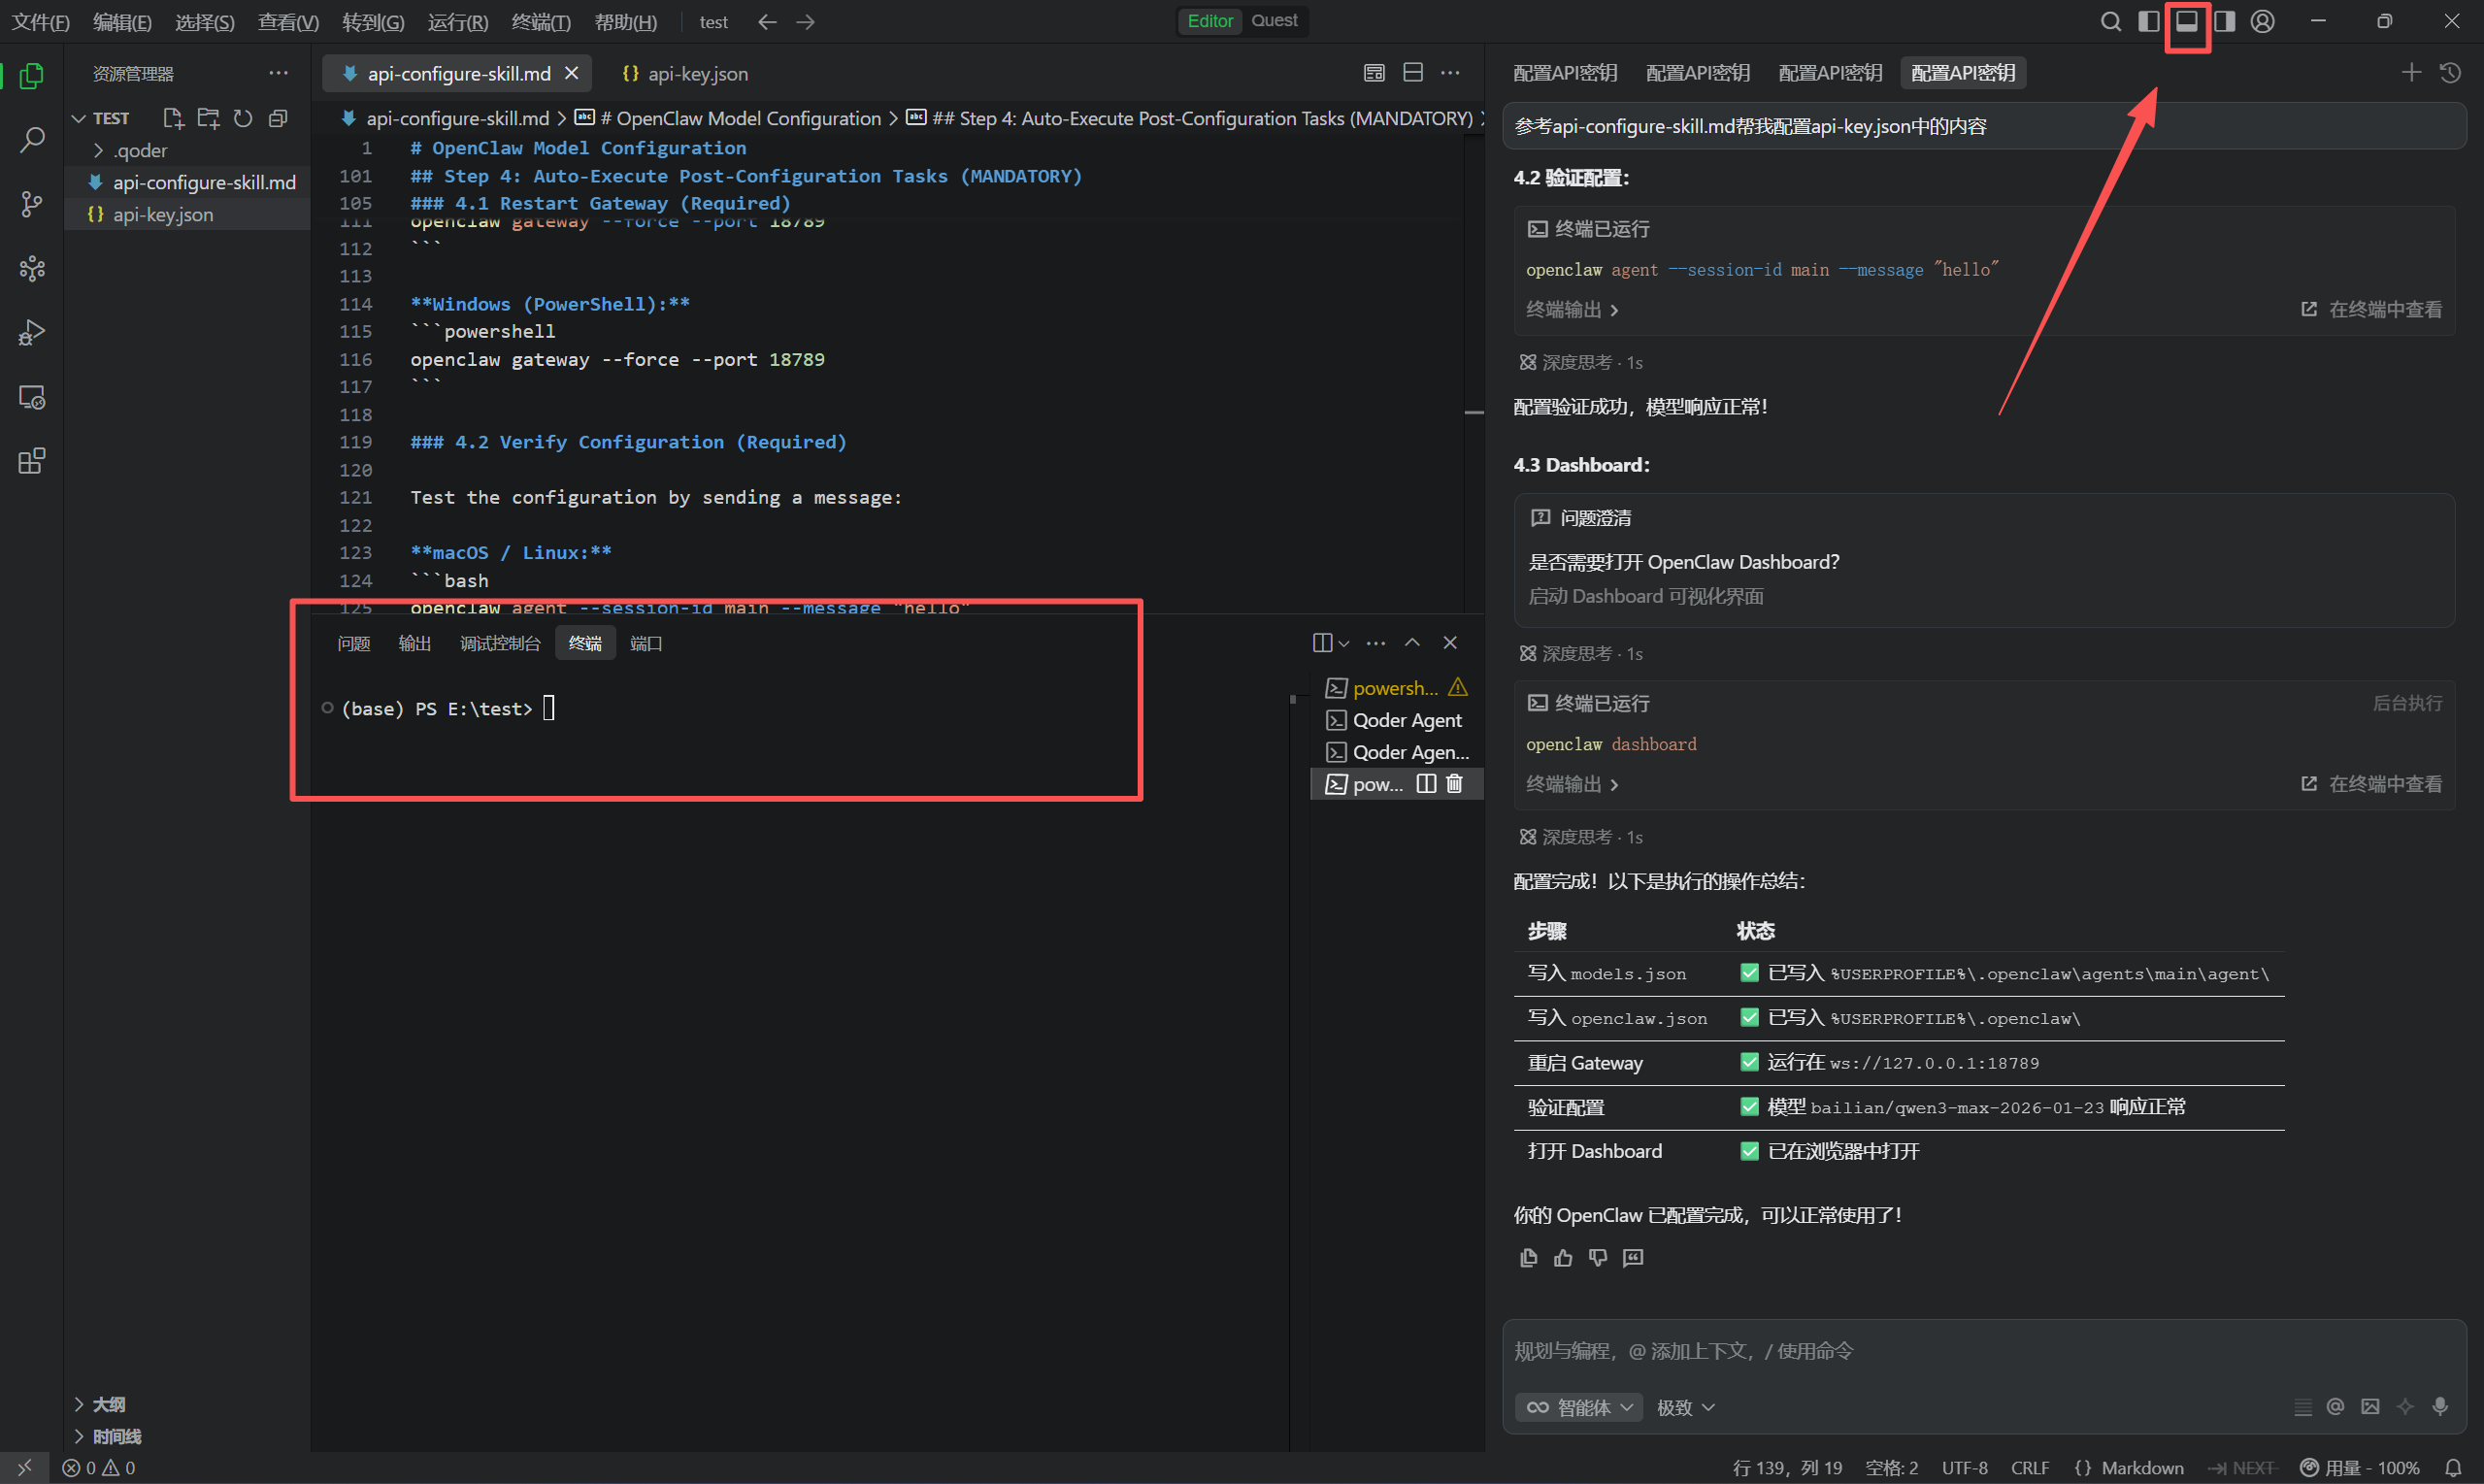
依次输入以下命令,并回车(其中会有要求确认是否安装的弹窗,全部允许)最好打开 ,不然会有点慢,或者可能出现网络问题:
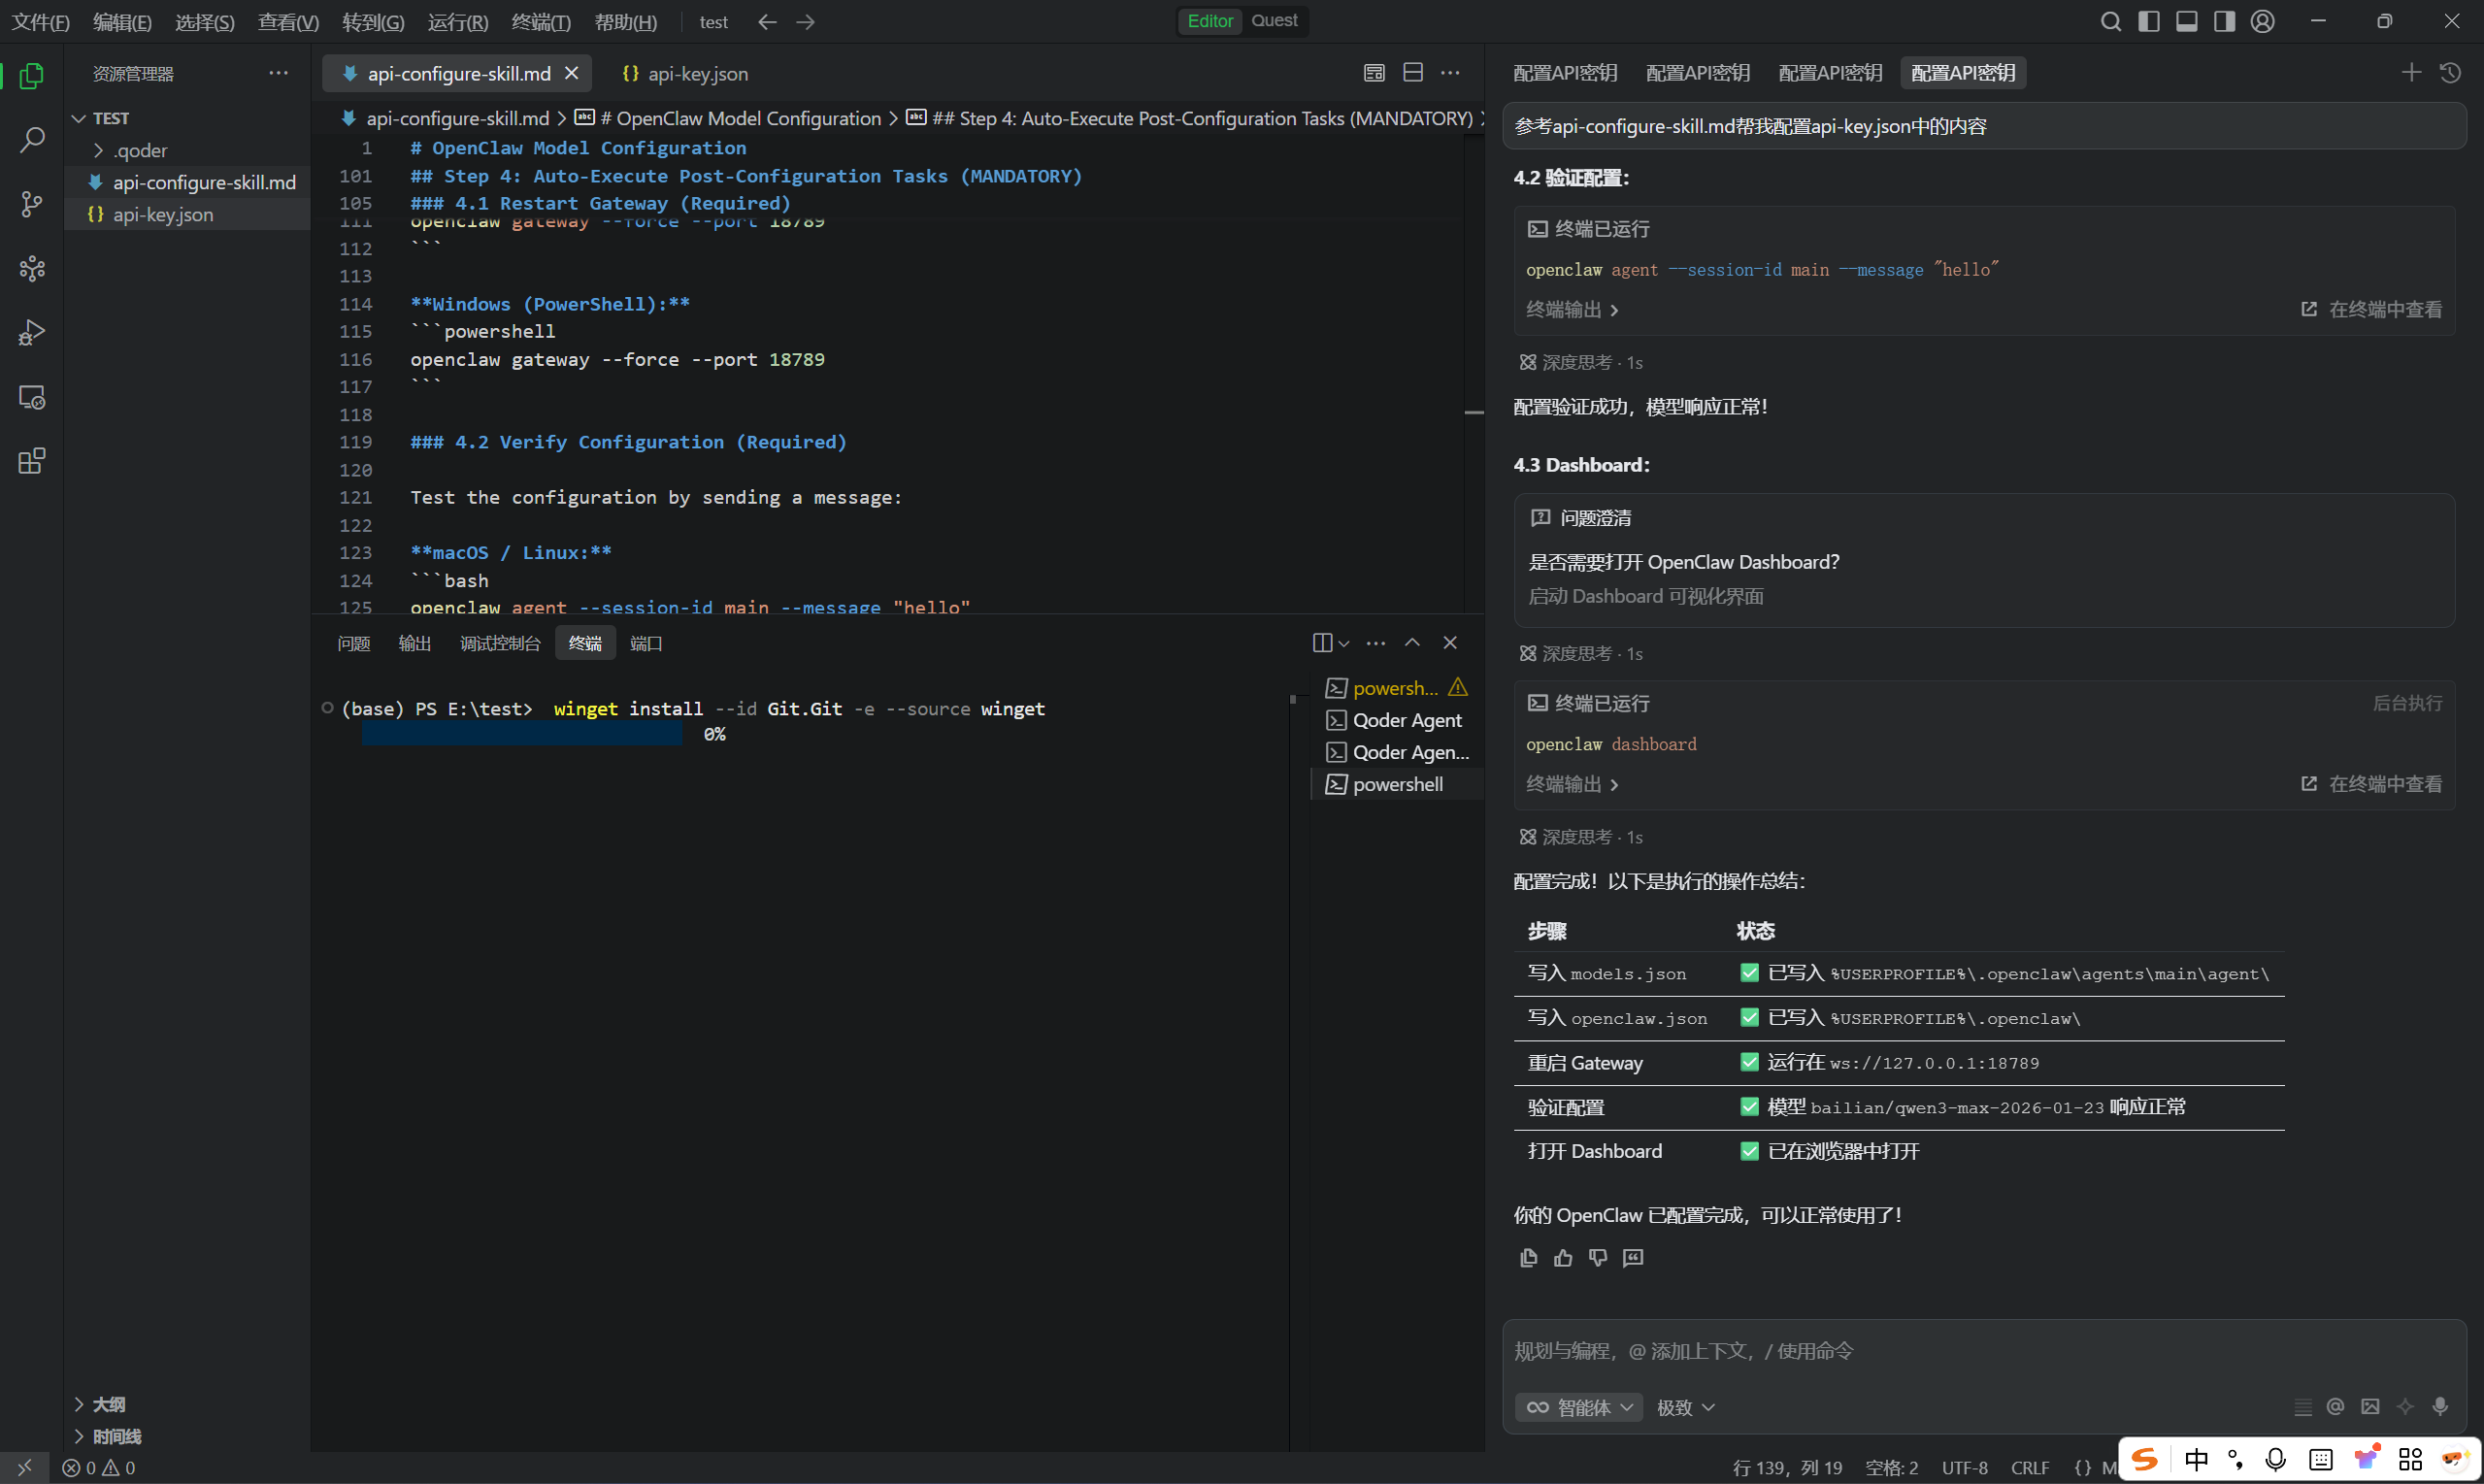
winget install --id Git.Git -e --source winget
winget install --id OpenJS.NodeJS -e --source winget
npm config set registry https://registry.npmmirror.com
npm install -g openclaw@latest
3.Openclaw设置
继续输入后回车:
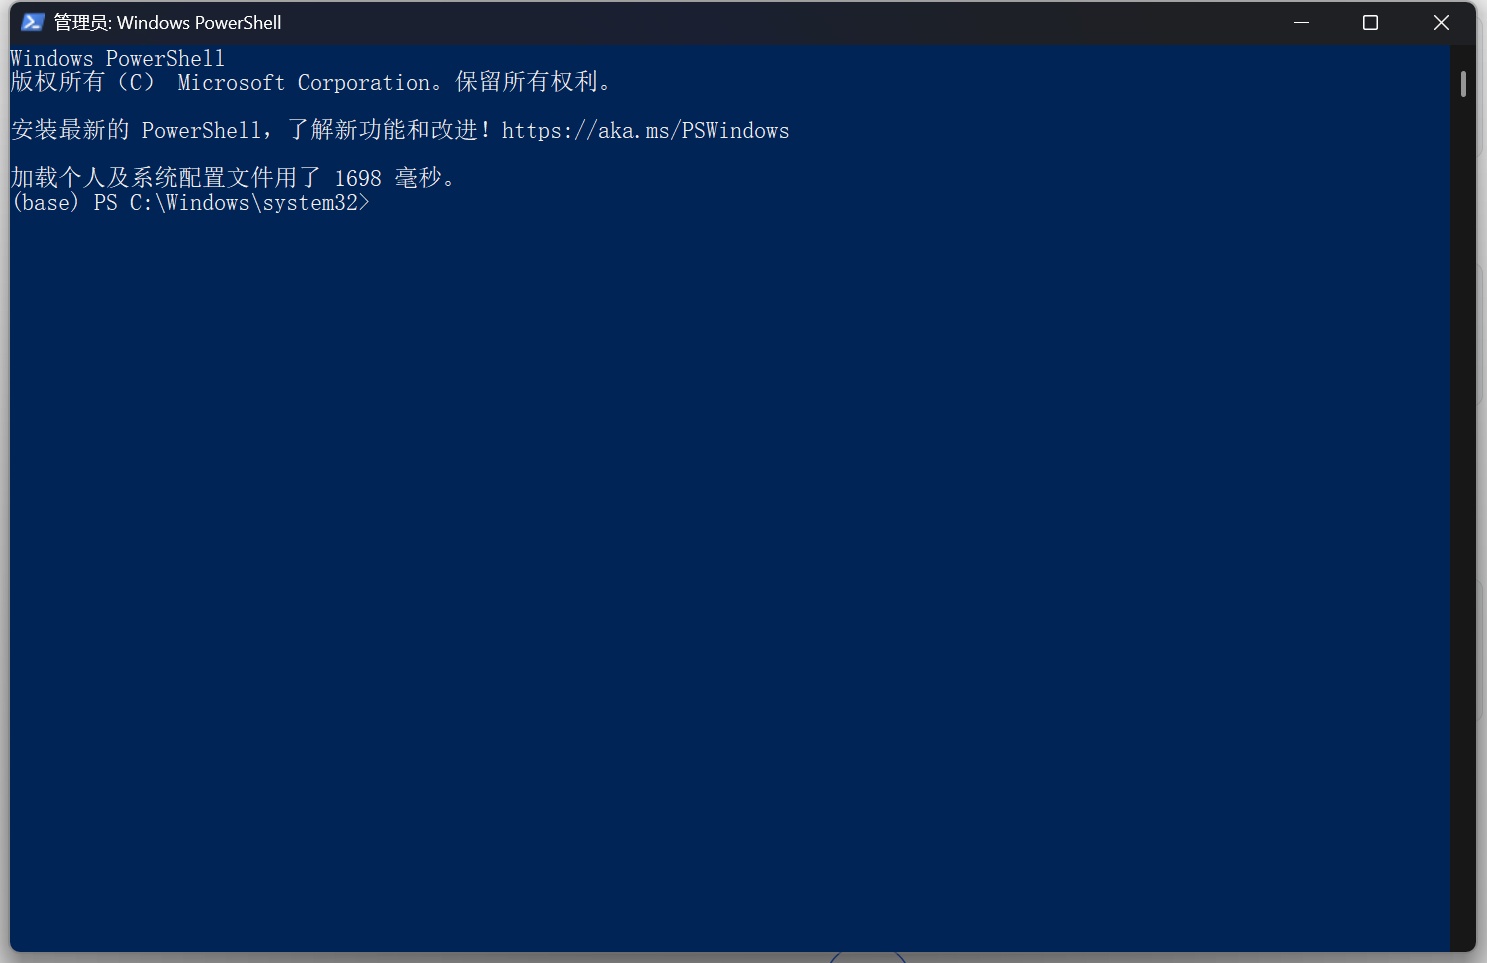
Start-Process powershell -Verb RunAs
会新打开一个窗口:
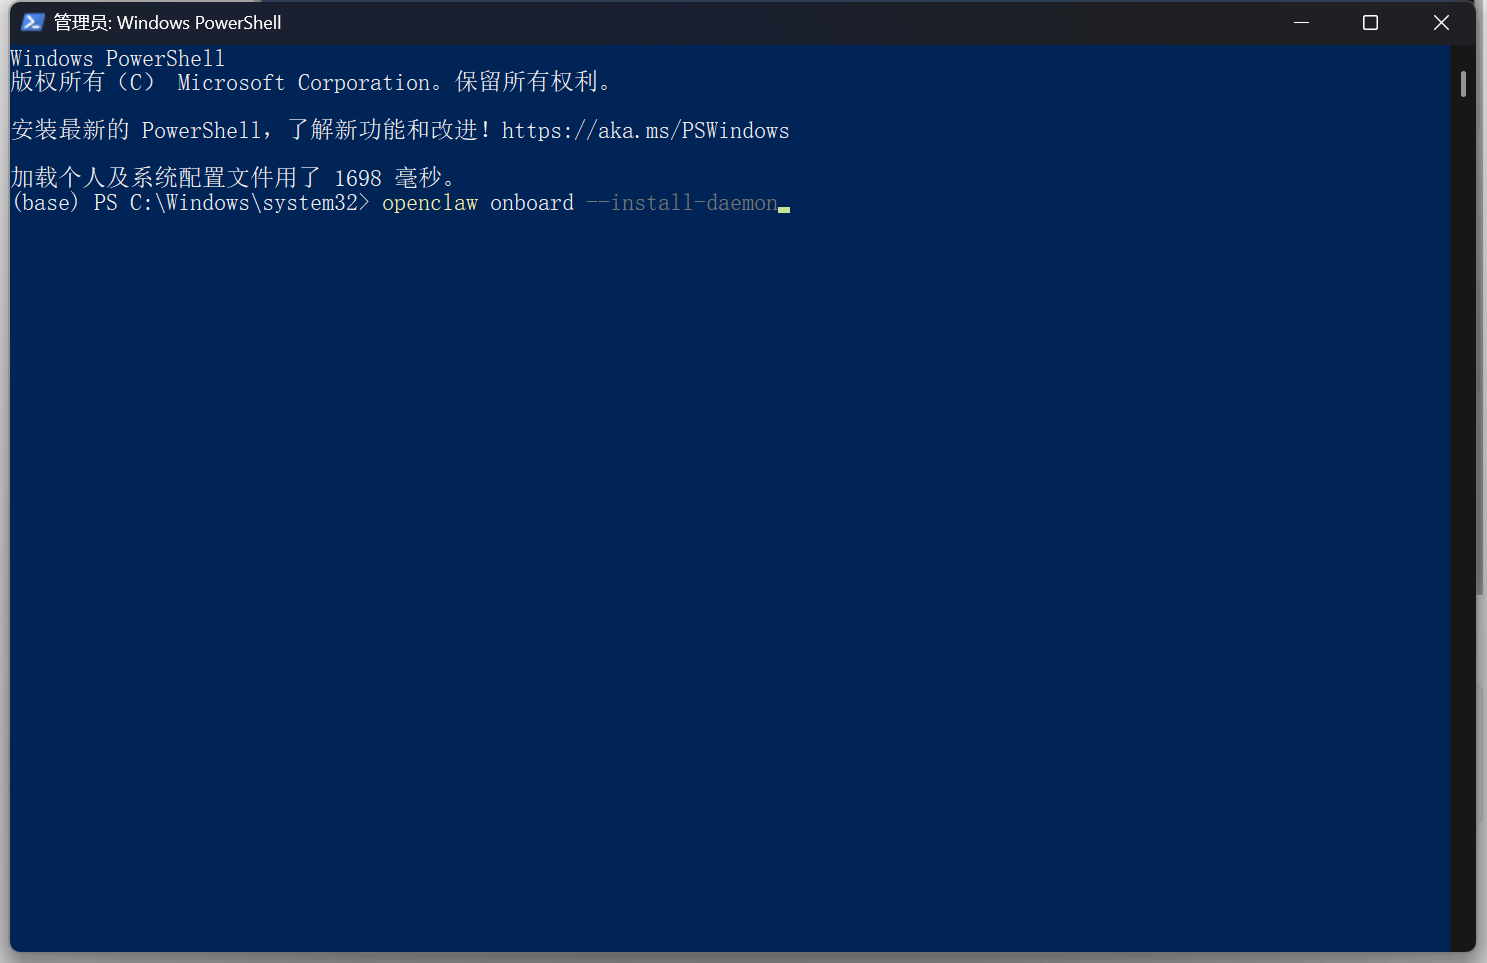
输入后回车:
openclaw onboard --install-daemon
会问你一些配置问题
按方向键上下键,选yes,回车
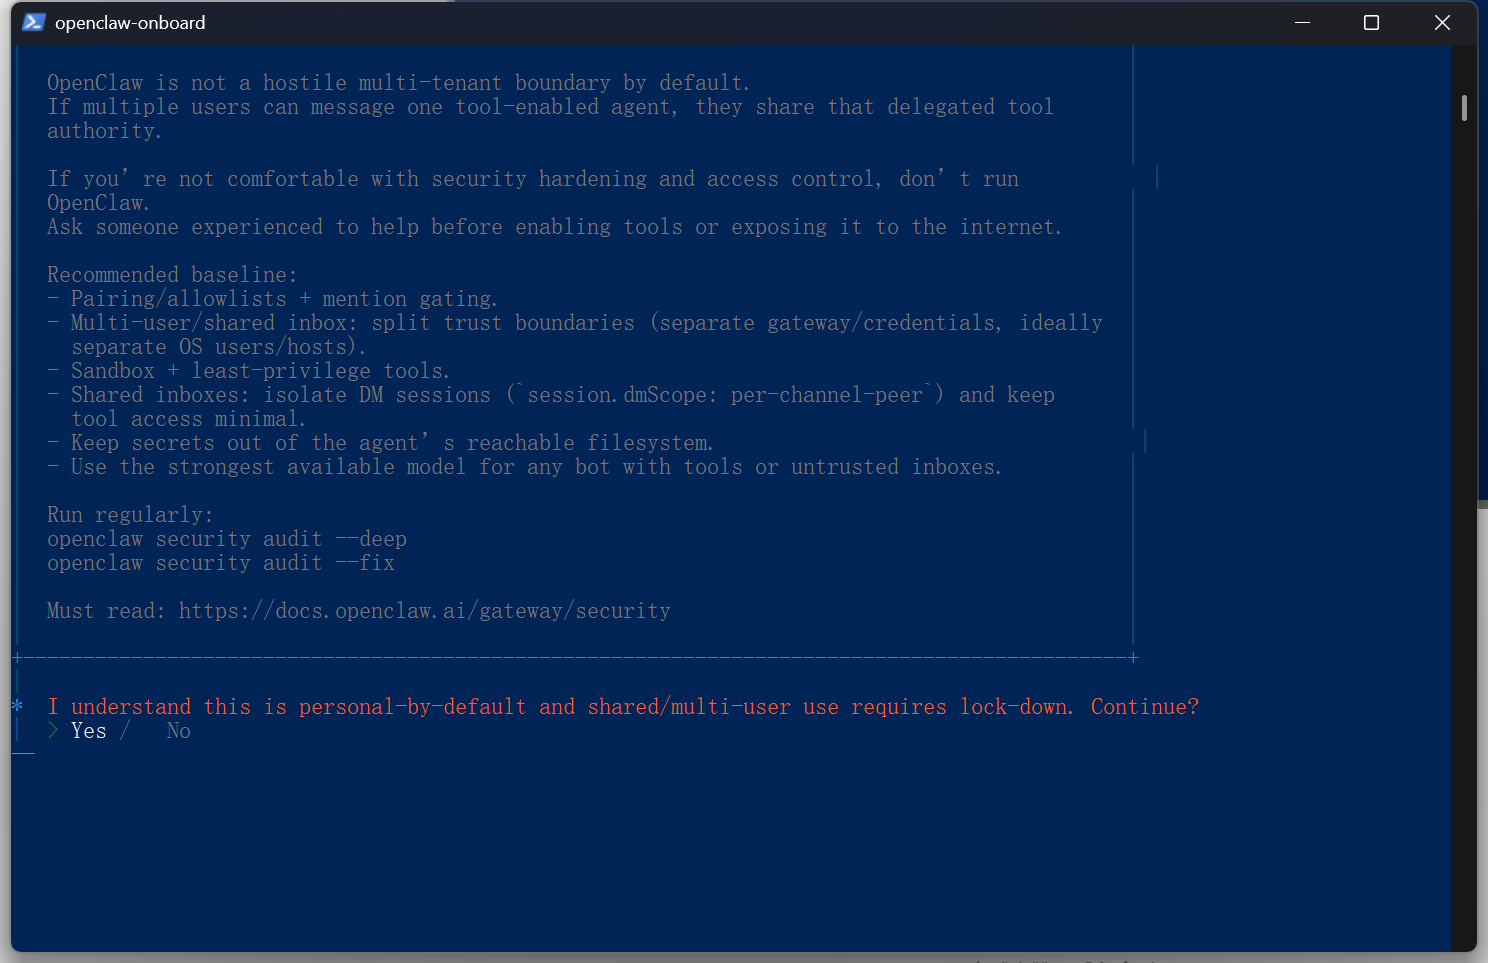
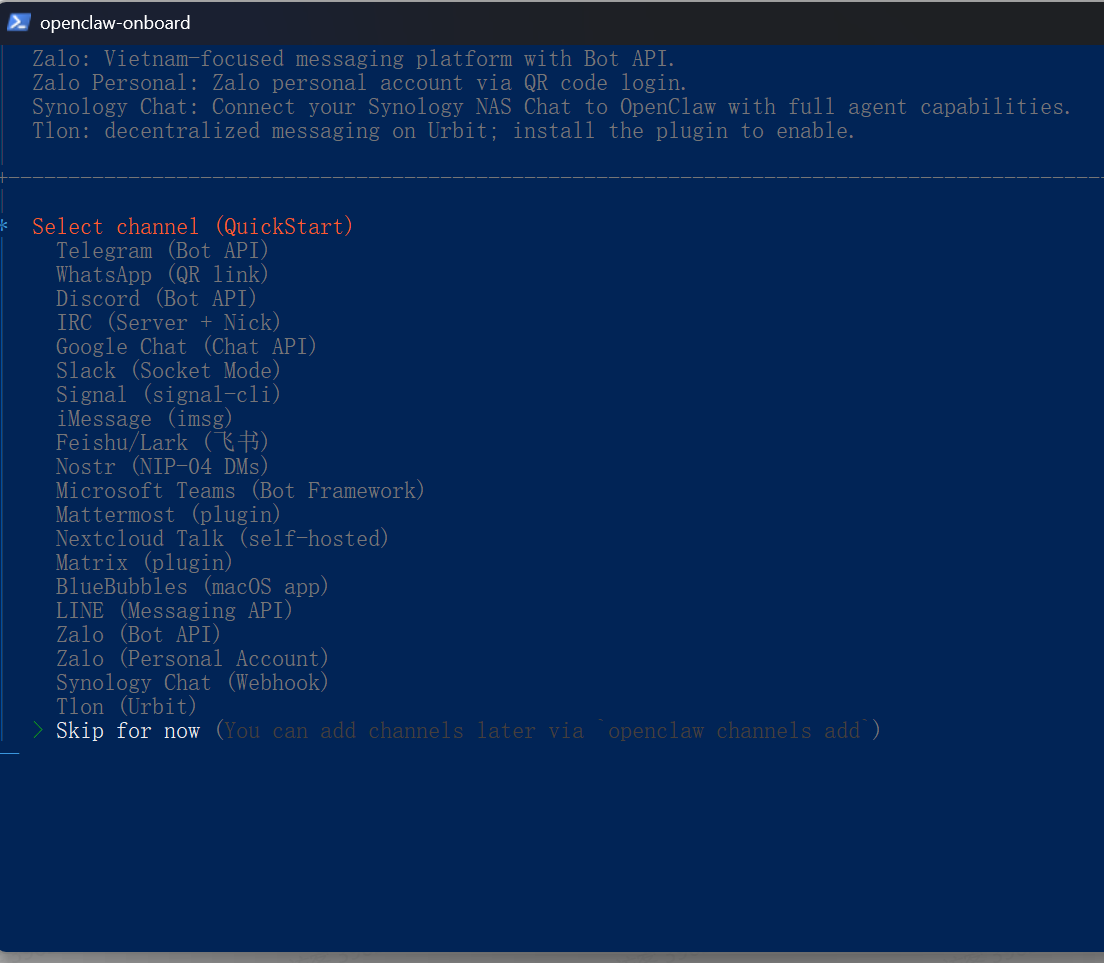
回车后继续选择QuickStart
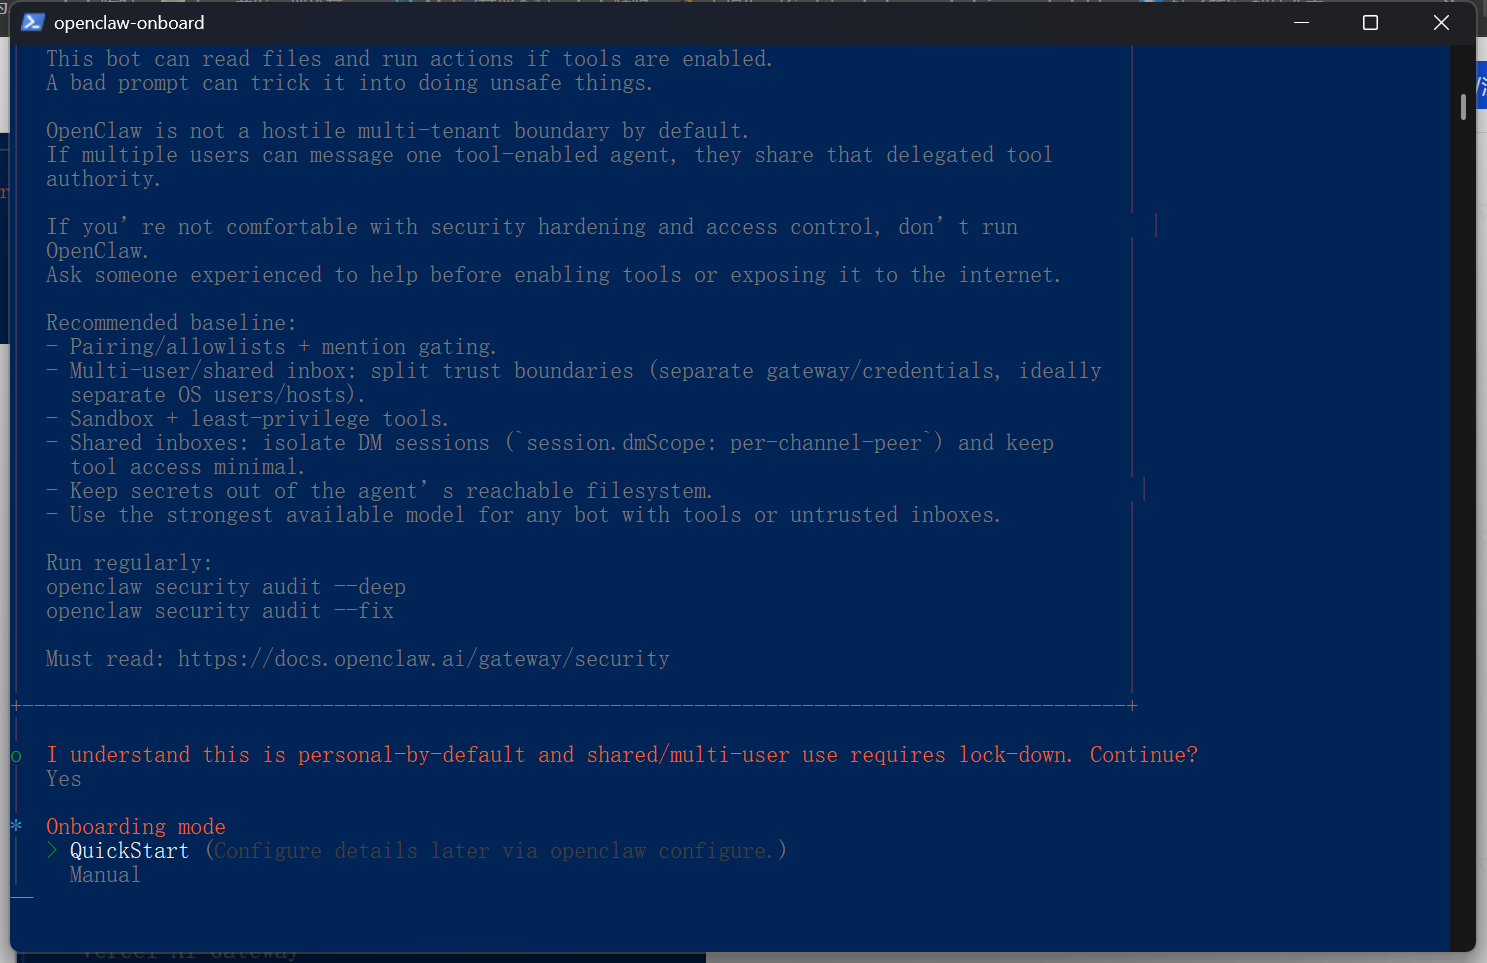
选择skip for now:
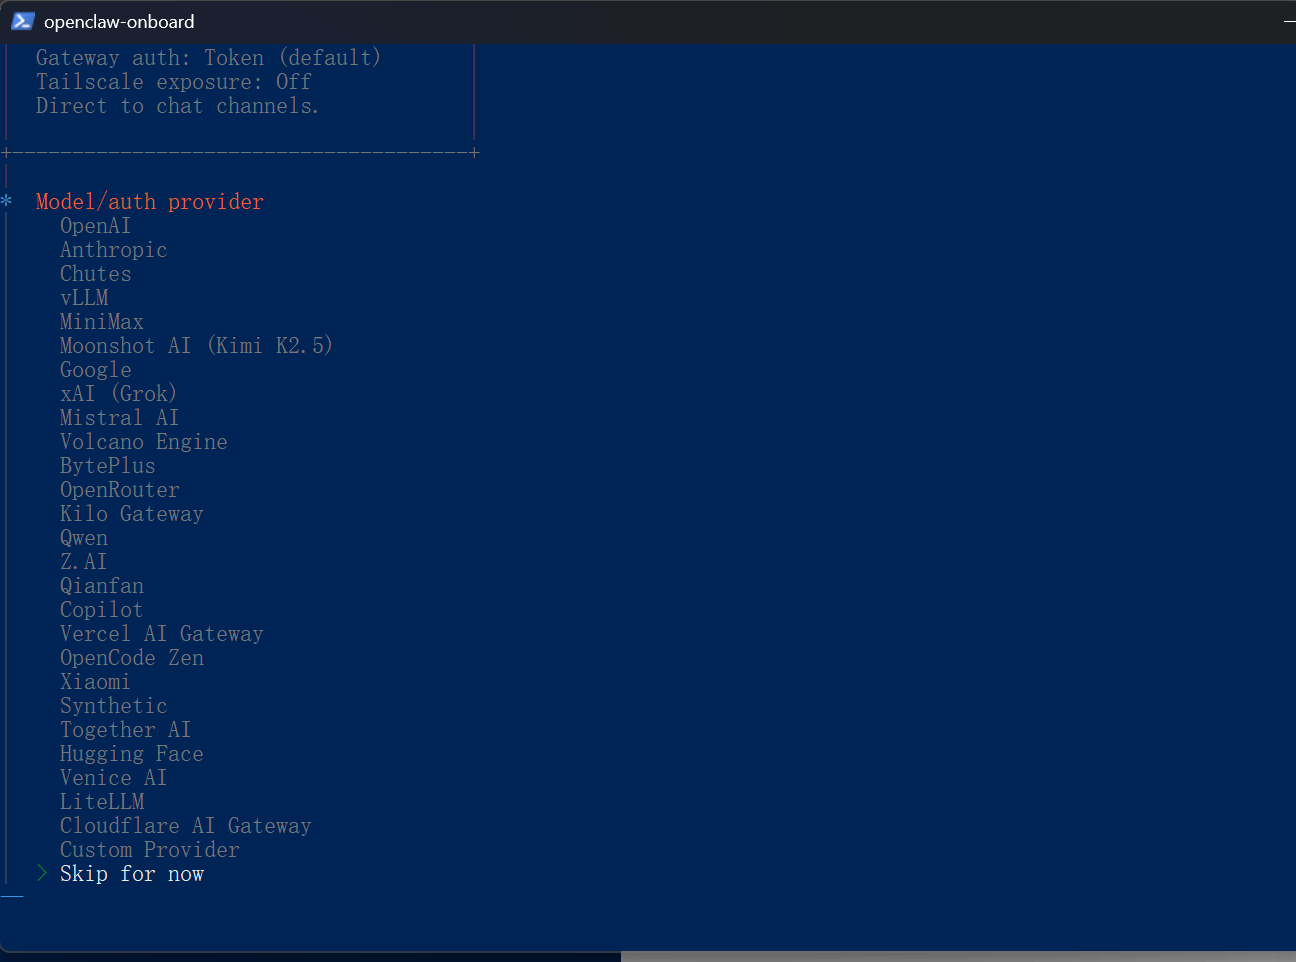
继续选All providers
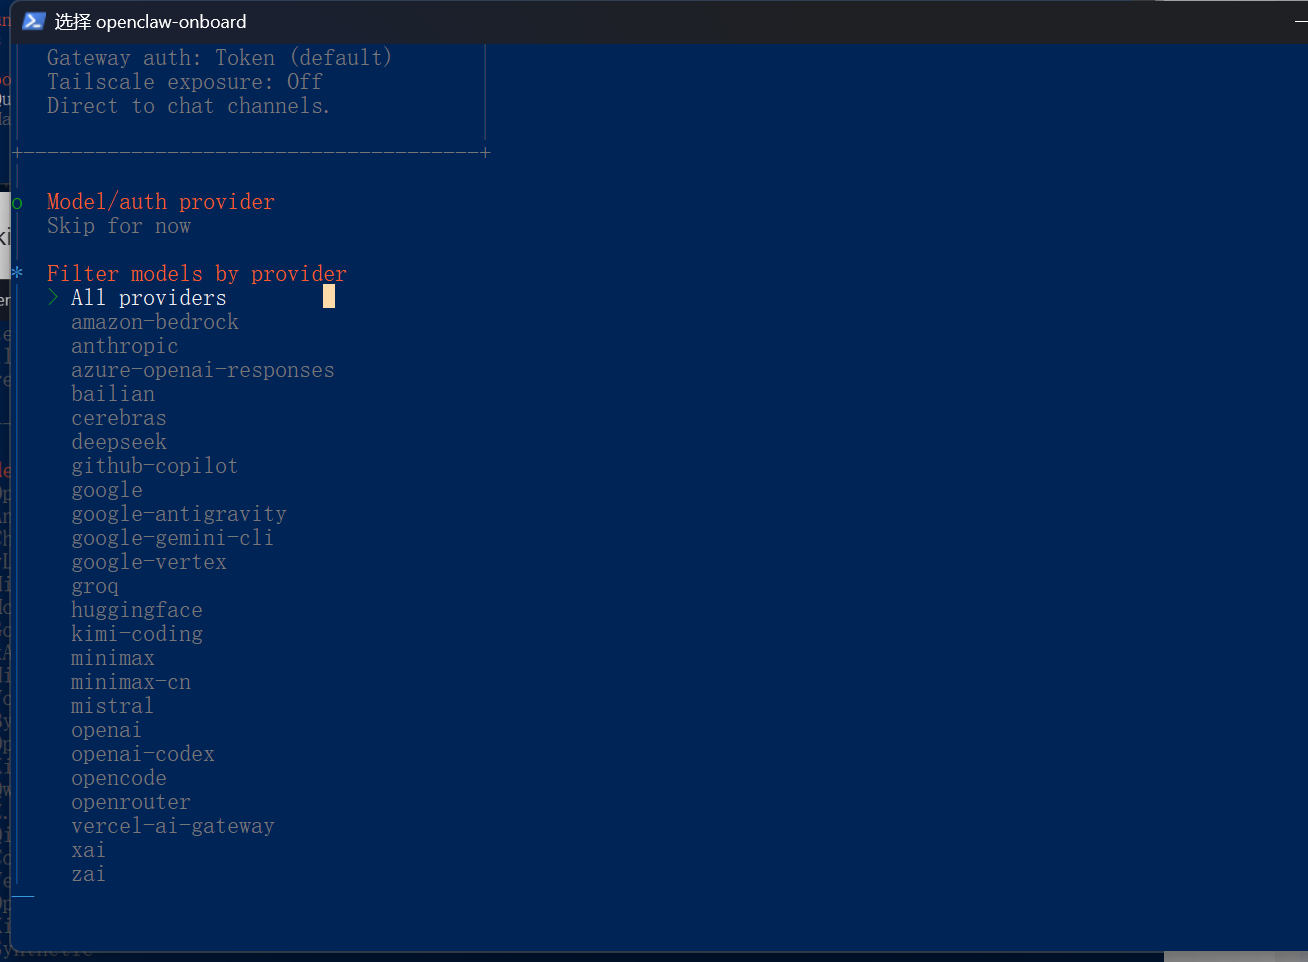
继续回车
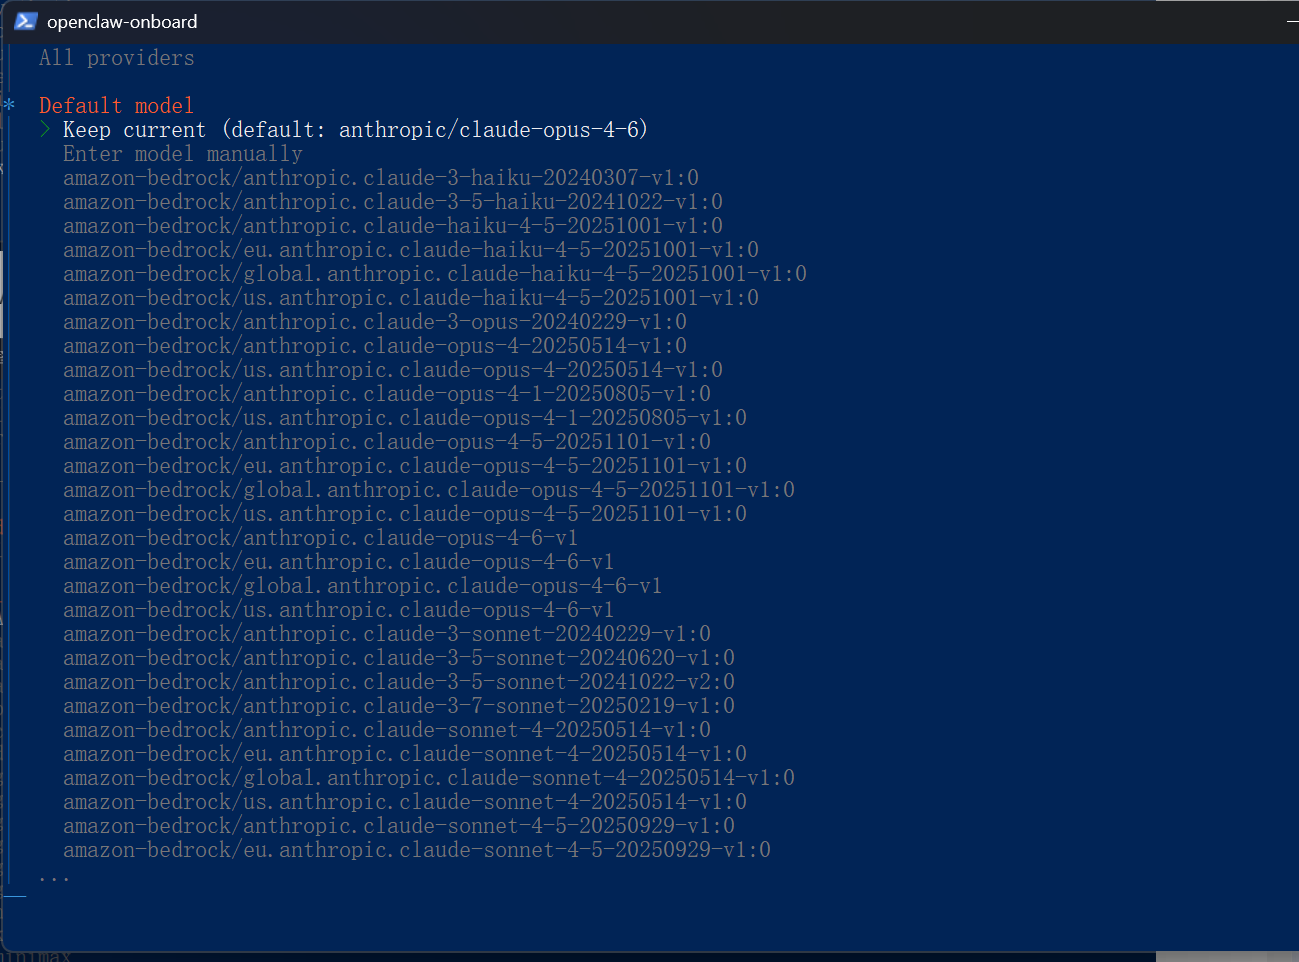
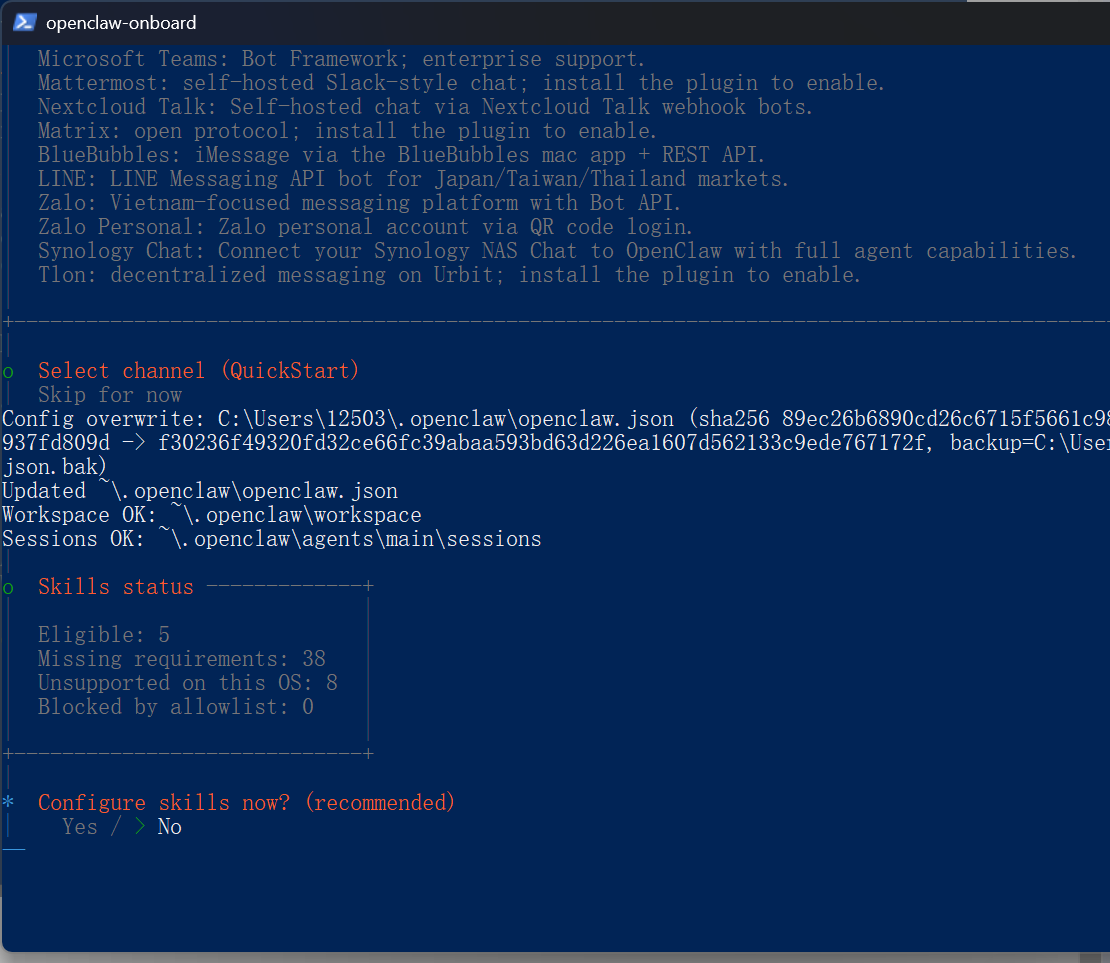
选Skip for now,继续回车:
选择no
这里需要先空格,然后回车
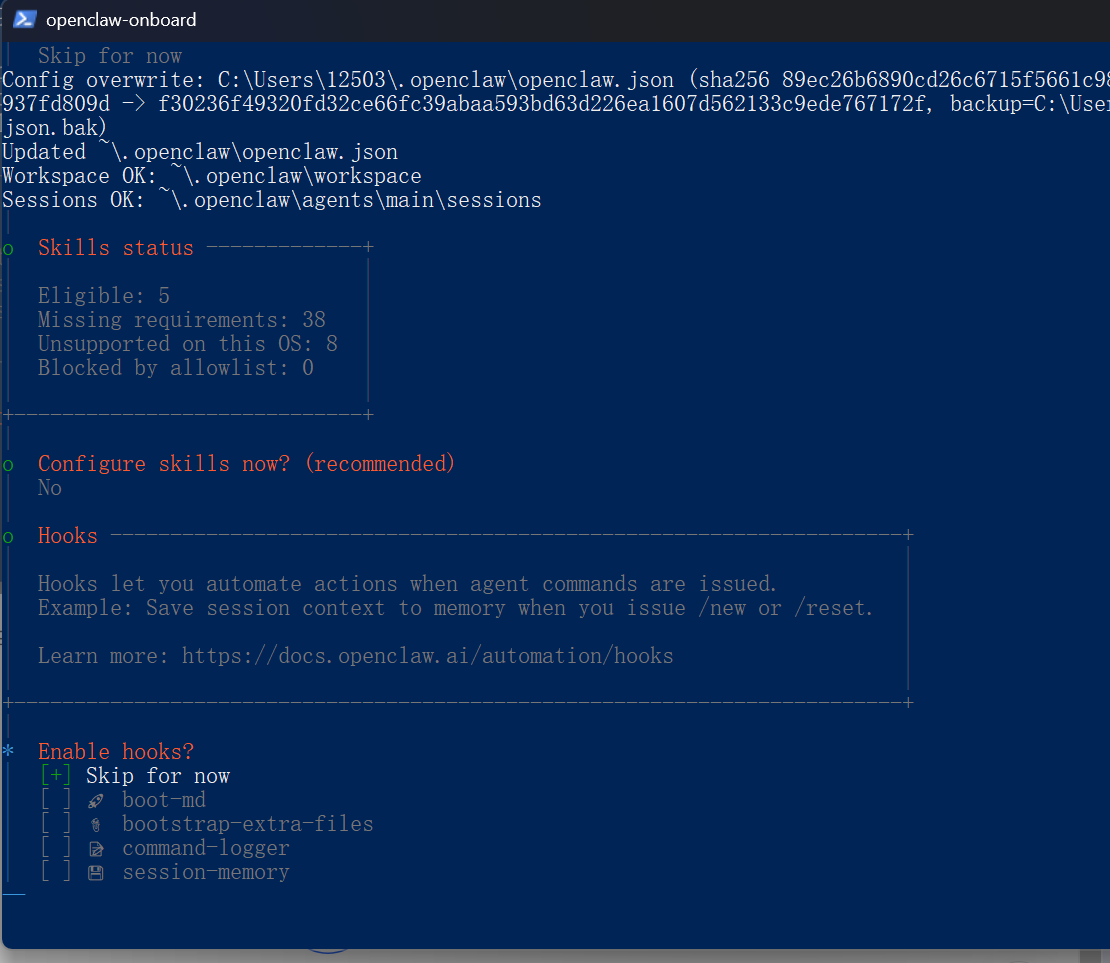
上下键选择第二个:
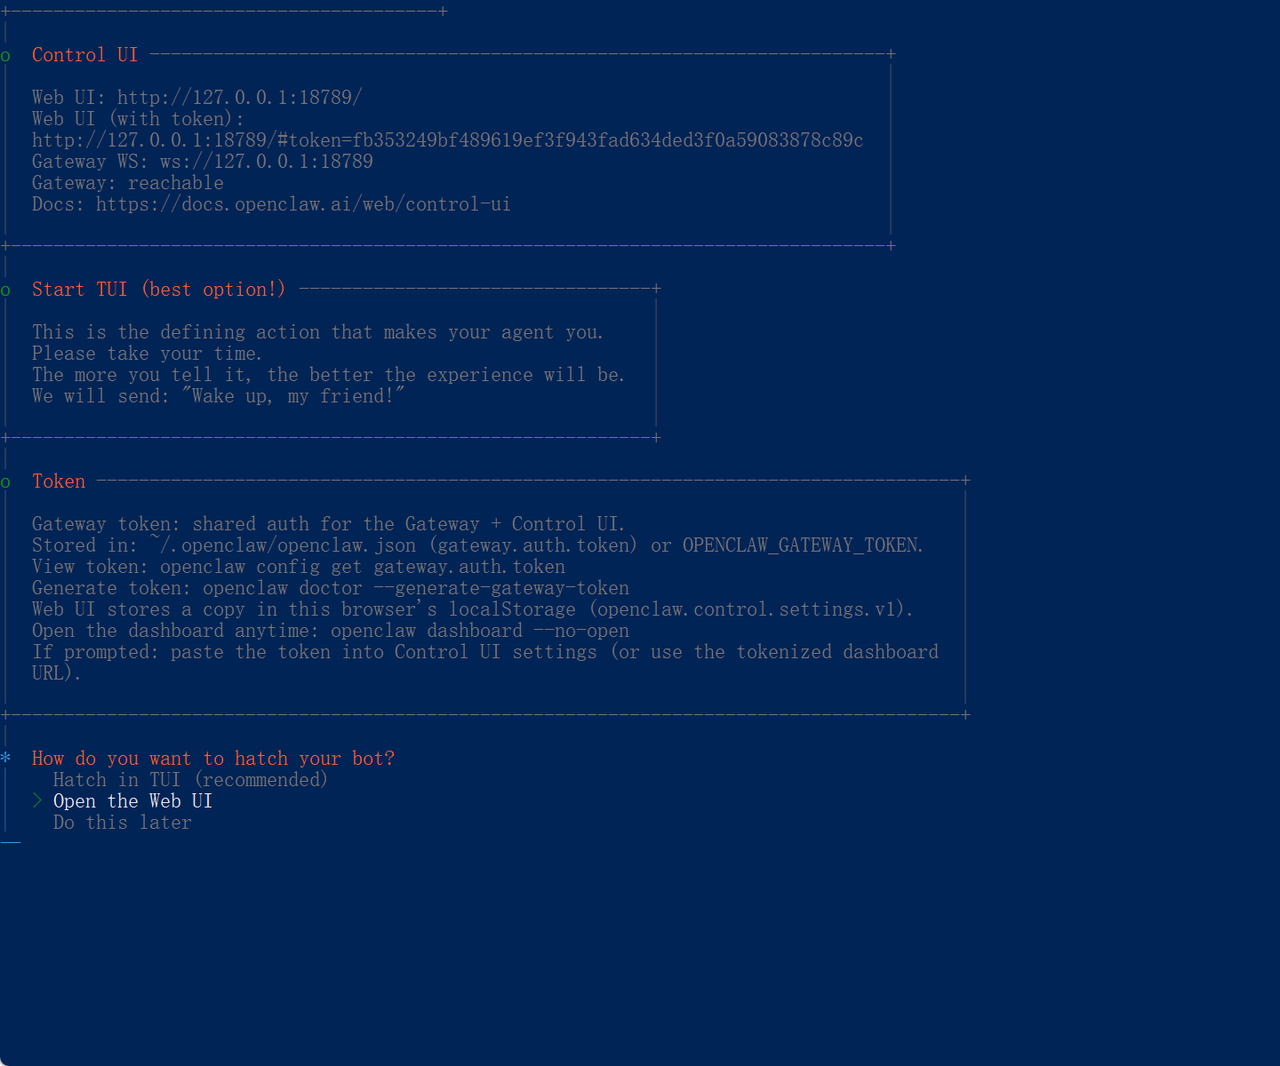
回车,安装完成后就会打开网页了,但是此时还不能发起会话:
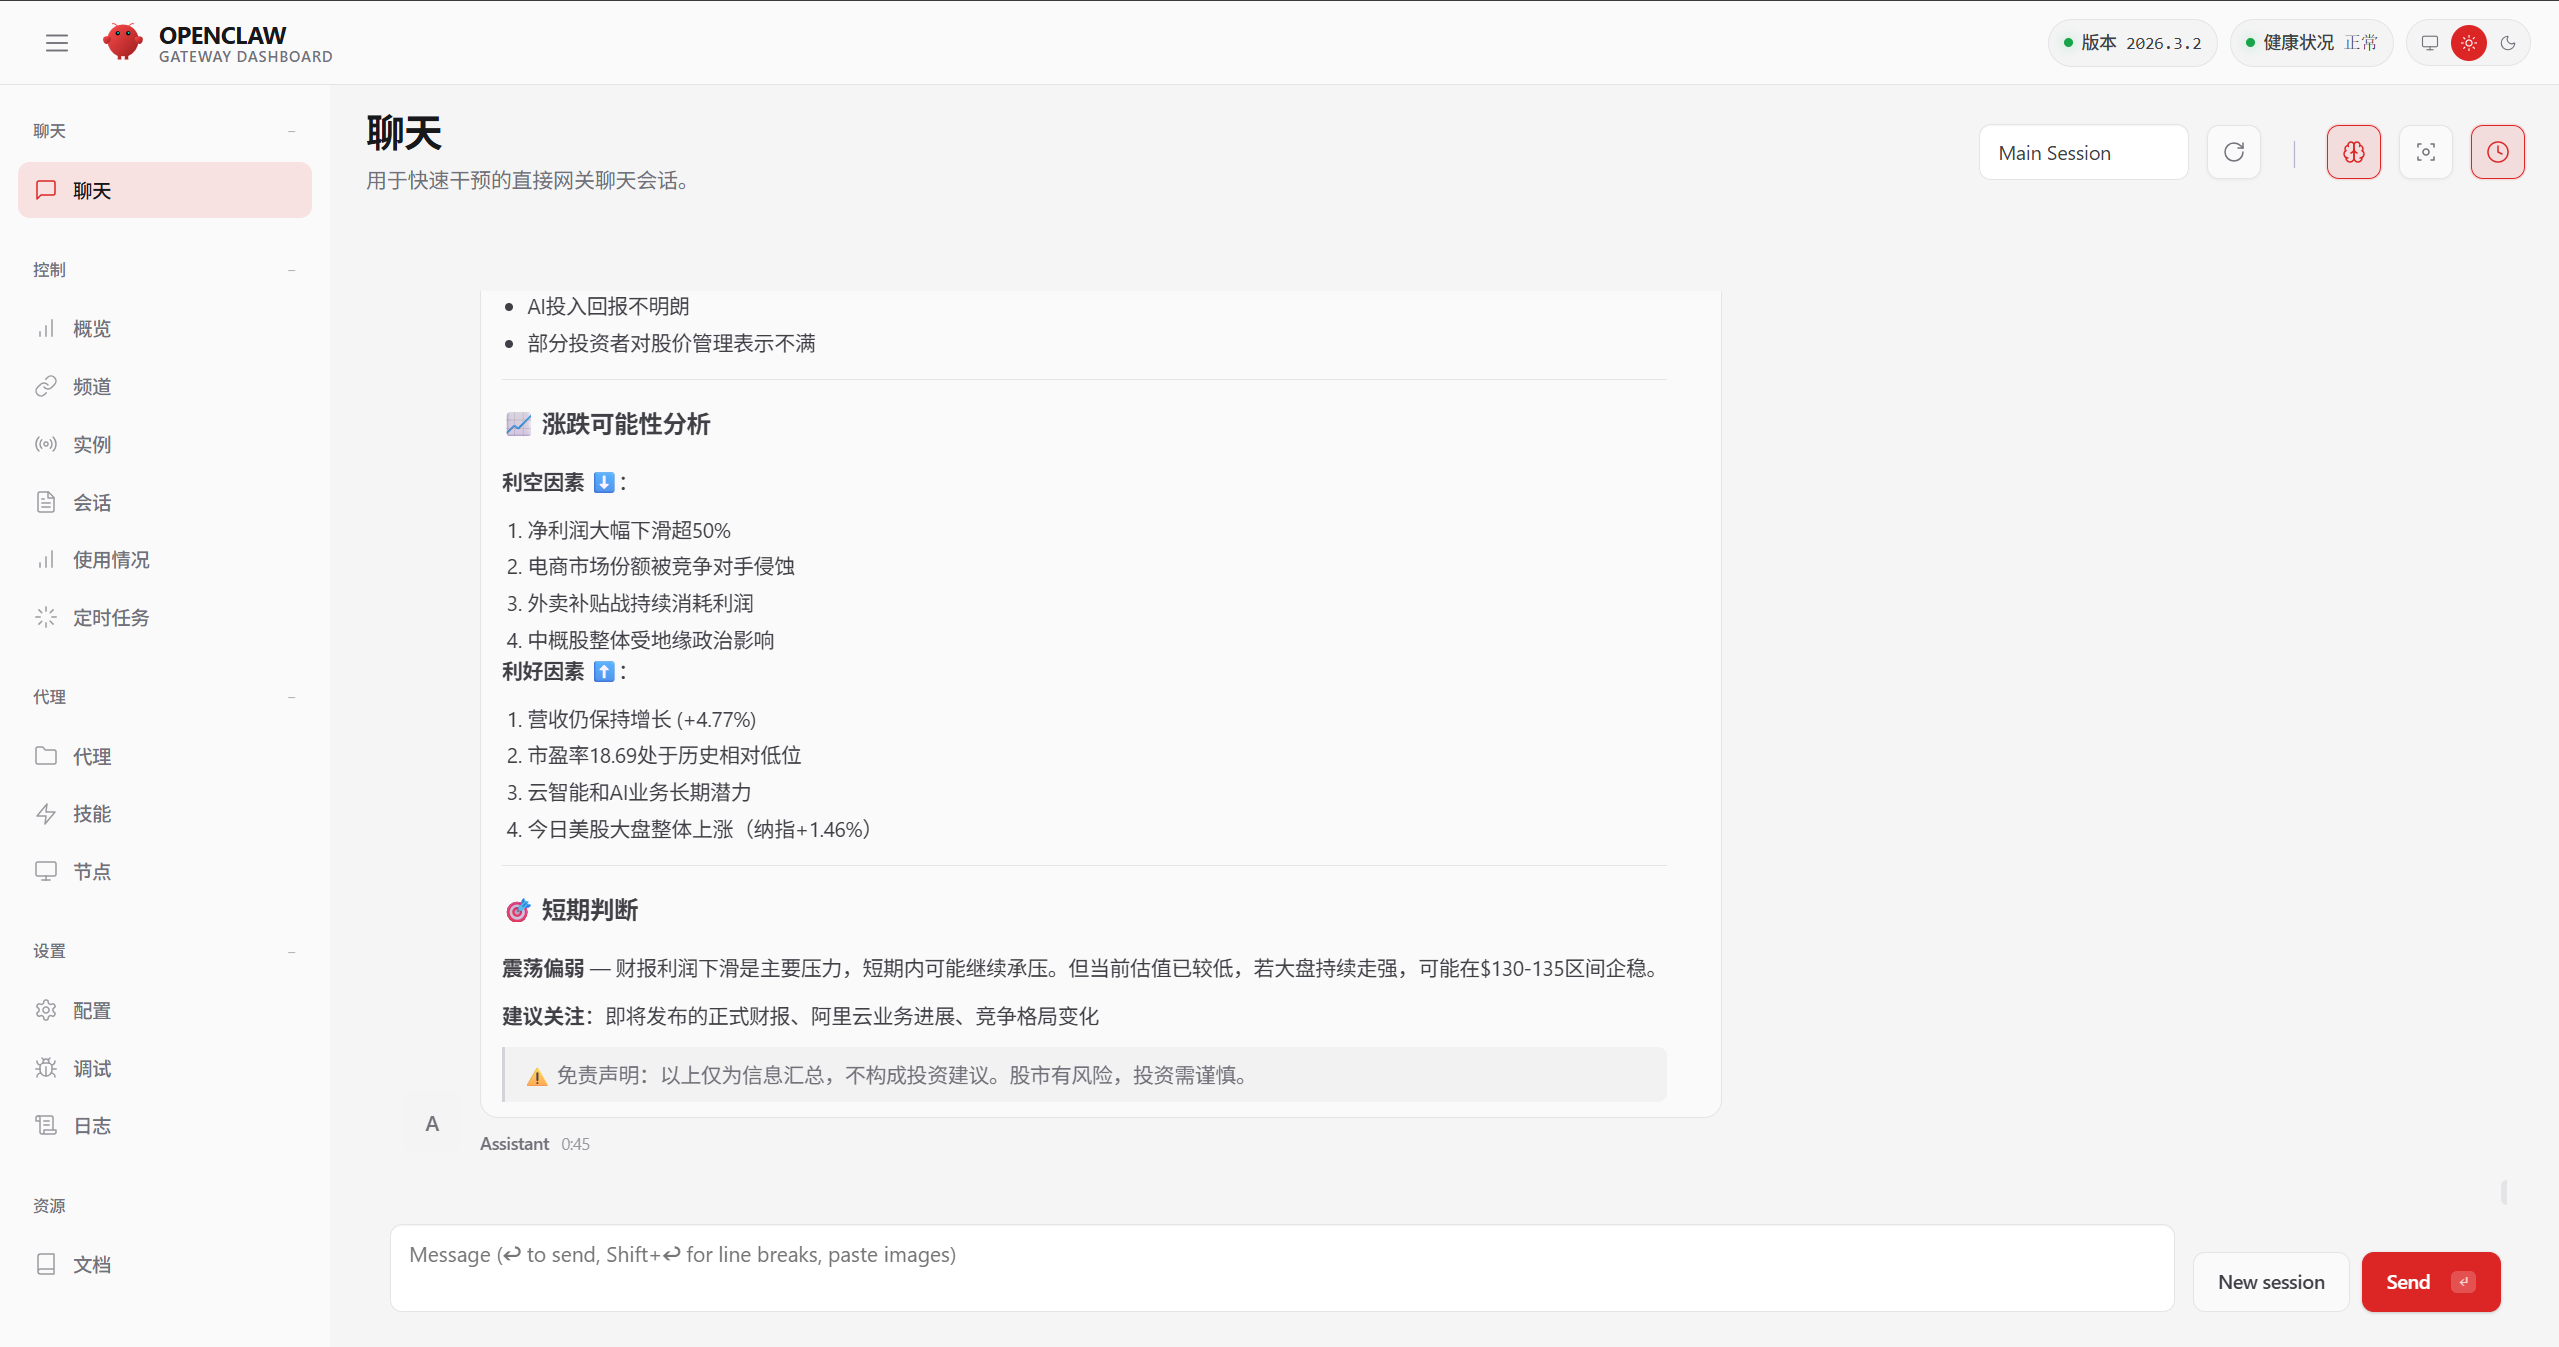
4.API设置
将以下内容告诉给AI IDE,让它帮你配置API:
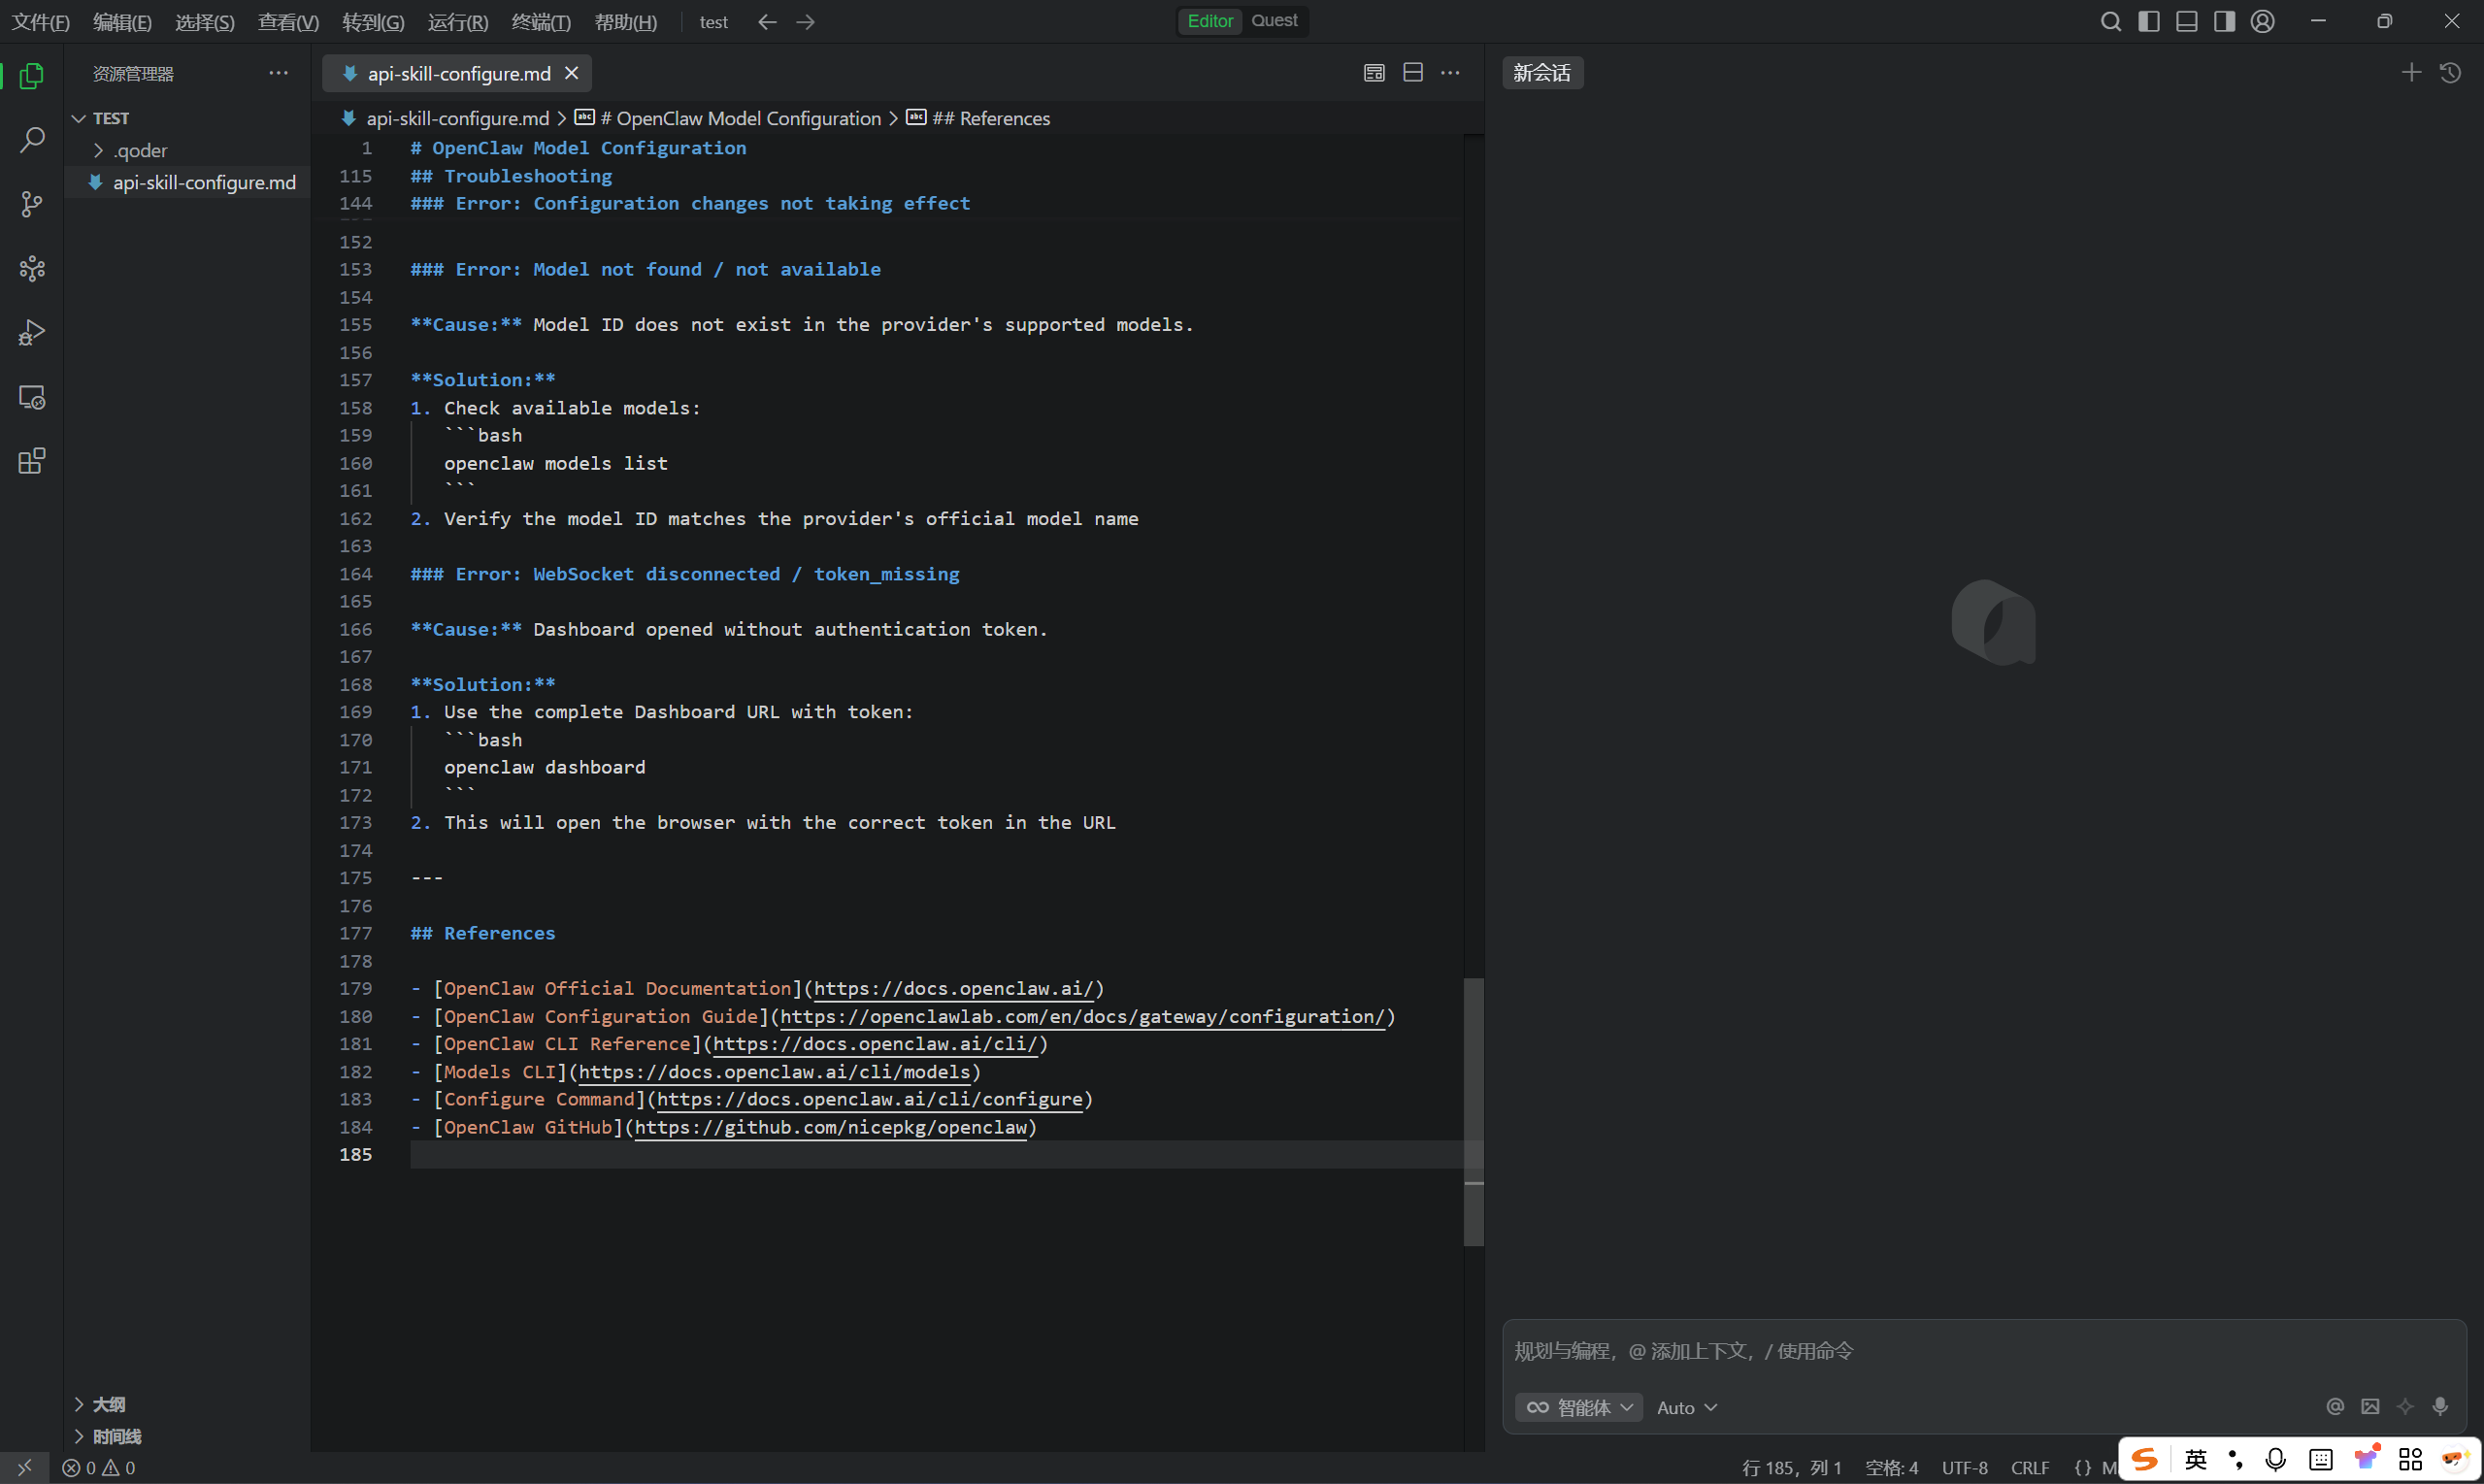
选择新建文件
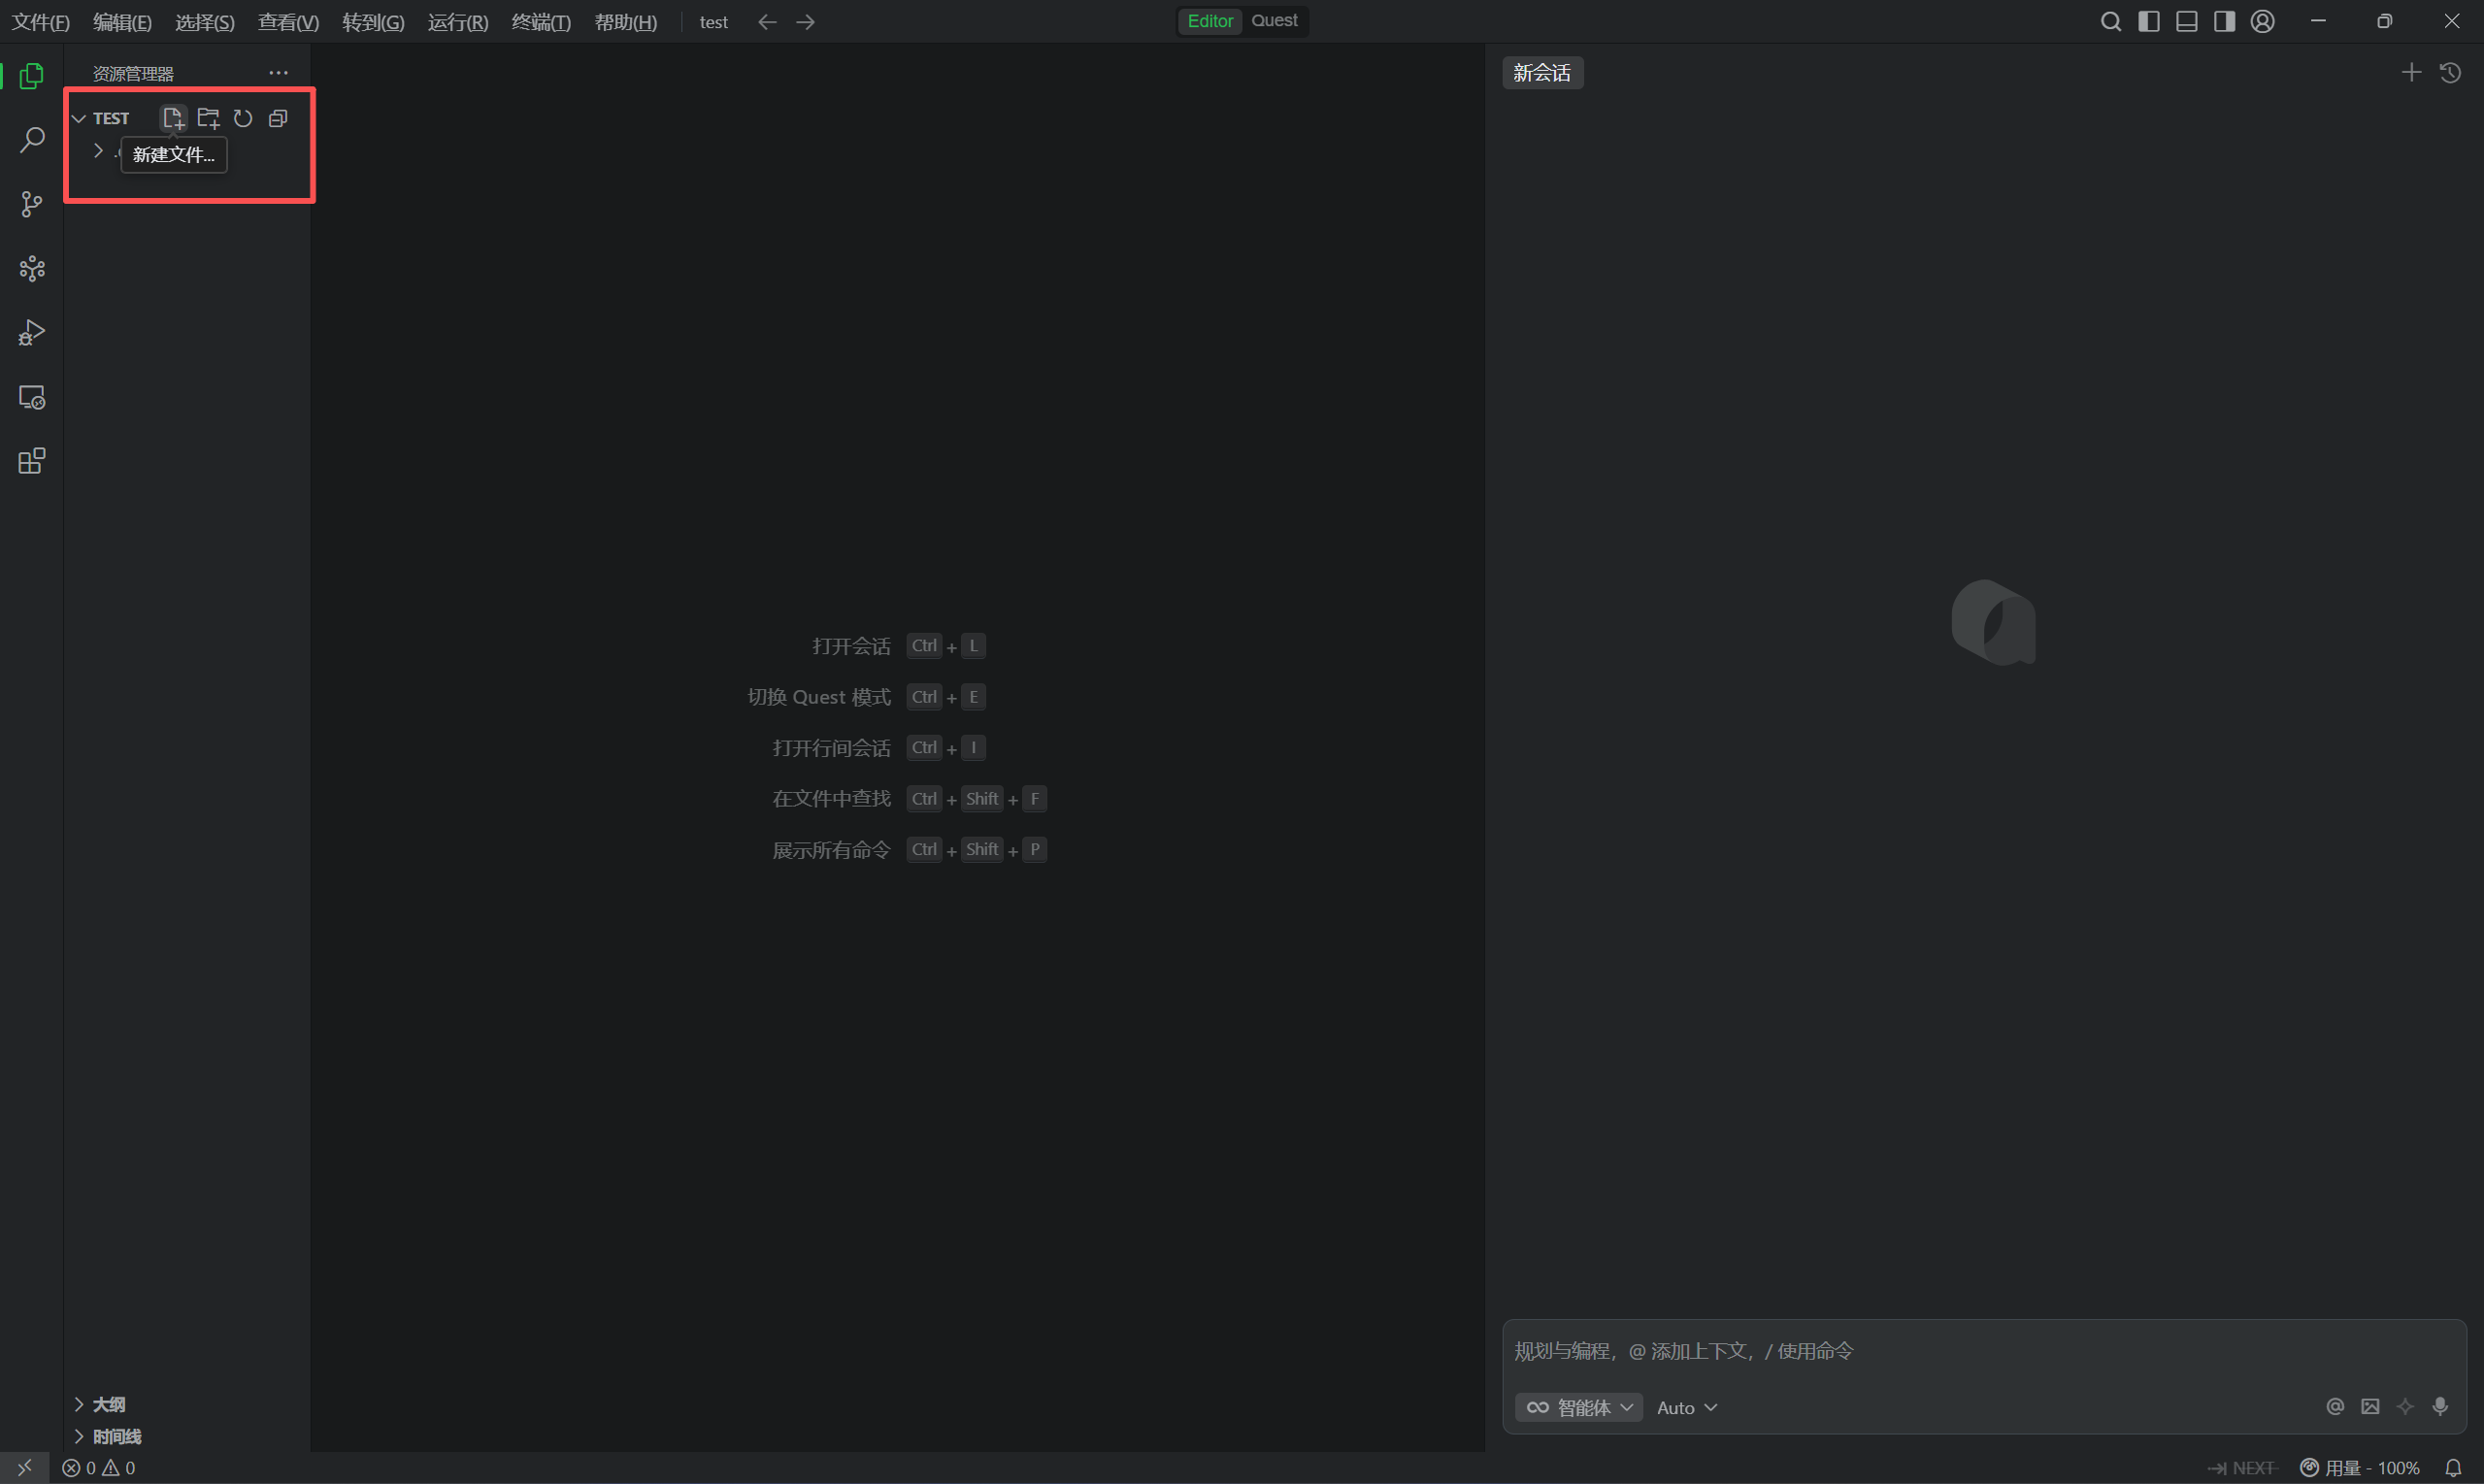
命名为api-configure-skill.md
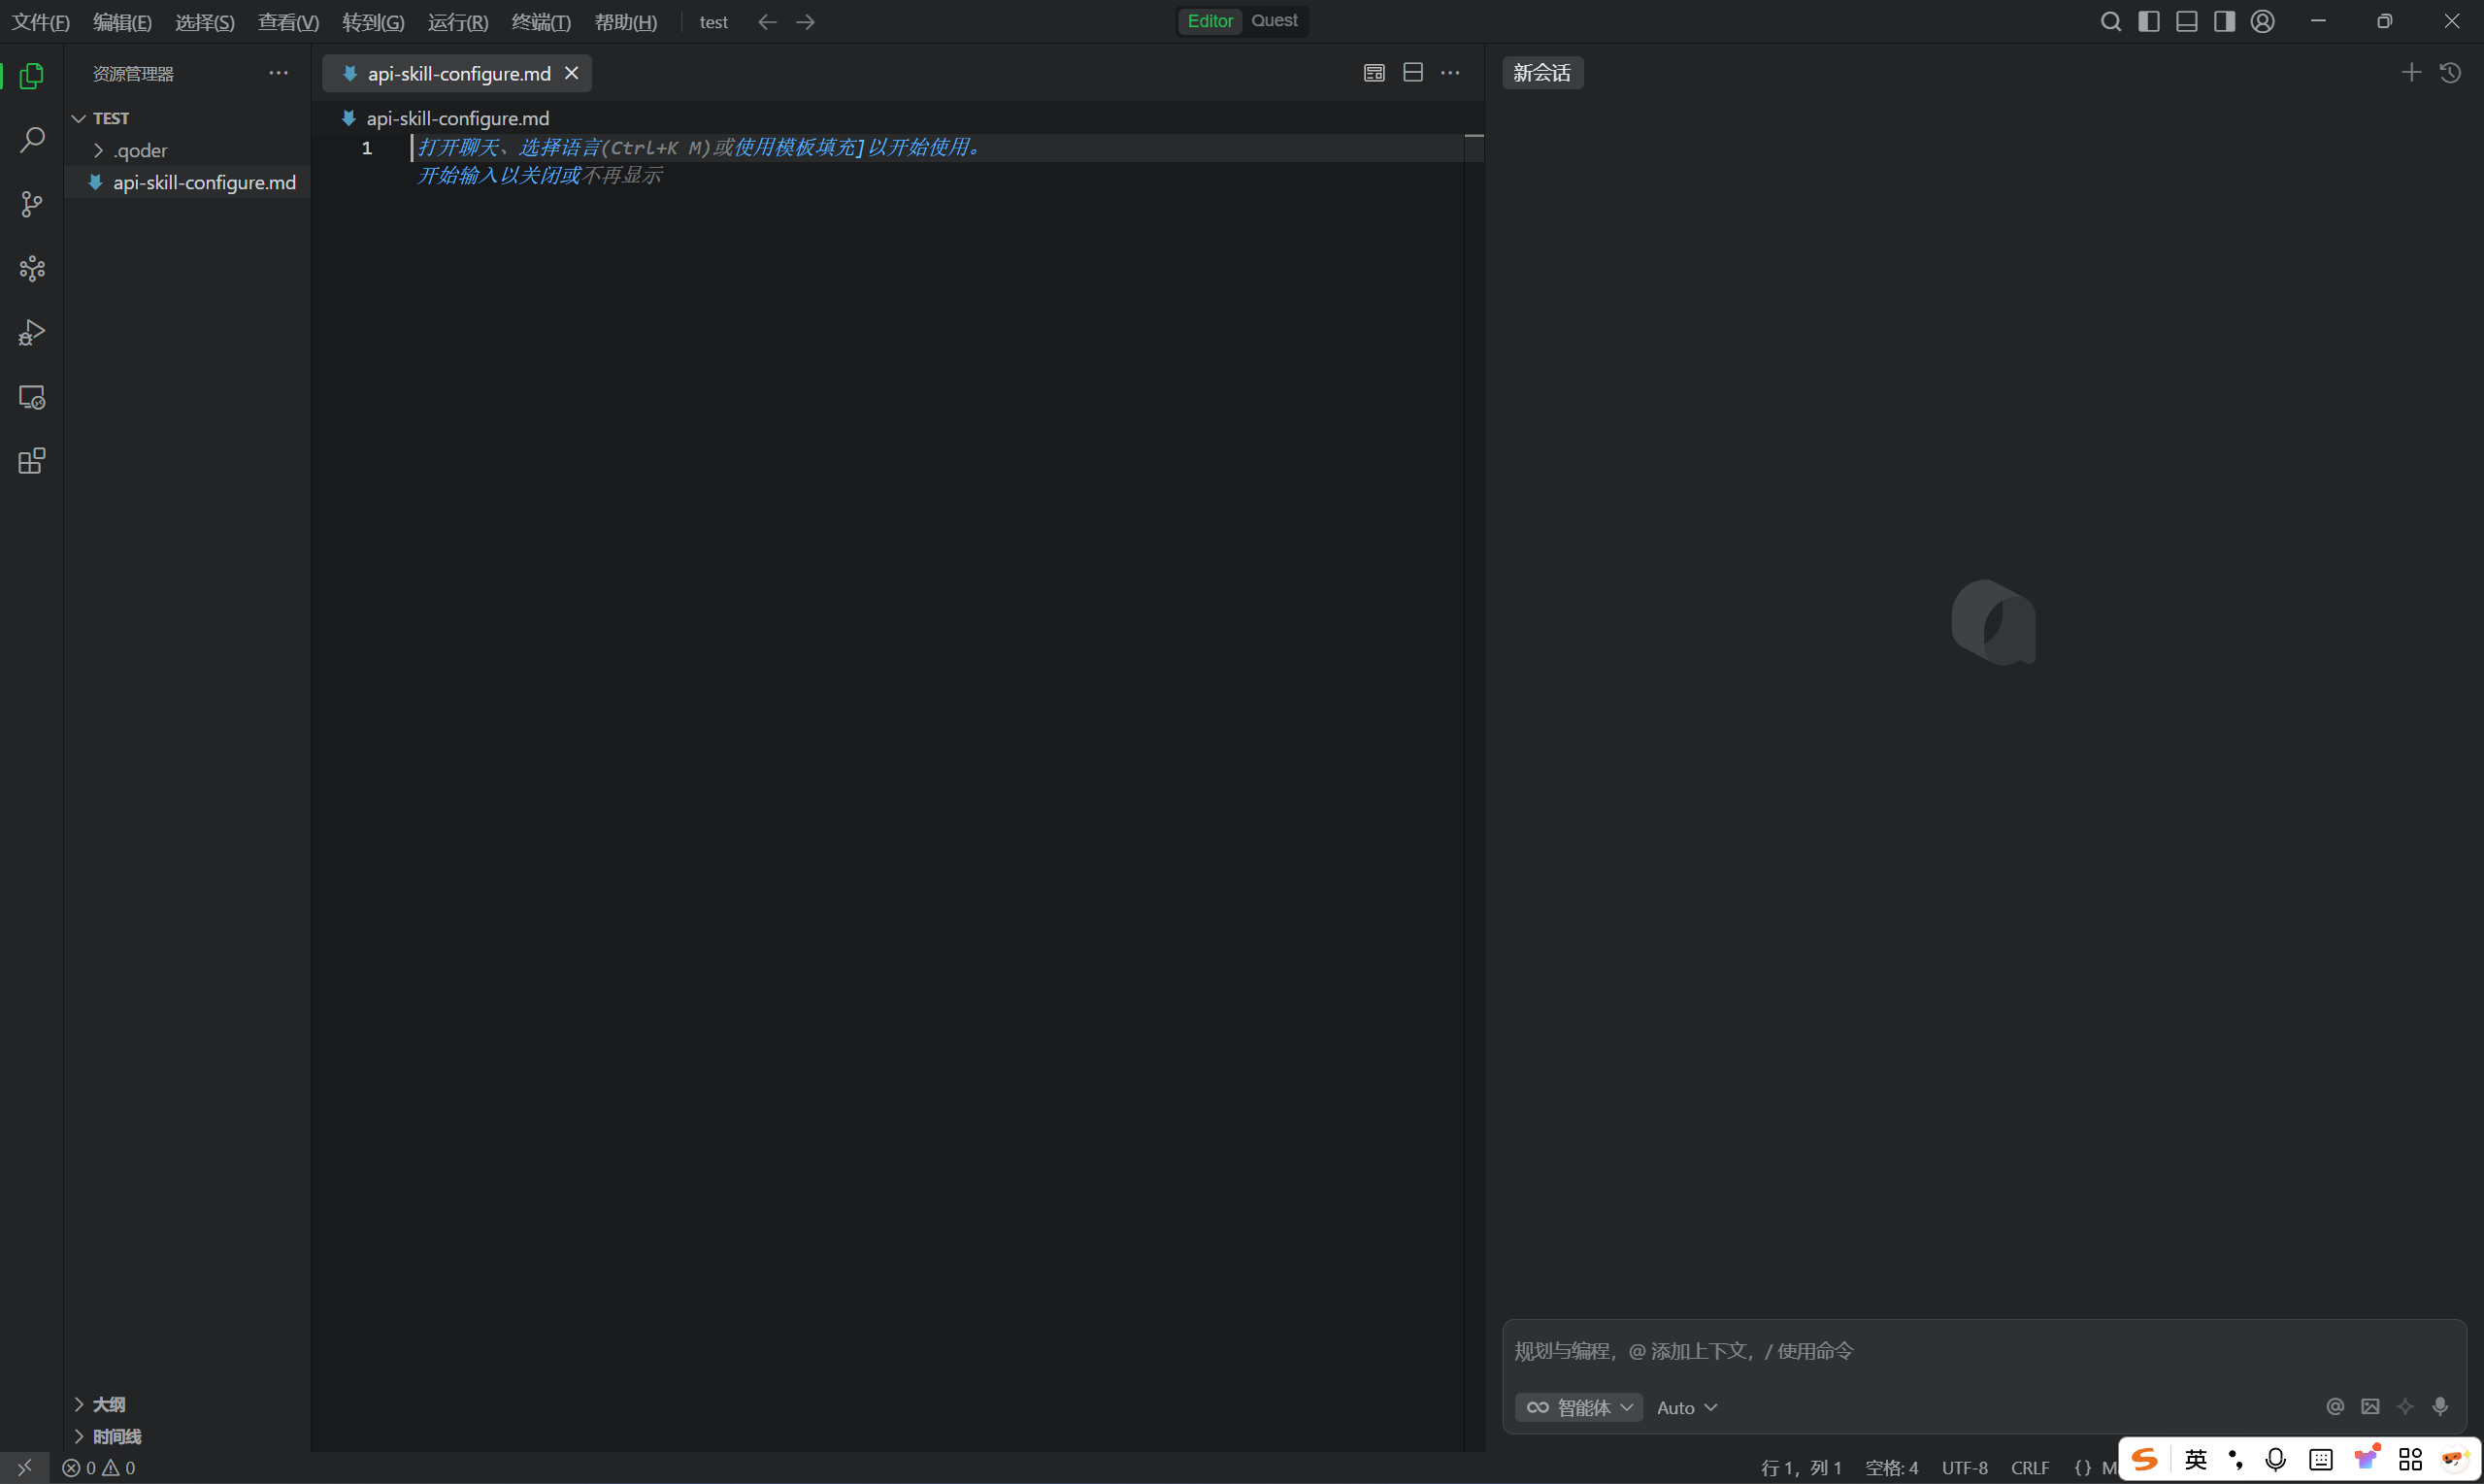
在里面复制以下内容并粘贴:
# OpenClaw Model Configuration

Interactive guide for configuring OpenClaw models.

## Usage

Users will provide a JSON configuration file in the following format:

```json
{
  "models": {
    "mode": "merge",
    "providers": {
      "bailian": {
        "baseUrl": "https://dashscope.aliyuncs.com/compatible-mode/v1",
        "apiKey": "<API_KEY>",
        "api": "openai-completions",
        "models": [
          {
            "id": "<MODEL_ID>",
            "name": "<MODEL_ID>",
            "reasoning": false,
            "input": ["text"],
            "cost": { "input": 0, "output": 0, "cacheRead": 0, "cacheWrite": 0 },
            "contextWindow": 128000,
            "maxTokens": 8192
          }
        ]
      }
    }
  },
  "agents": {
    "defaults": {
      "model": { "primary": "bailian/<MODEL_ID>" },
      "models": { "bailian/<MODEL_ID>": {} }
    }
  },
  "gateway": { "mode": "local" }
}
```

## Step 1: Get Configuration

User provides the complete JSON configuration file. If not provided, ask for it.

## Step 2: Write to Both Configuration Files

Write to both paths to ensure configuration consistency:

| File | macOS / Linux | Windows |
|------|---------------|----------|
| models.json | `~/.openclaw/agents/main/agent/models.json` | `%USERPROFILE%\.openclaw\agents\main\agent\models.json` |
| openclaw.json | `~/.openclaw/openclaw.json` | `%USERPROFILE%\.openclaw\openclaw.json` |

### File 1: models.json

Extract the `models.providers` section from user's JSON:

```json
{
  "providers": {
    "bailian": { ... }
  }
}
```

### File 2: openclaw.json

Use the complete JSON configuration provided by user.

## Step 3: Execute Configuration Commands

### macOS / Linux
```bash
# Write models.json
cat > ~/.openclaw/agents/main/agent/models.json << 'EOF'
<extracted providers config>
EOF

# Write openclaw.json
cat > ~/.openclaw/openclaw.json << 'EOF'
<user's complete config>
EOF
```

### Windows (PowerShell)
```powershell
# Write models.json
$modelsJson = @'
<extracted providers config>
'@
$modelsJson | Set-Content "$env:USERPROFILE\.openclaw\agents\main\agent\models.json" -Encoding UTF8

# Write openclaw.json
$openclawJson = @'
<user's complete config>
'@
$openclawJson | Set-Content "$env:USERPROFILE\.openclaw\openclaw.json" -Encoding UTF8
```

## Step 4: Auto-Execute Post-Configuration Tasks (MANDATORY)

**IMPORTANT: After writing configuration files, you MUST automatically execute ALL of the following commands in sequence. Do NOT just display them - actually run them using the terminal.**

### 4.1 Restart Gateway (Required)

Restart the Gateway to apply the new configuration:

**macOS / Linux:**
```bash
openclaw gateway --force --port 18789
```

**Windows (PowerShell):**
```powershell
openclaw gateway --force --port 18789
```

### 4.2 Verify Configuration (Required)

Test the configuration by sending a message:

**macOS / Linux:**
```bash
openclaw agent --session-id main --message "hello"
```

**Windows (PowerShell):**
```powershell
openclaw agent --session-id main --message "hello"
```

### 4.3 Start Dashboard (Required)

Ask the user if they want to open the Dashboard. If yes, execute:

**macOS / Linux:**
```bash
openclaw dashboard
```

**Windows (PowerShell):**
```powershell
openclaw dashboard
```

---

**Reminder:** All commands in Step 4 MUST be executed automatically after configuration. Never skip these steps.

---

## Troubleshooting

### Error: HTTP 401 - Invalid access token or token expired

**Cause:** Incorrect API Key or wrong baseUrl in configuration.

**Solution:**
1. Verify the API Key is correct
2. For Alibaba Cloud Bailian, use the correct endpoint:
   ```
   https://dashscope.aliyuncs.com/compatible-mode/v1
   ```
   NOT `https://coding.dashscope.aliyuncs.com/v1`
3. Ensure both `models.json` and `openclaw.json` have the same API Key

### Error: Dashboard cannot connect / ERR_CONNECTION_REFUSED

**Cause:** Gateway service is not running.

**Solution:**
1. Start the Gateway first:
   ```bash
   openclaw gateway --port 18789
   ```
2. Then open Dashboard:
   ```bash
   openclaw dashboard
   ```

### Error: Configuration changes not taking effect

**Cause:** Gateway needs to be restarted after configuration changes.

**Solution:**
```bash
openclaw gateway --force --port 18789
```

### Error: Model not found / not available

**Cause:** Model ID does not exist in the provider's supported models.

**Solution:**
1. Check available models:
   ```bash
   openclaw models list
   ```
2. Verify the model ID matches the provider's official model name

### Error: WebSocket disconnected / token_missing

**Cause:** Dashboard opened without authentication token.

**Solution:**
1. Use the complete Dashboard URL with token:
   ```bash
   openclaw dashboard
   ```
2. This will open the browser with the correct token in the URL

---

## References

- [OpenClaw Official Documentation](https://docs.openclaw.ai/)
- [OpenClaw Configuration Guide](https://openclawlab.com/en/docs/gateway/configuration/)
- [OpenClaw CLI Reference](https://docs.openclaw.ai/cli/)
- [Models CLI](https://docs.openclaw.ai/cli/models)
- [Configure Command](https://docs.openclaw.ai/cli/configure)
- [OpenClaw GitHub](https://github.com/nicepkg/openclaw)
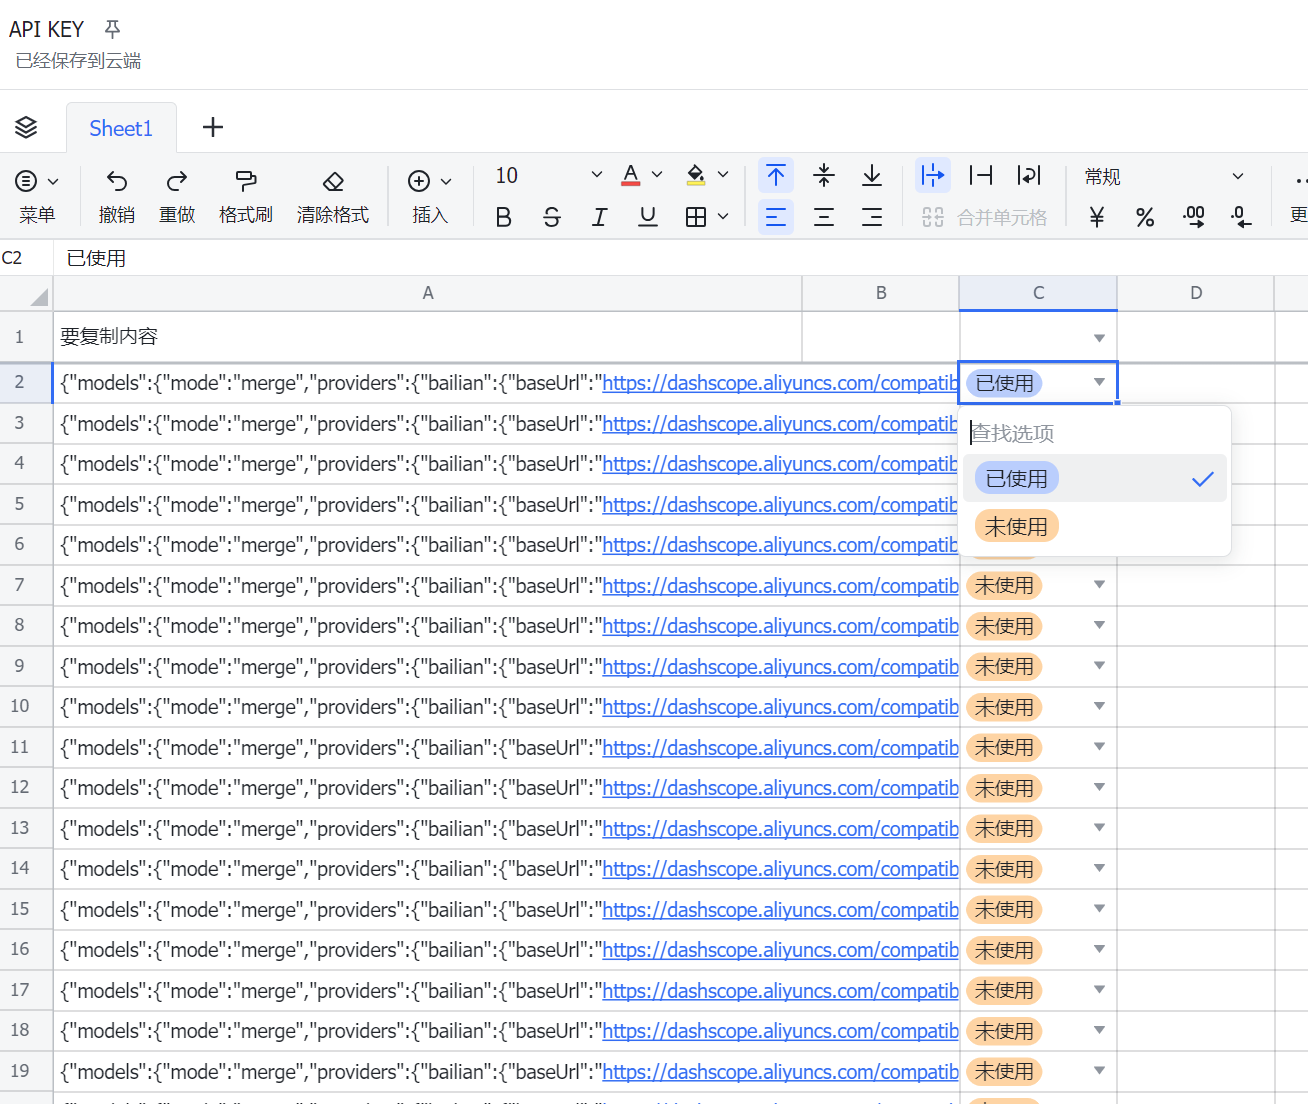
前往以下表格:API KEY
注意!表格中的API KEY是共享的,为了避免被平台限流、禁用,大家最好选择未使用的,确认自己要使用这个之后,将下拉框换为已使用:
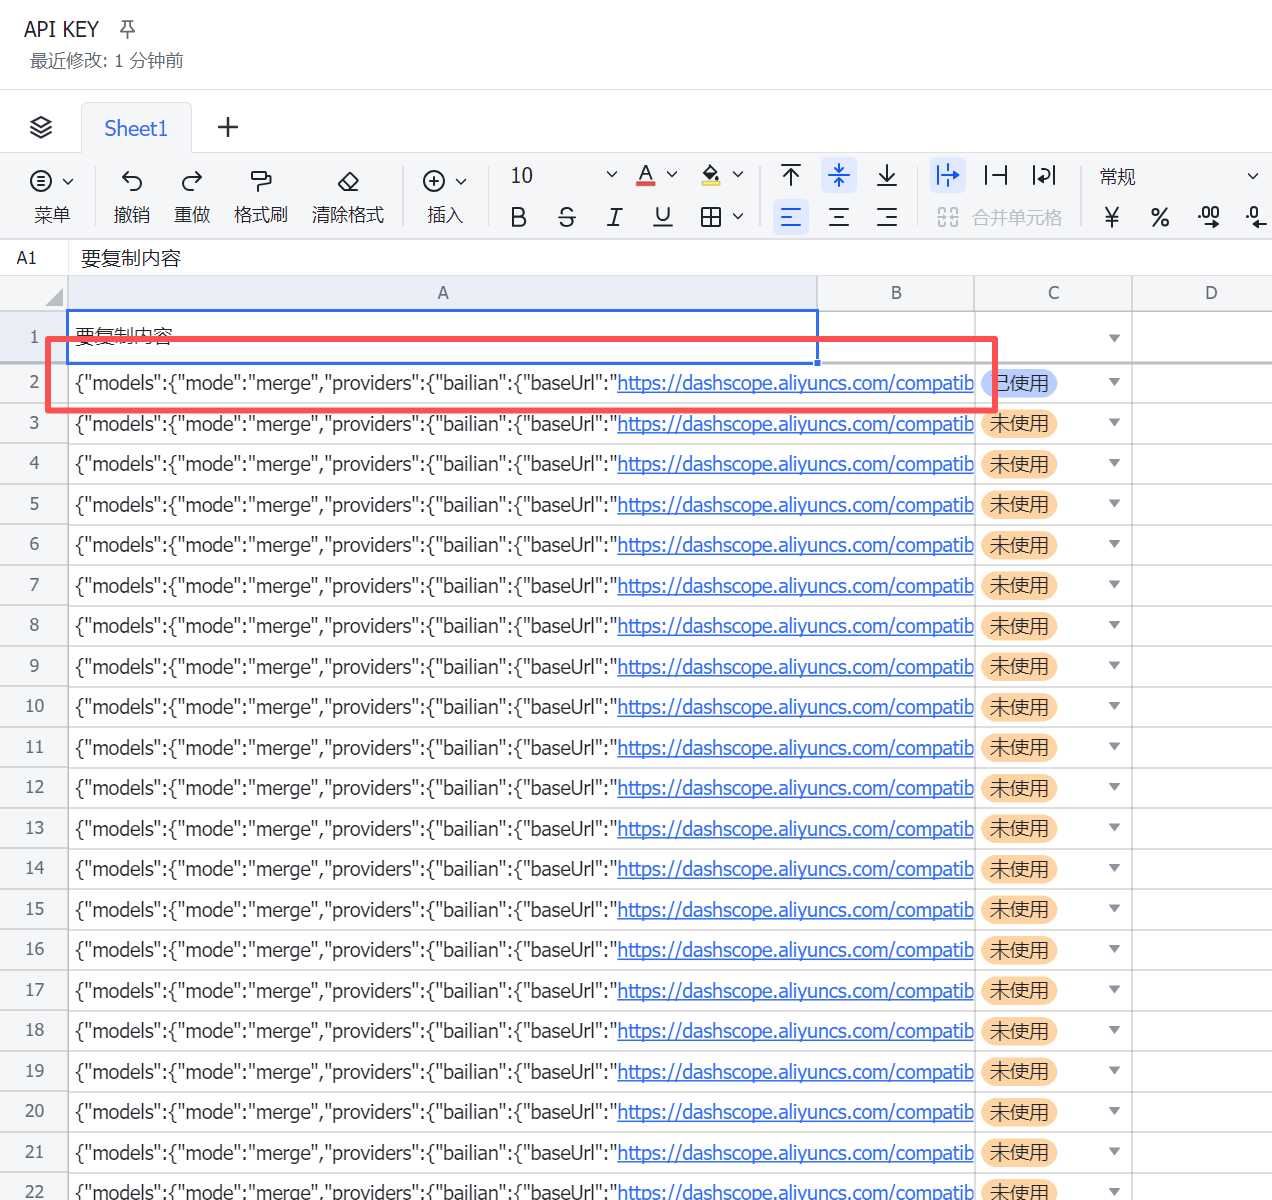
然后复制其中内容:
再新建一个文件:
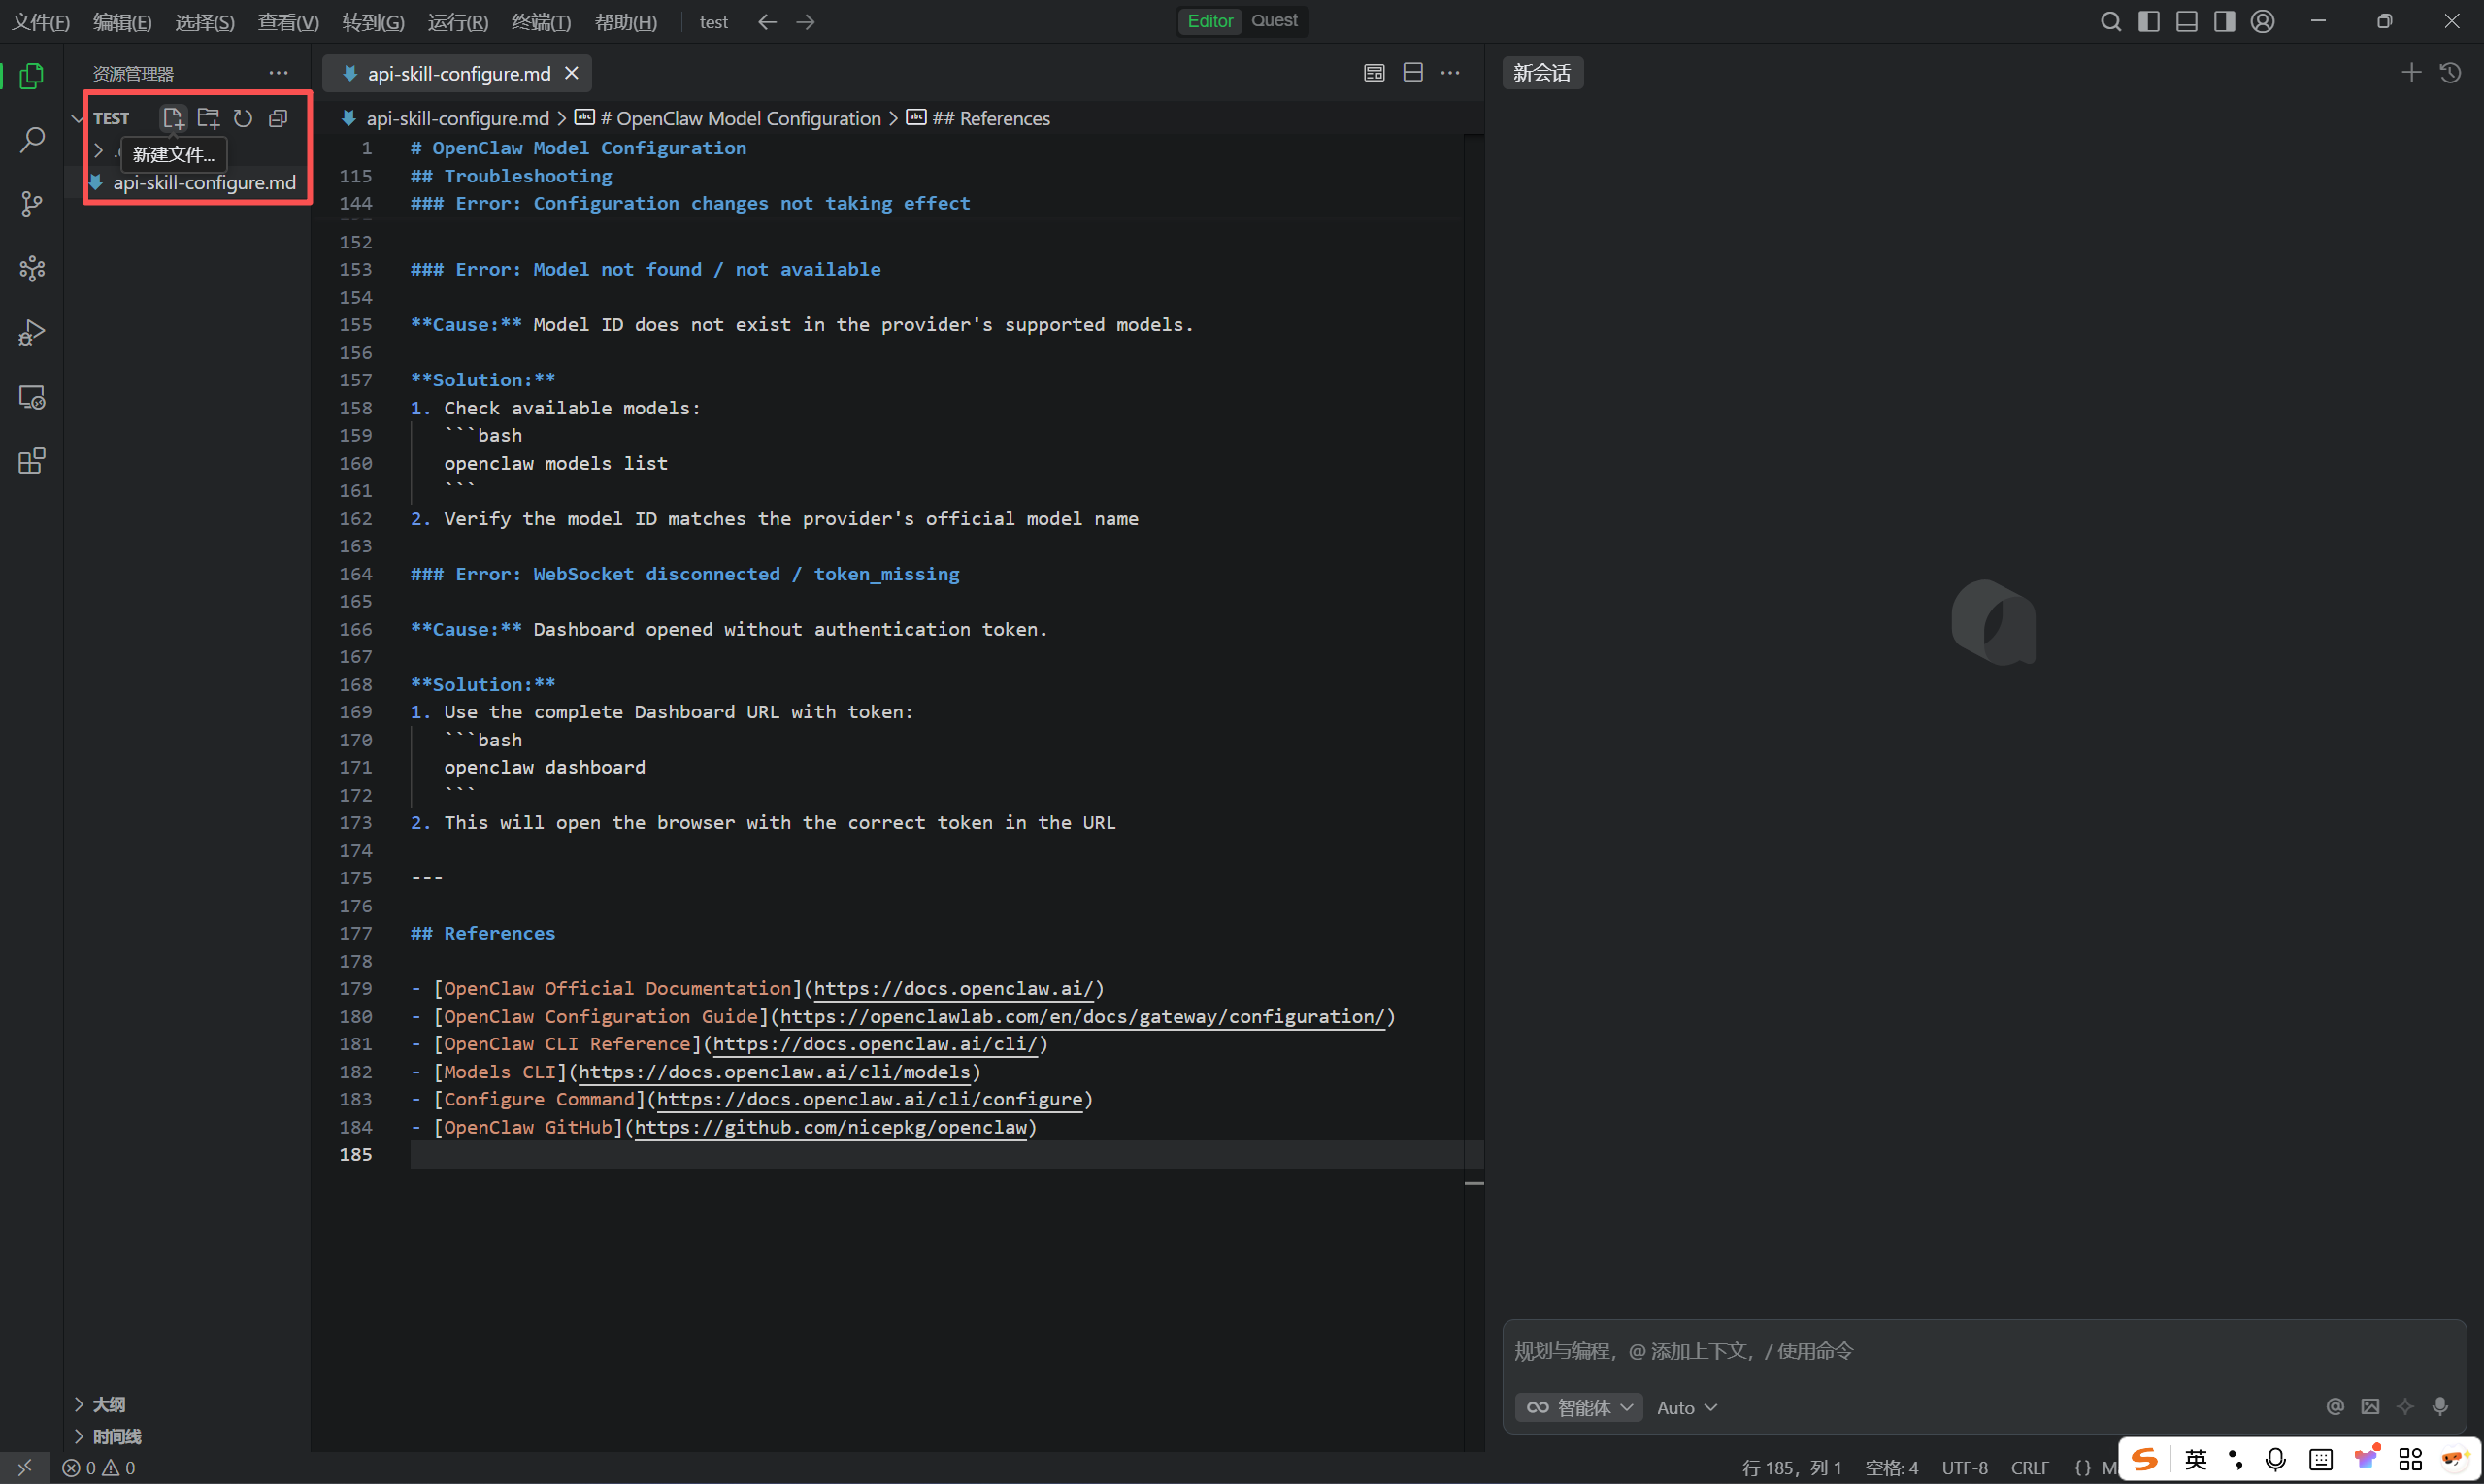
命名为api-key.json
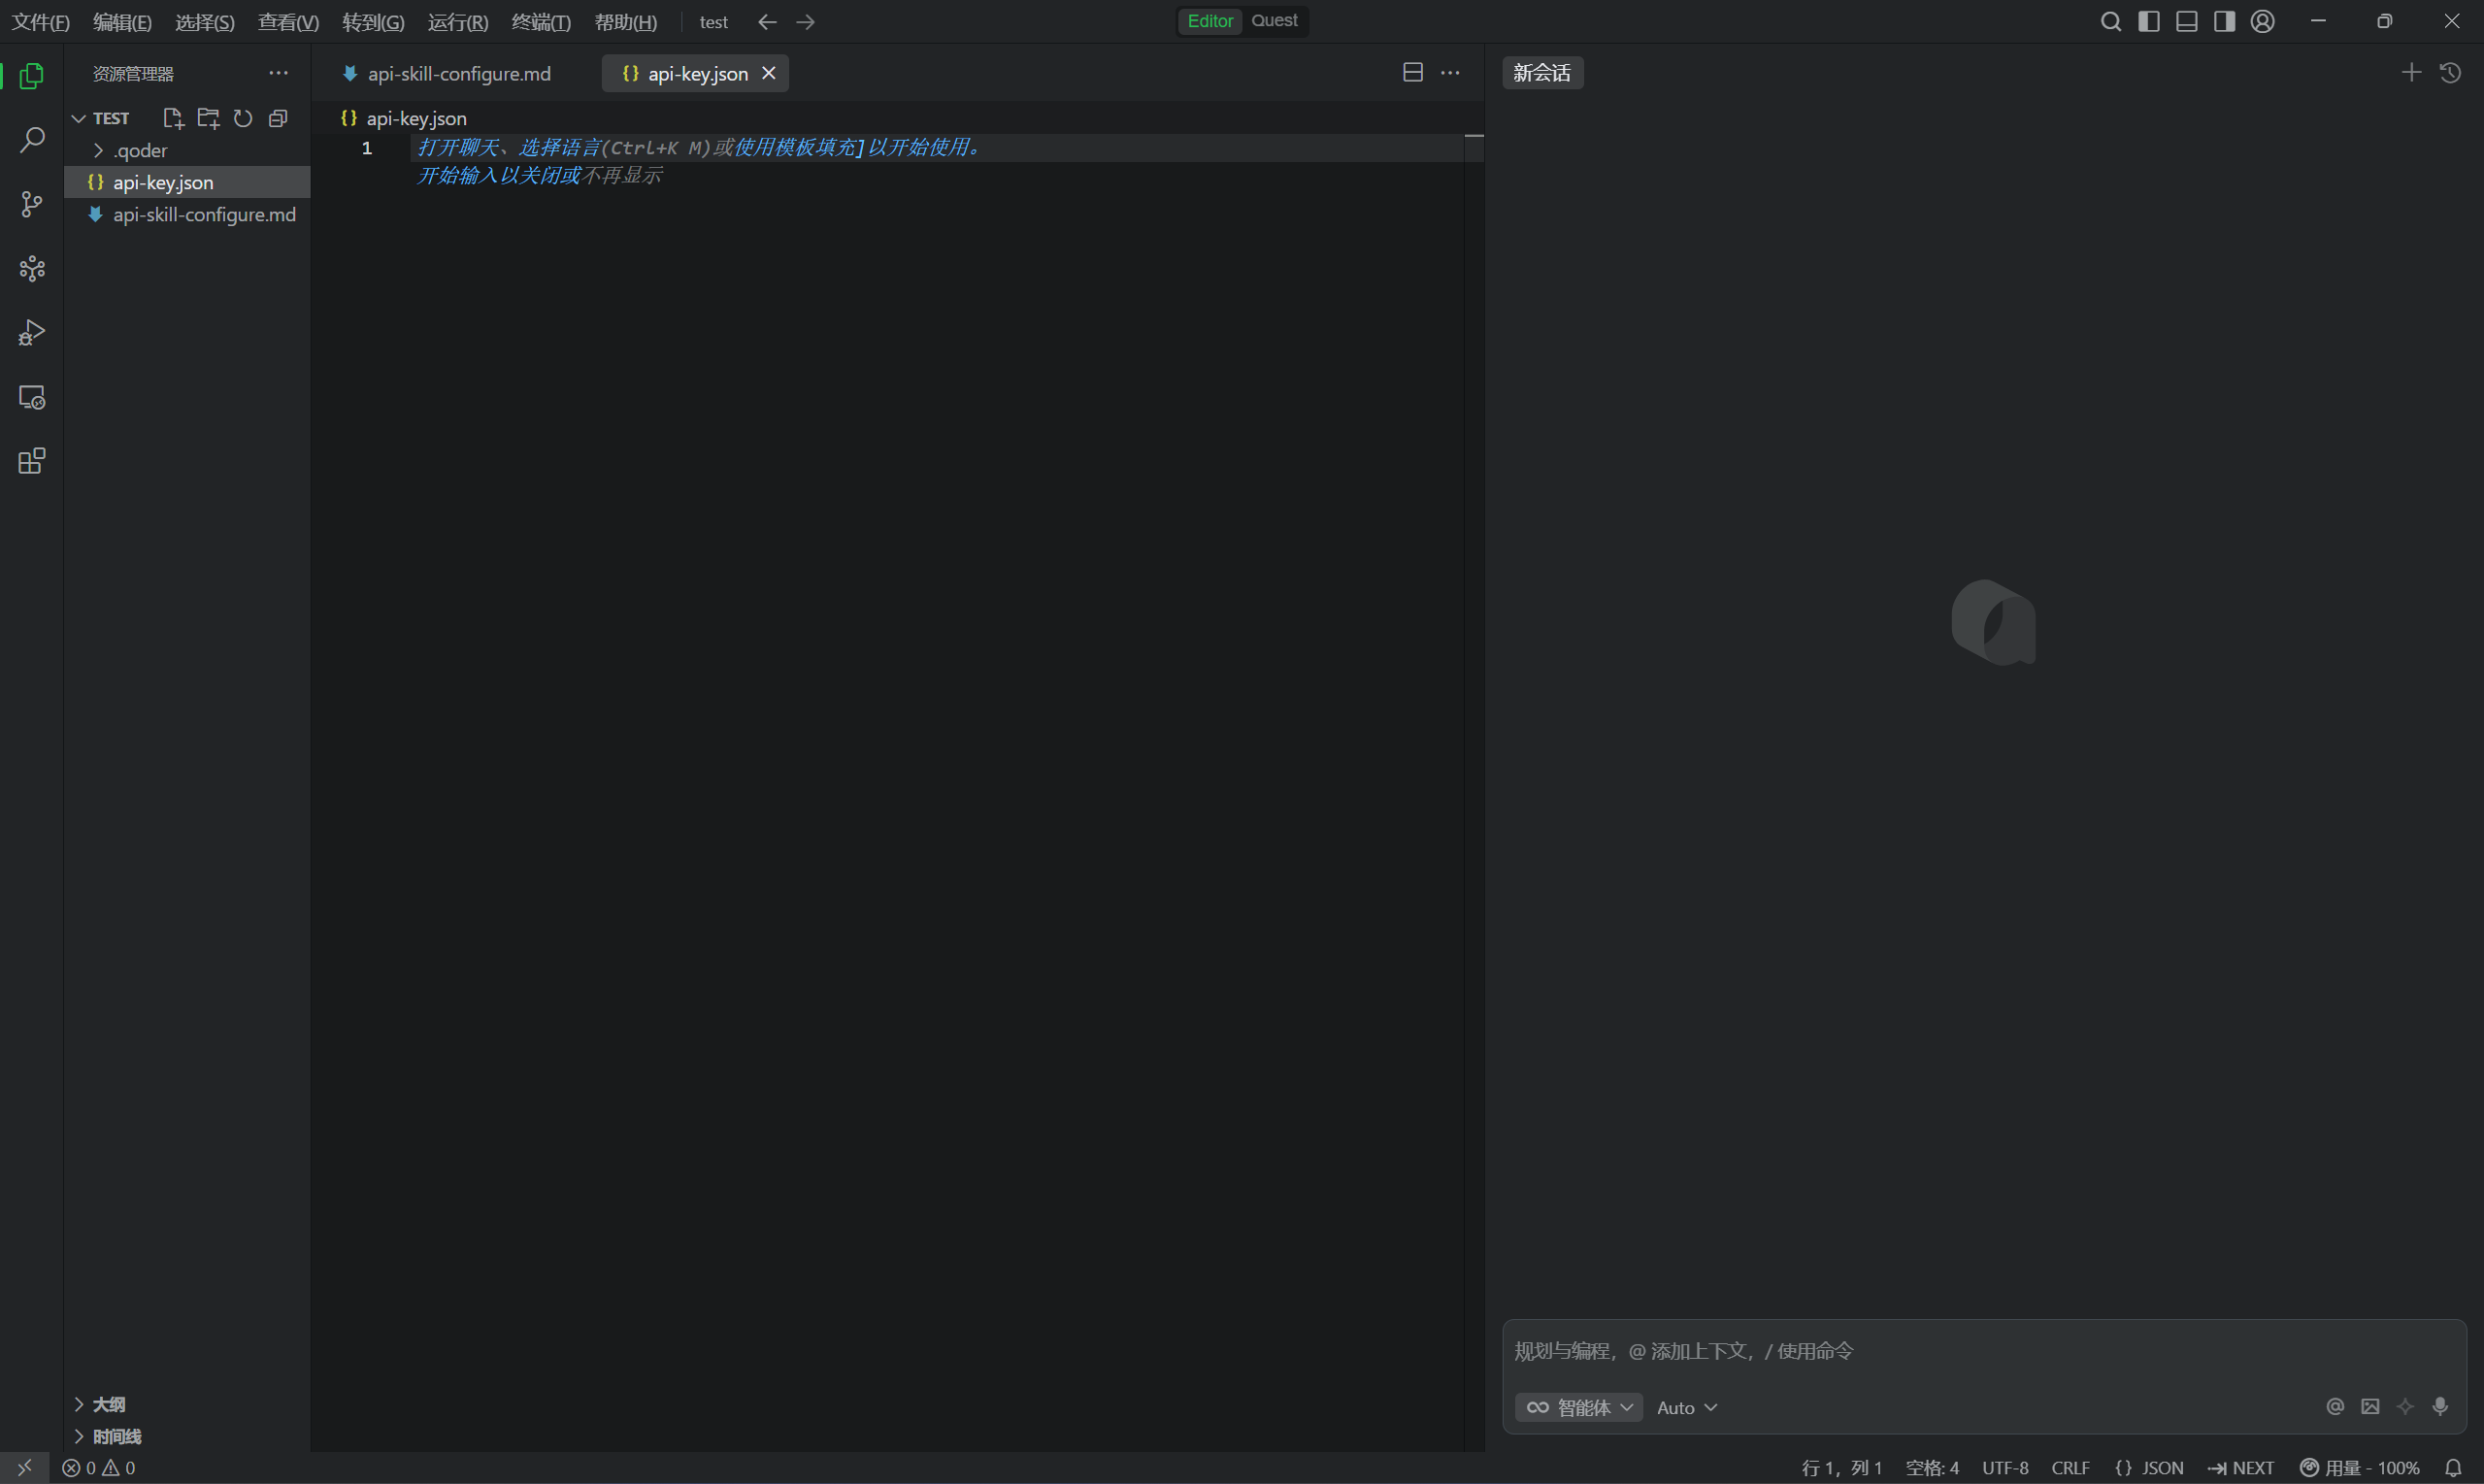
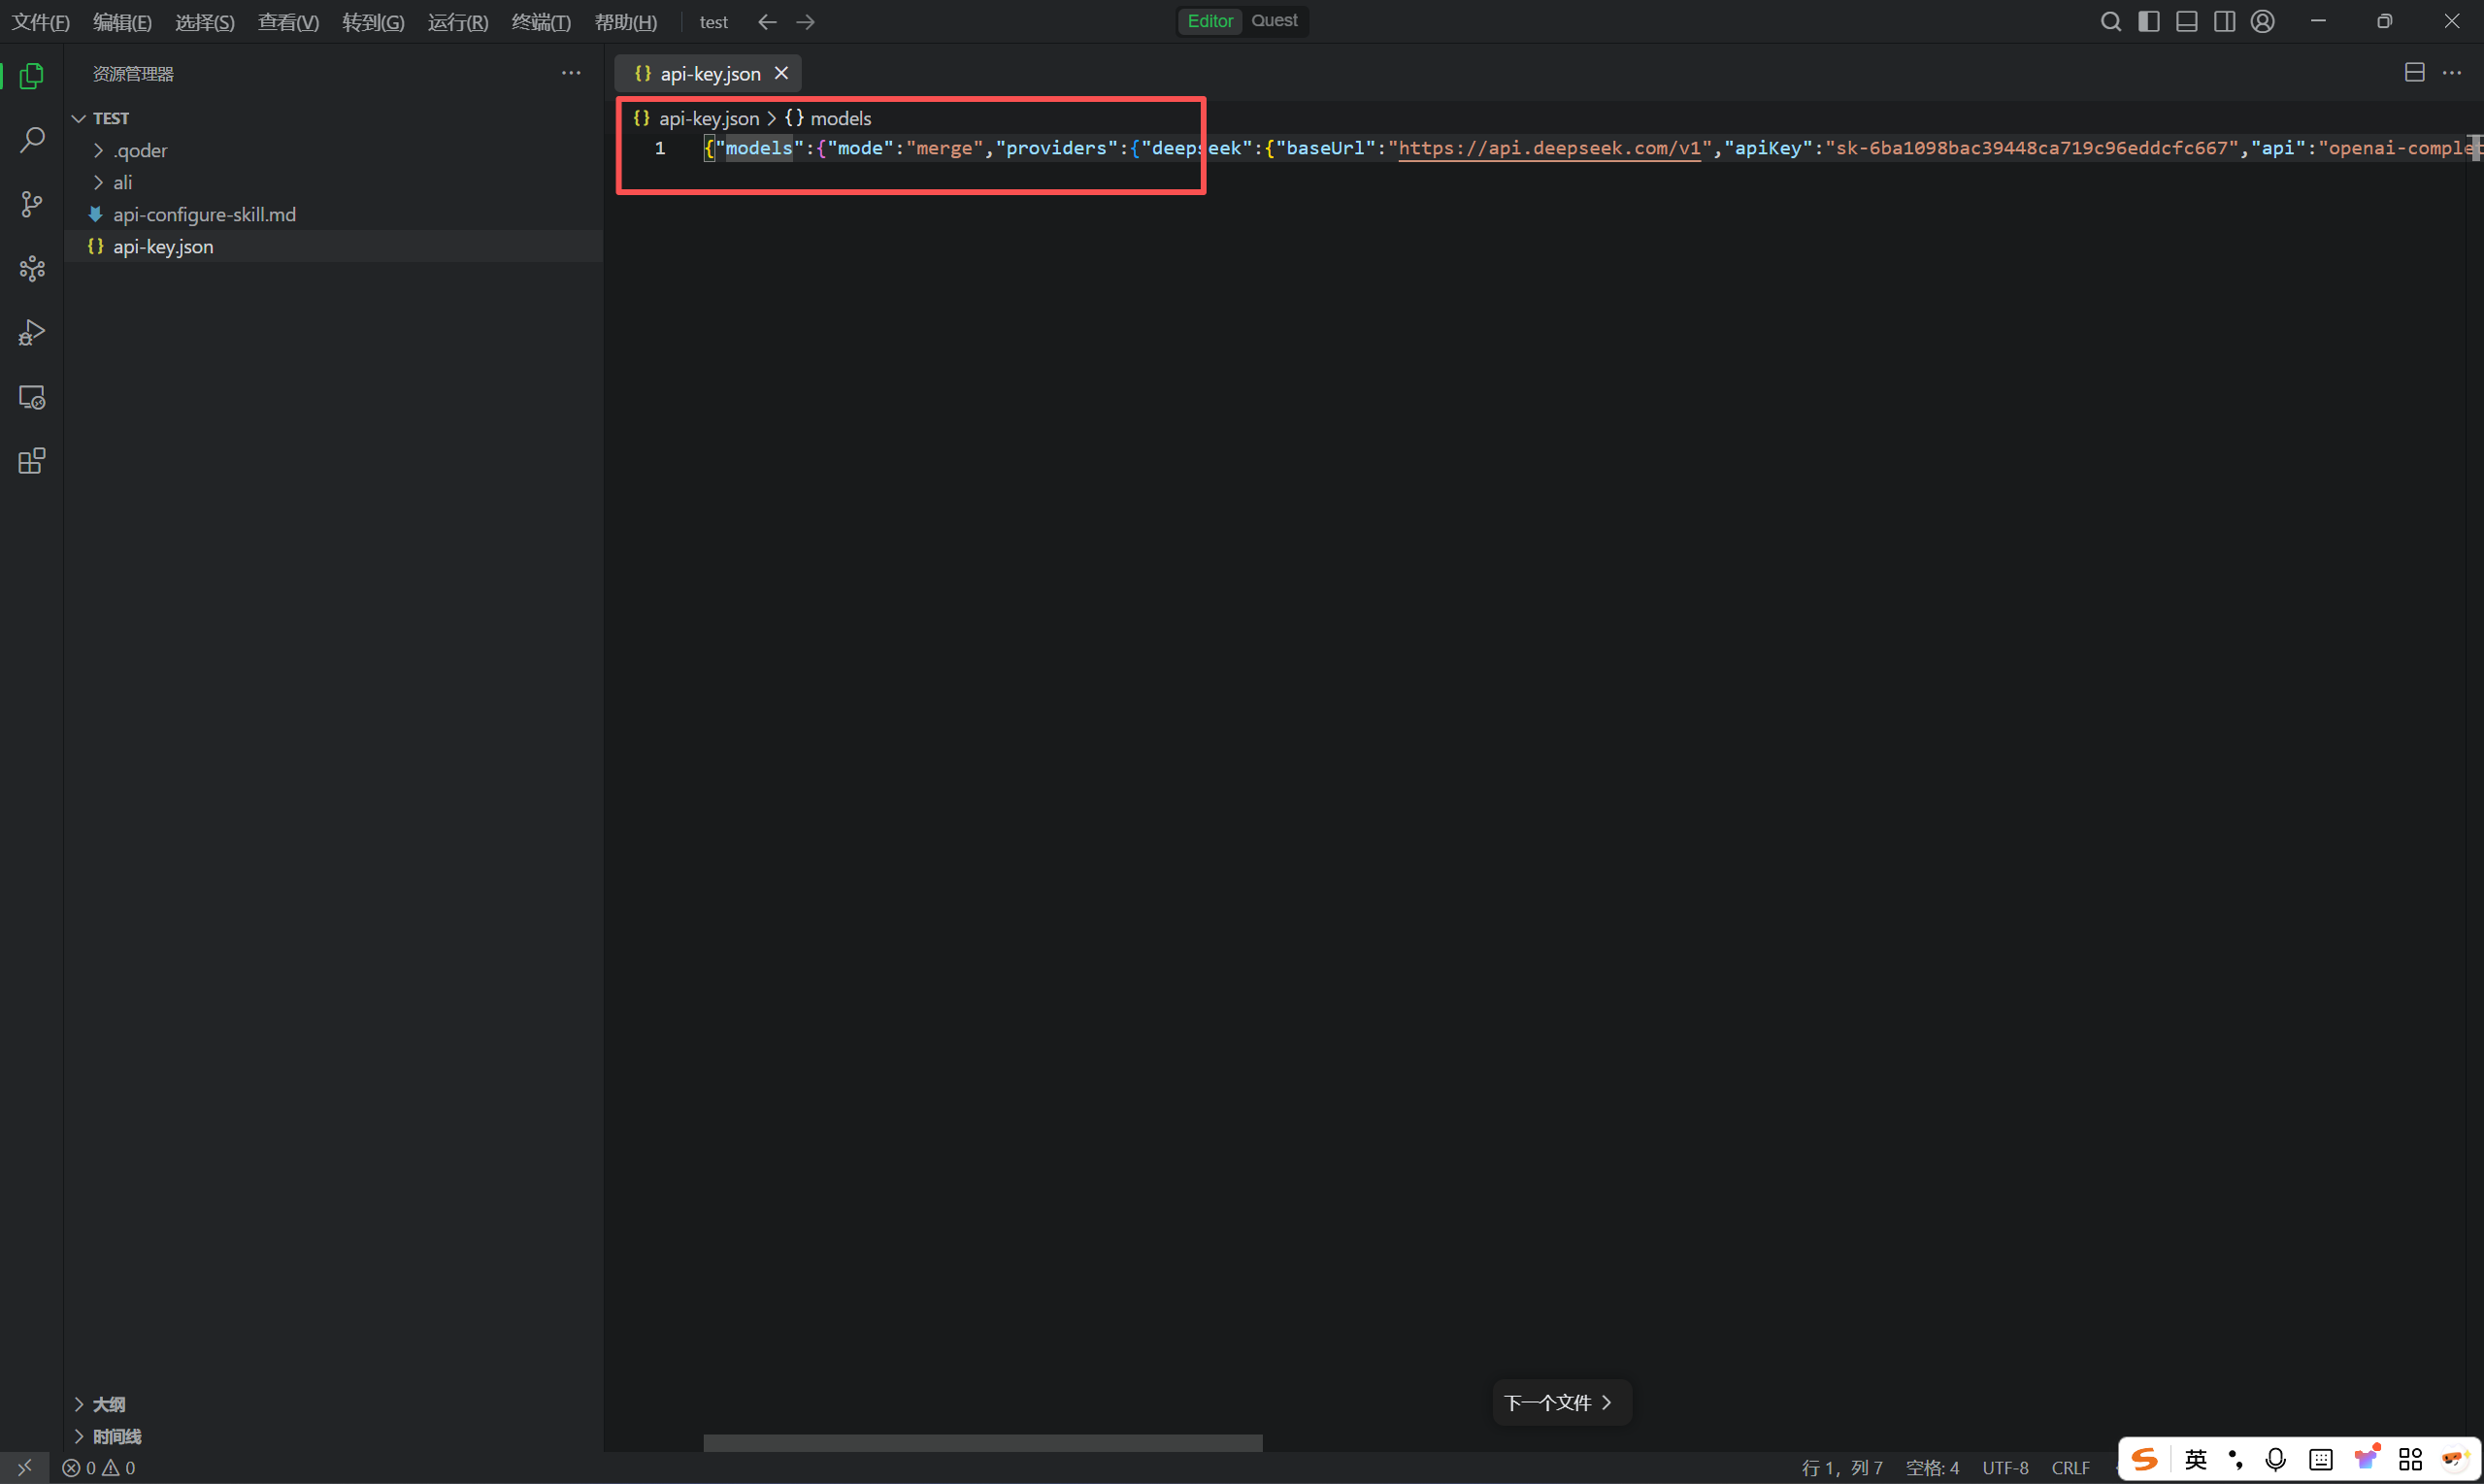
在里面粘贴刚刚从在线表格中复制的内容:
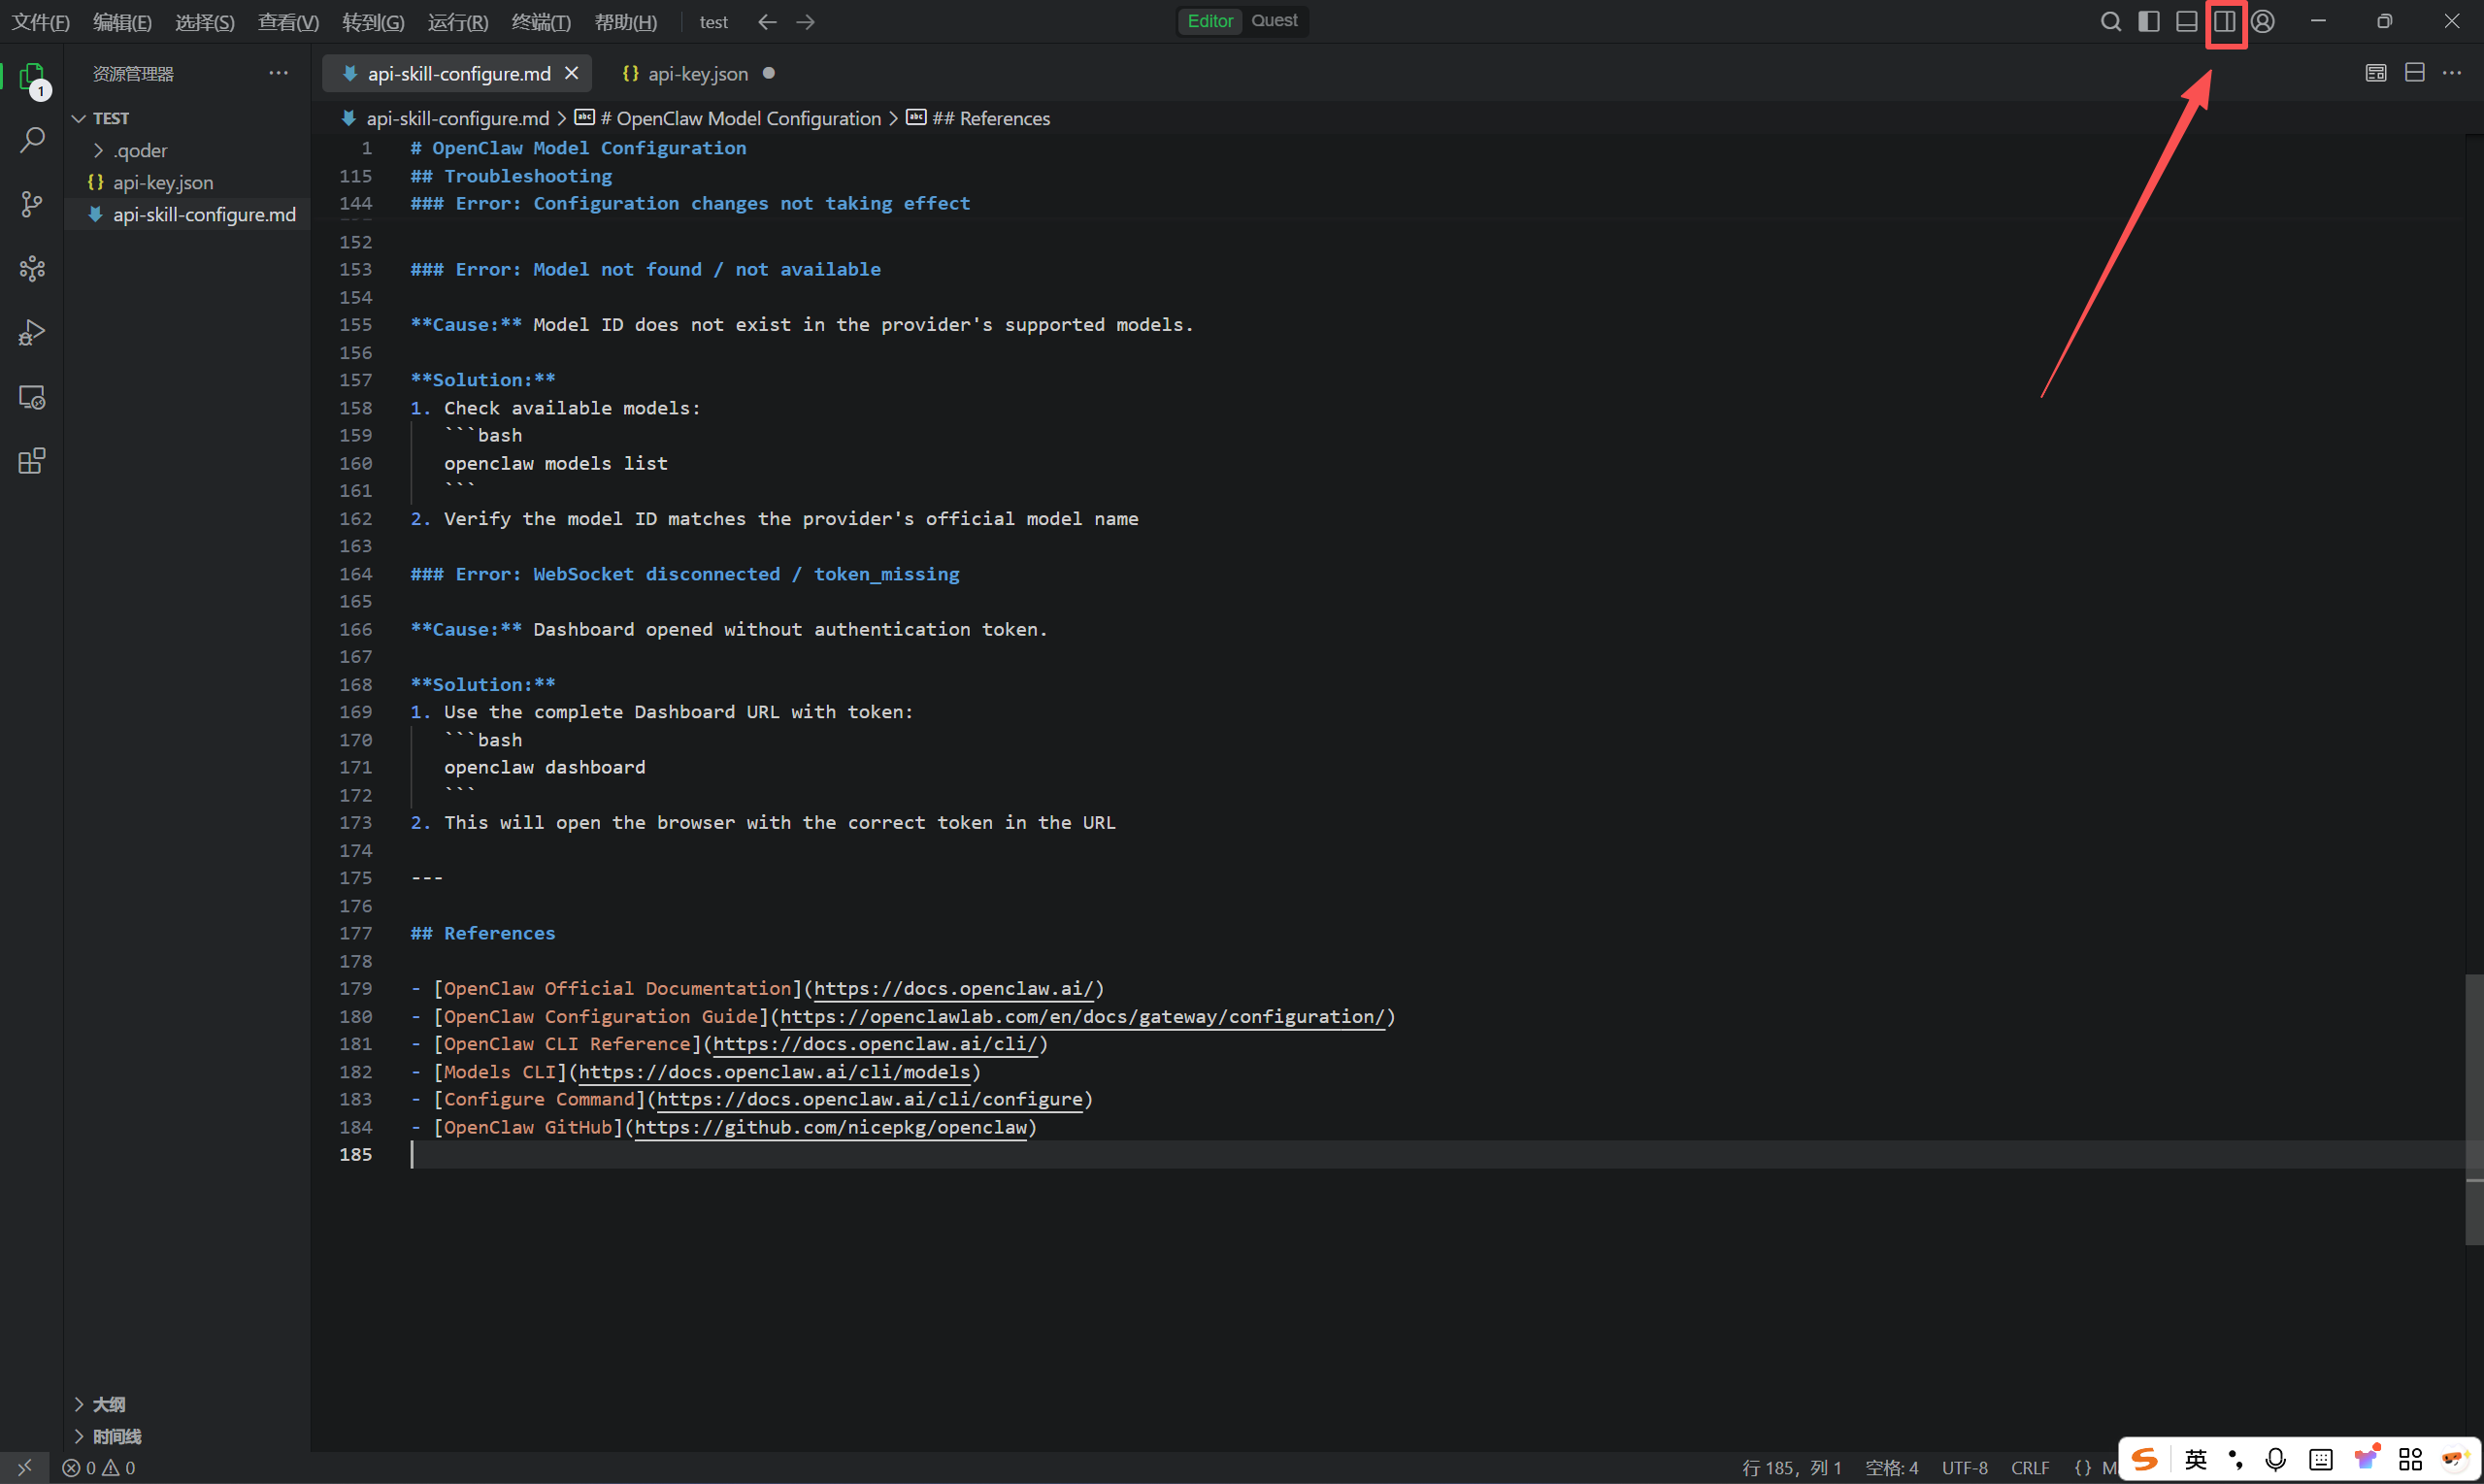
点击这里:
选择极致:
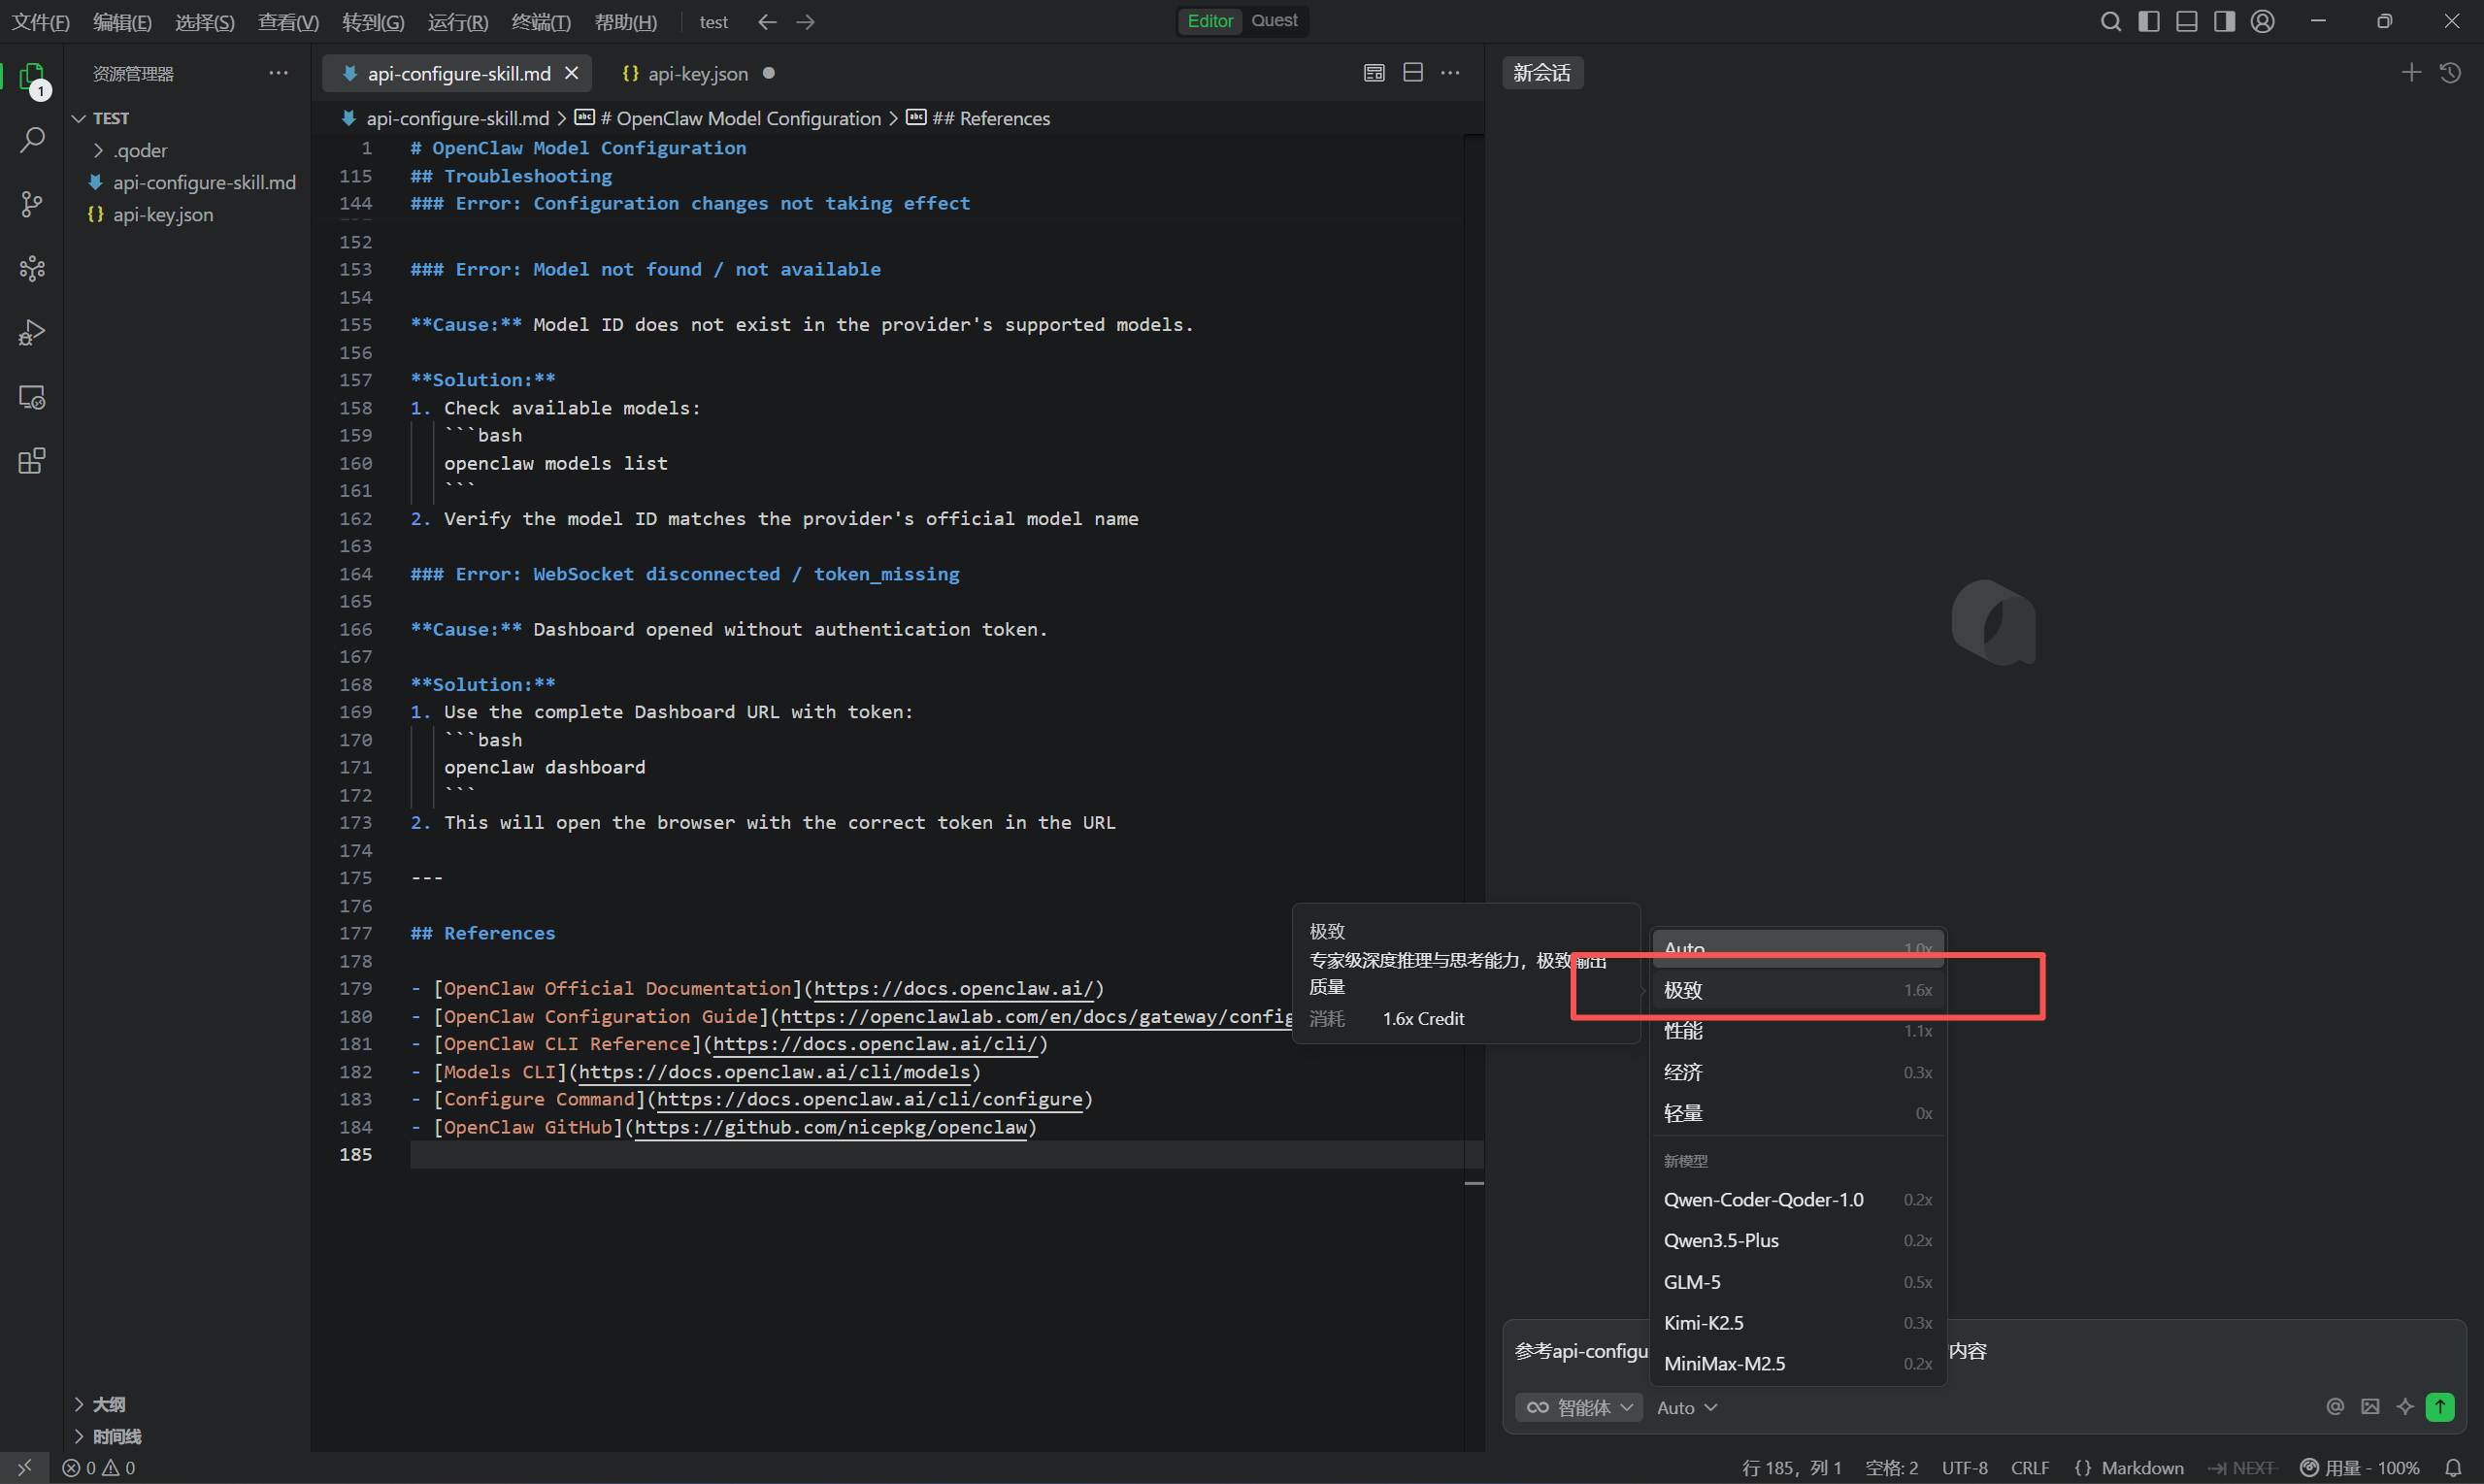
输入内容:
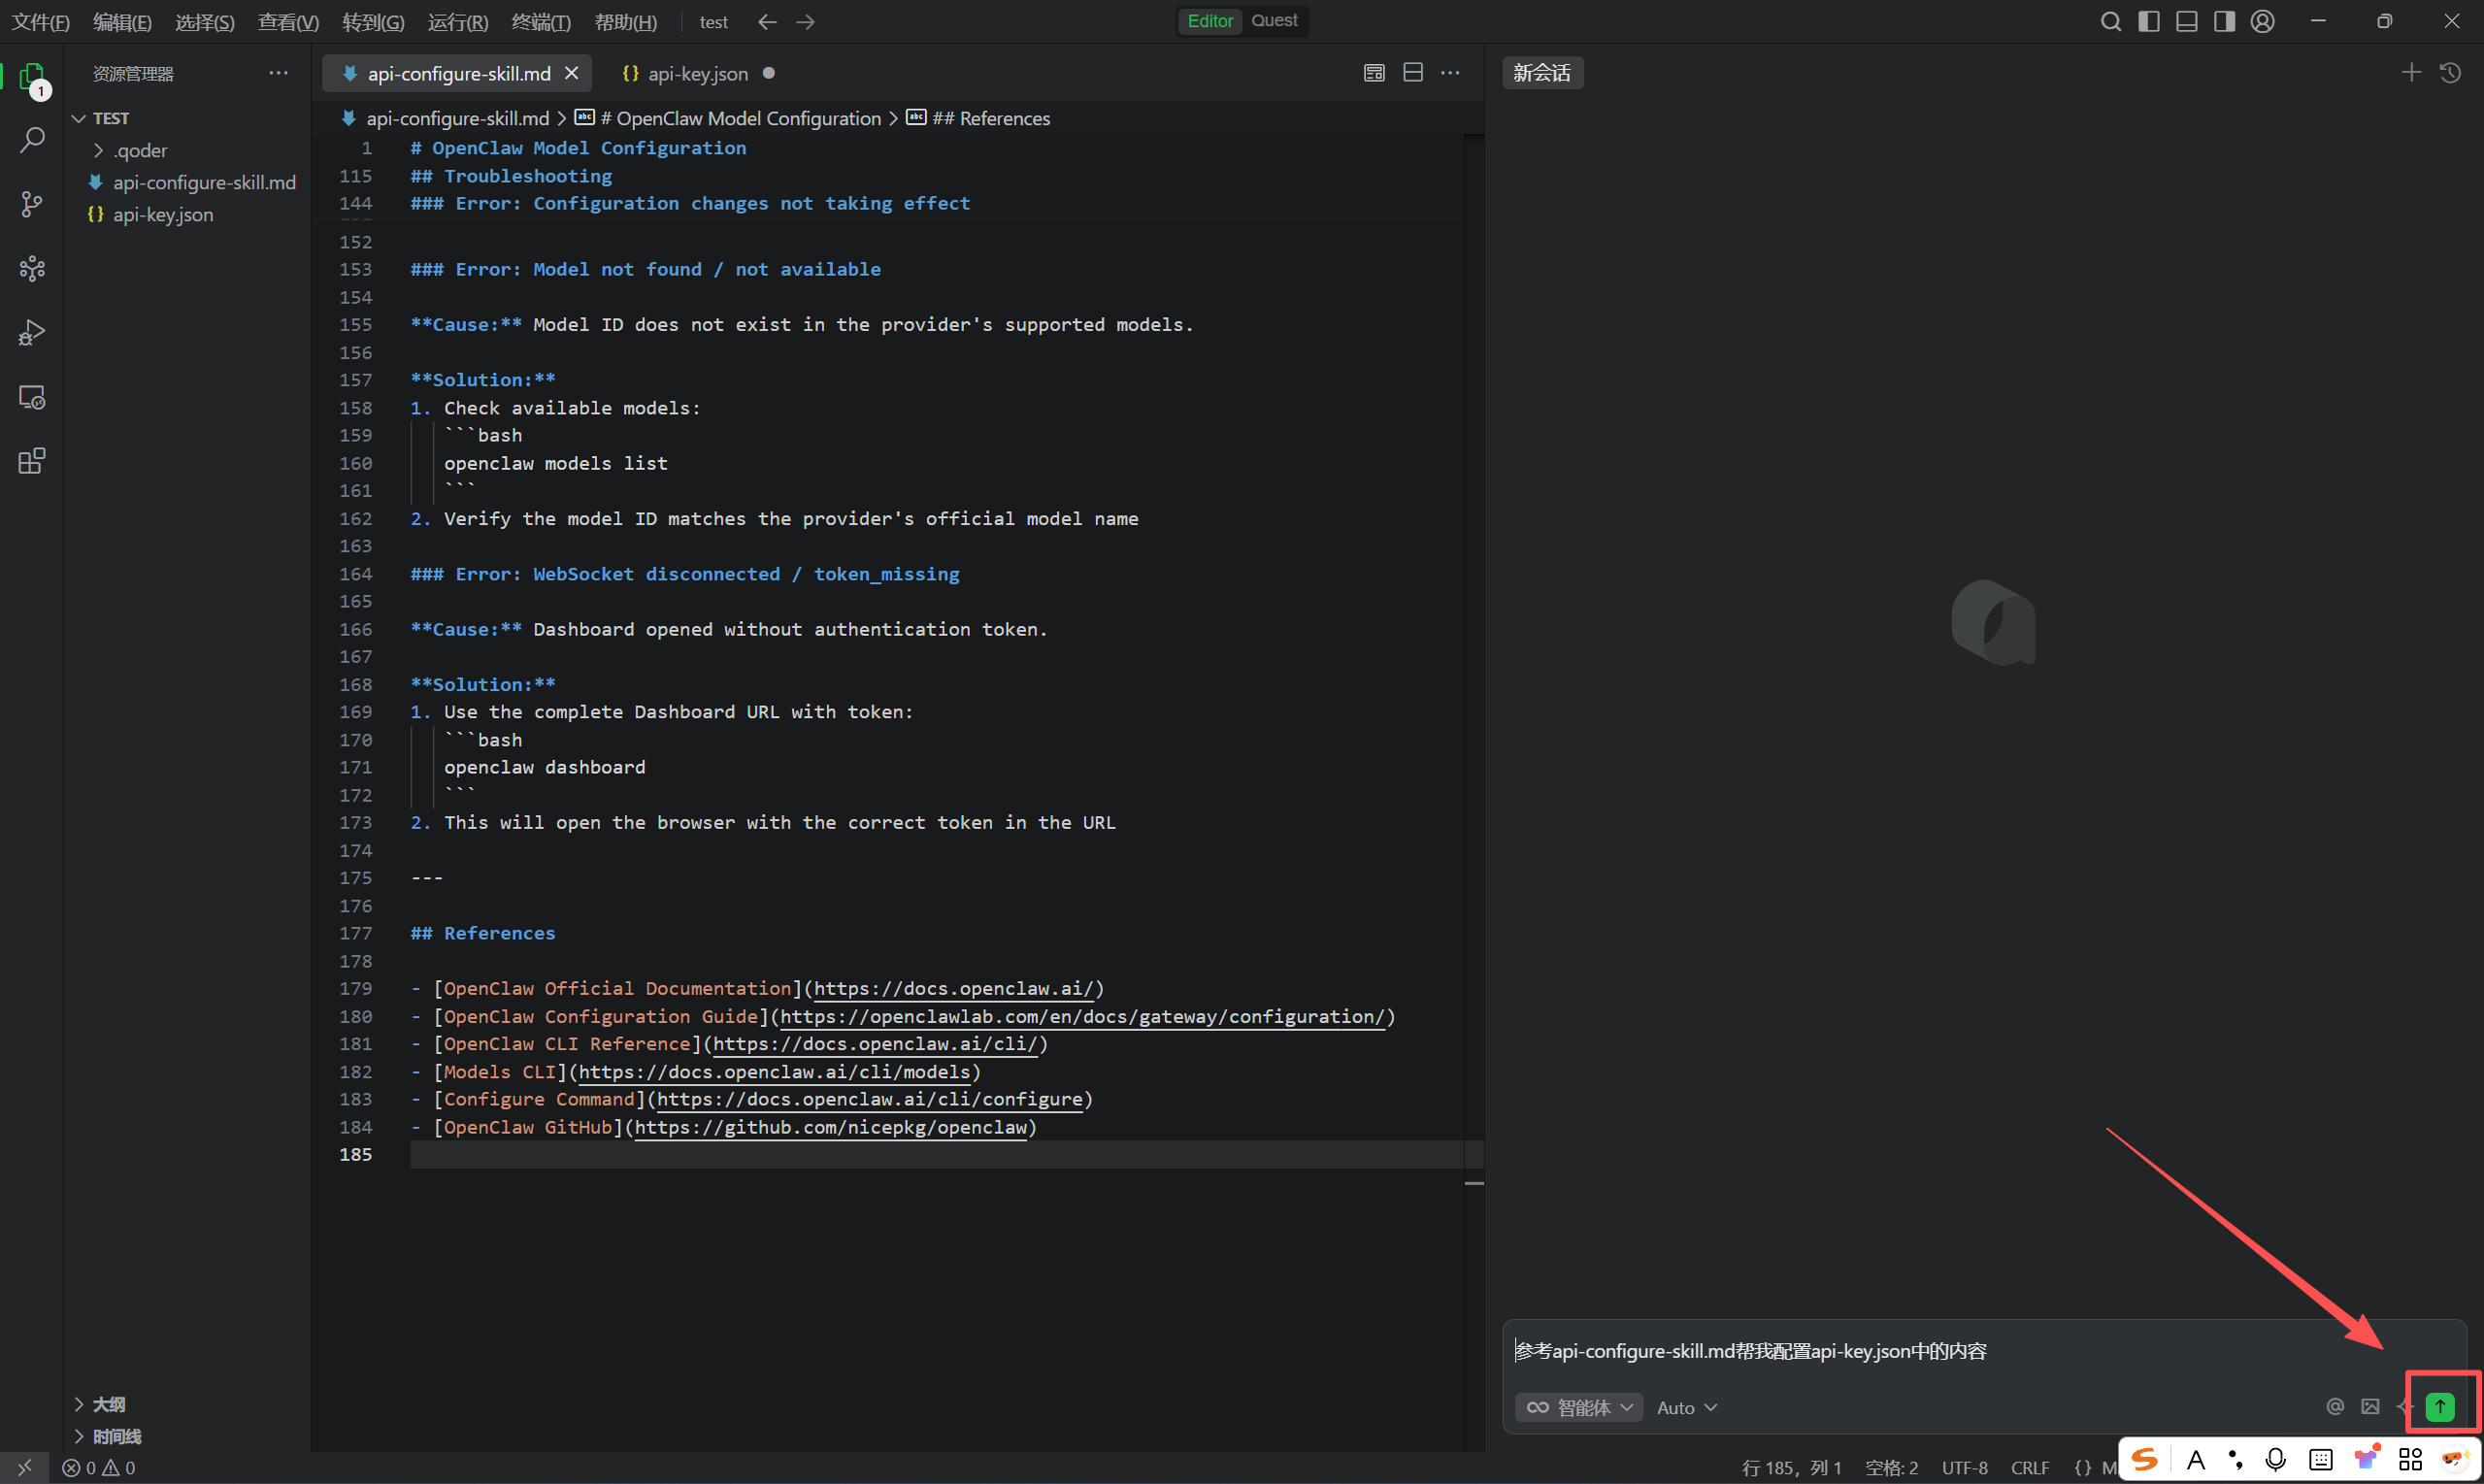
参考api-configure-skill.md帮我配置api-key.json中的内容
点击发送:
会帮你自动把api-key配置进去:
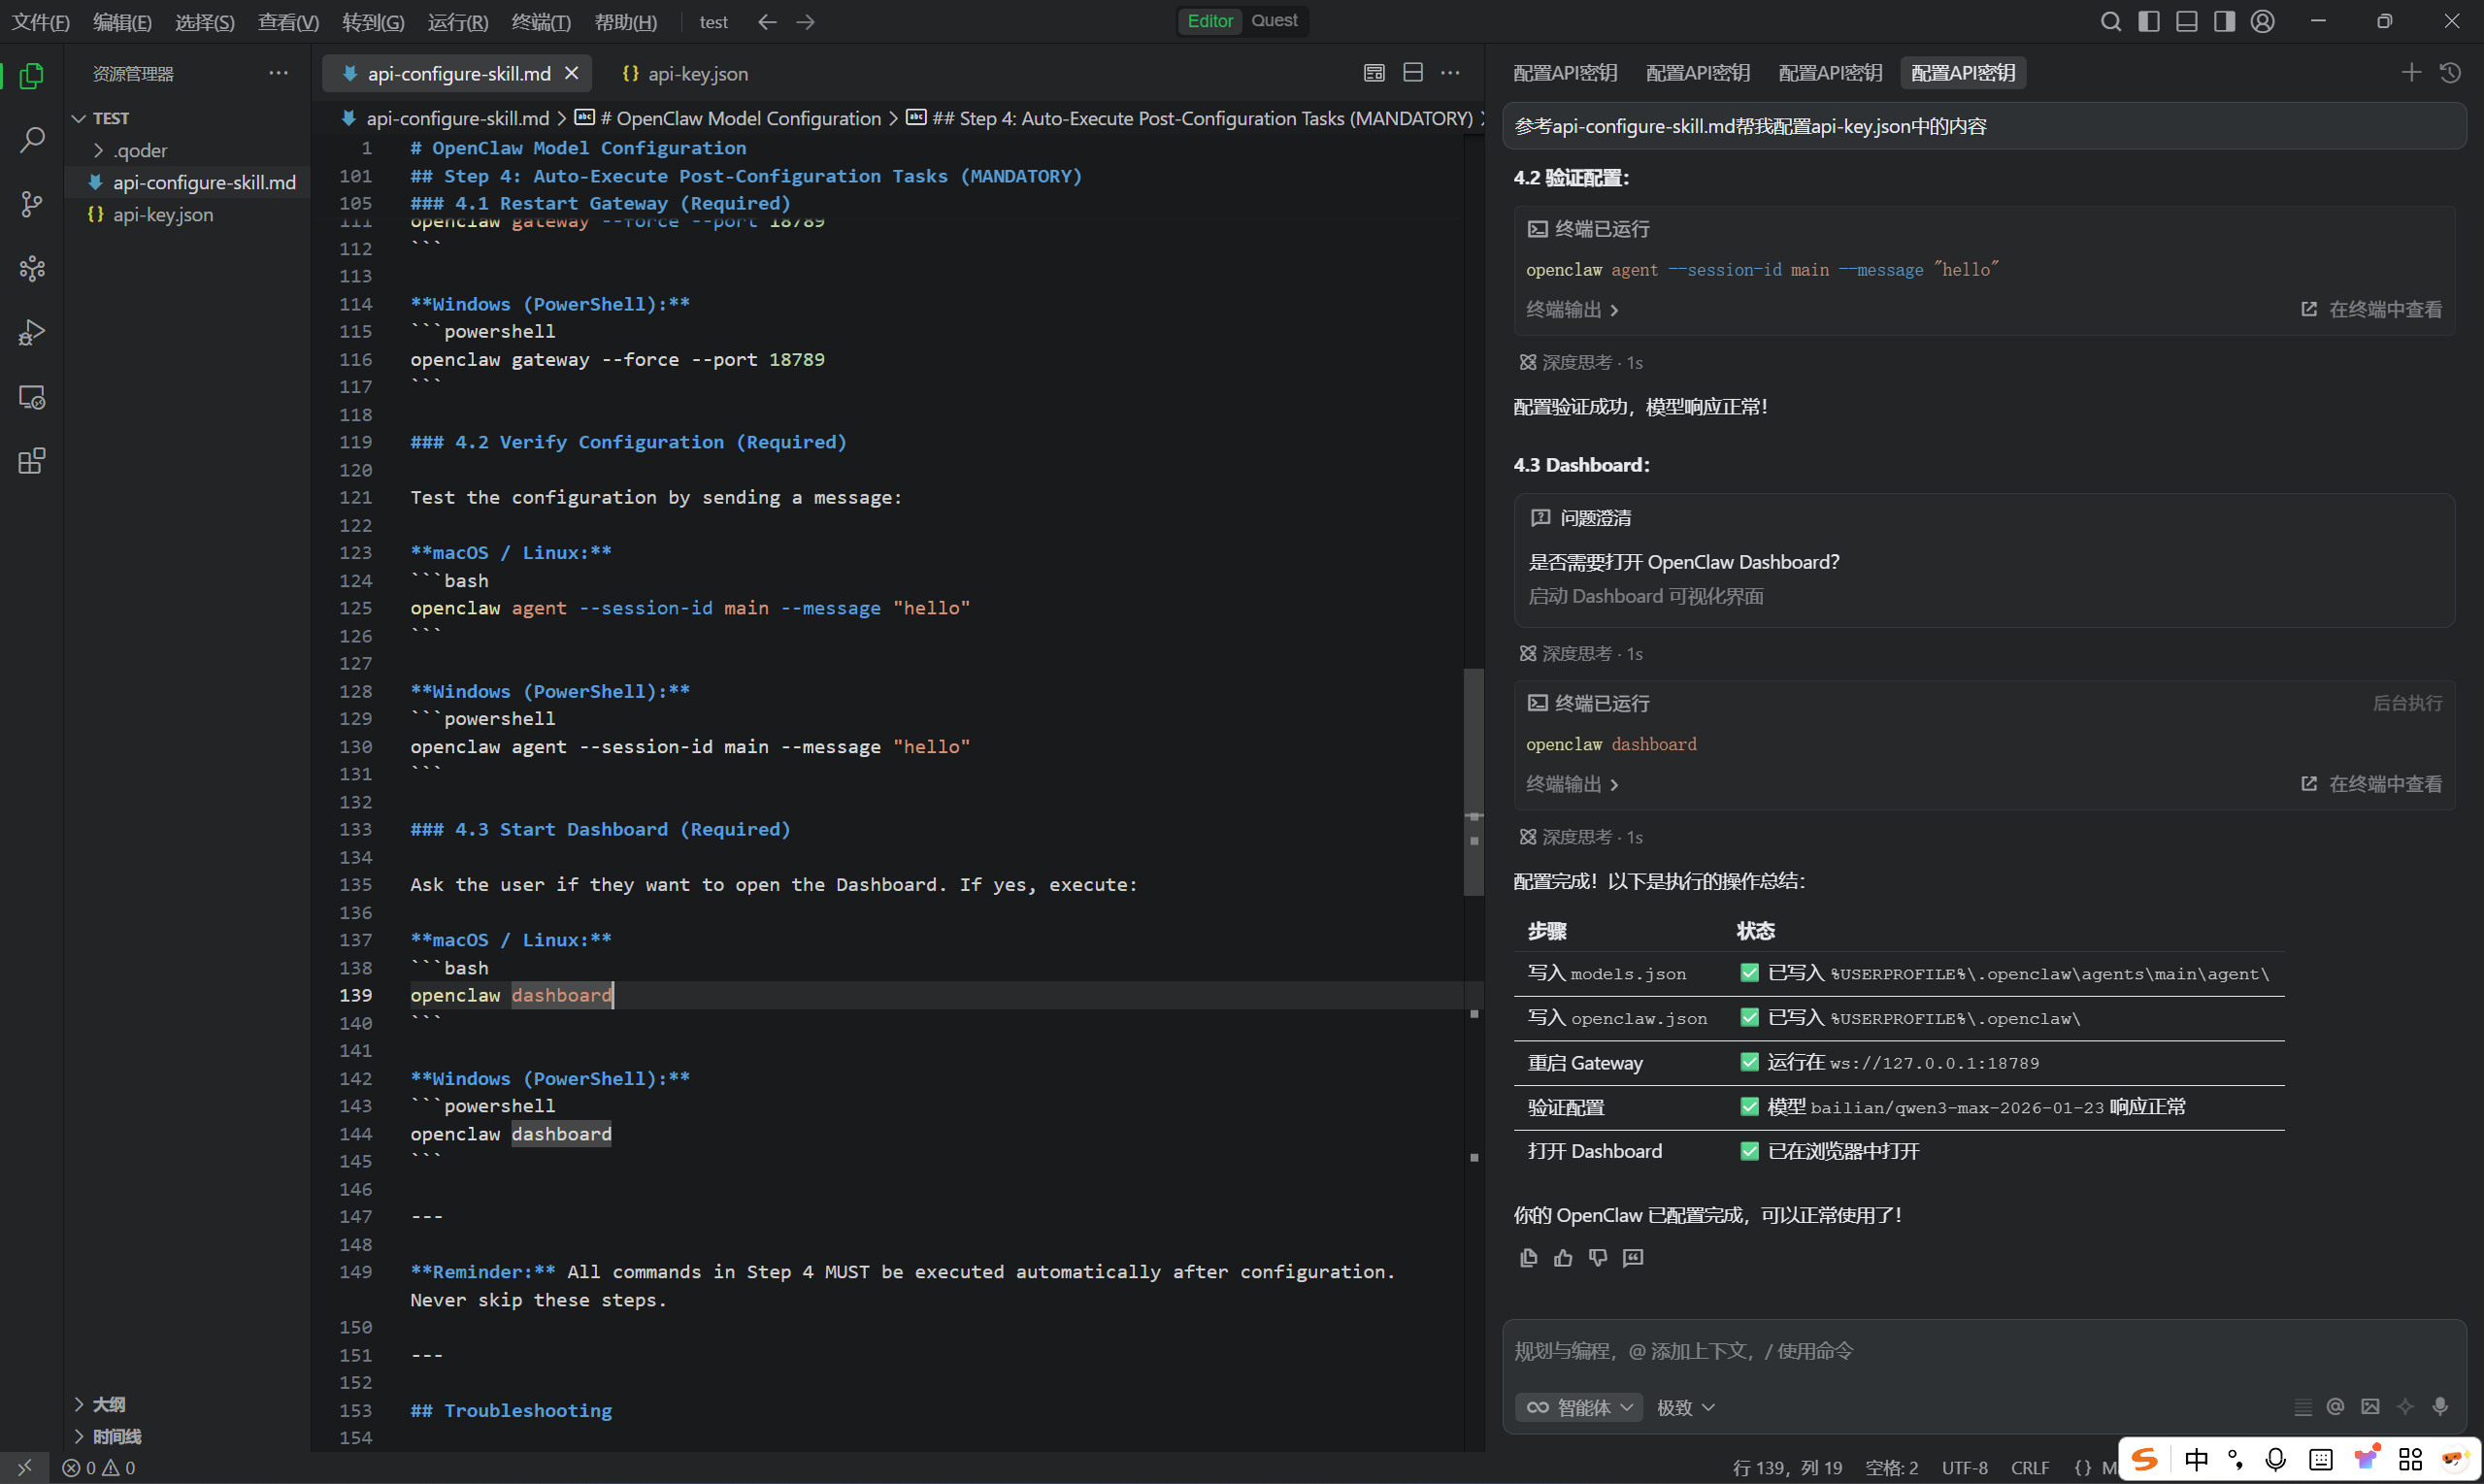
配置成功后,即可开始对话: